Showing posts with label kids activities. Show all posts

Craft for kids, by kids: A craft stick harmonica/kazoo

Last week at Cub Scouts, my eight-year-old son made a kazoo/harmonica from craft sticks as part of the crafts achievement for Wolves. He was so proud of his craft that he wrote up the instructions himself, even thought writing is not always his favorite thing to do these days. I asked him if I could share the craft here, and he was very excited to share!

He took the picture too :)
Supplies:

  • Jumbo craft sticks
  • paper
  • toothpicks
  • rubber bands
  • markers to decorate


HOW TO MAKE A HARMONICA.
1. get 2 jumbo craft steaks [sticks]
2. get 1 same size pize [piece] of  paper
3. 2 toothpicks with cuters (ask a adult to help)  [cut the toothpicks to the width of the craft sticks]
4.  the adult can cut the toothpicks the size of  the steak [place the toothpicks and the paper between the craft sticks like you're making a sandwich]

5. 2 rubrbans put on the 2 ends [secure the toothpicks/paper in the "sandwich" with rubber bands on the outside directly over the rubber bands]


6. coler [color]

You can hum/blow on the side to make music like a kazoo!

LDS General Conference Toddler Attention Presents

Wasn't General Conference this past weekend awesome?! (Don't know what I'm talking about? see here or here or some awesome quotes from the weekend here) I have to share with you guys something- I have an almost 3 year old and a 6 month old and I listened to every talk. Store this away in the archives for October!

  1. I went to the Dollar Store on Saturday morning ( I had been planning to all week but I didn't end up making it until the very last minute) and I bought treats, coloring books, little toys, and other activities listed below. 
  2. I wrapped 6 things per session and divided them into bags. I did this so PB wouldn't open all the treats or activities in one session.
  3. We set a timer on my husband's iPhone to go off every 20 minutes. This was flexible. We started with a 5 minute timer so she got the concept. 
  4. We told her she had to be in the room and behaving to get the treat. She went off and played upstairs in the playroom for a bit. When she got back down we set a shorter timer so she could get another treat. 
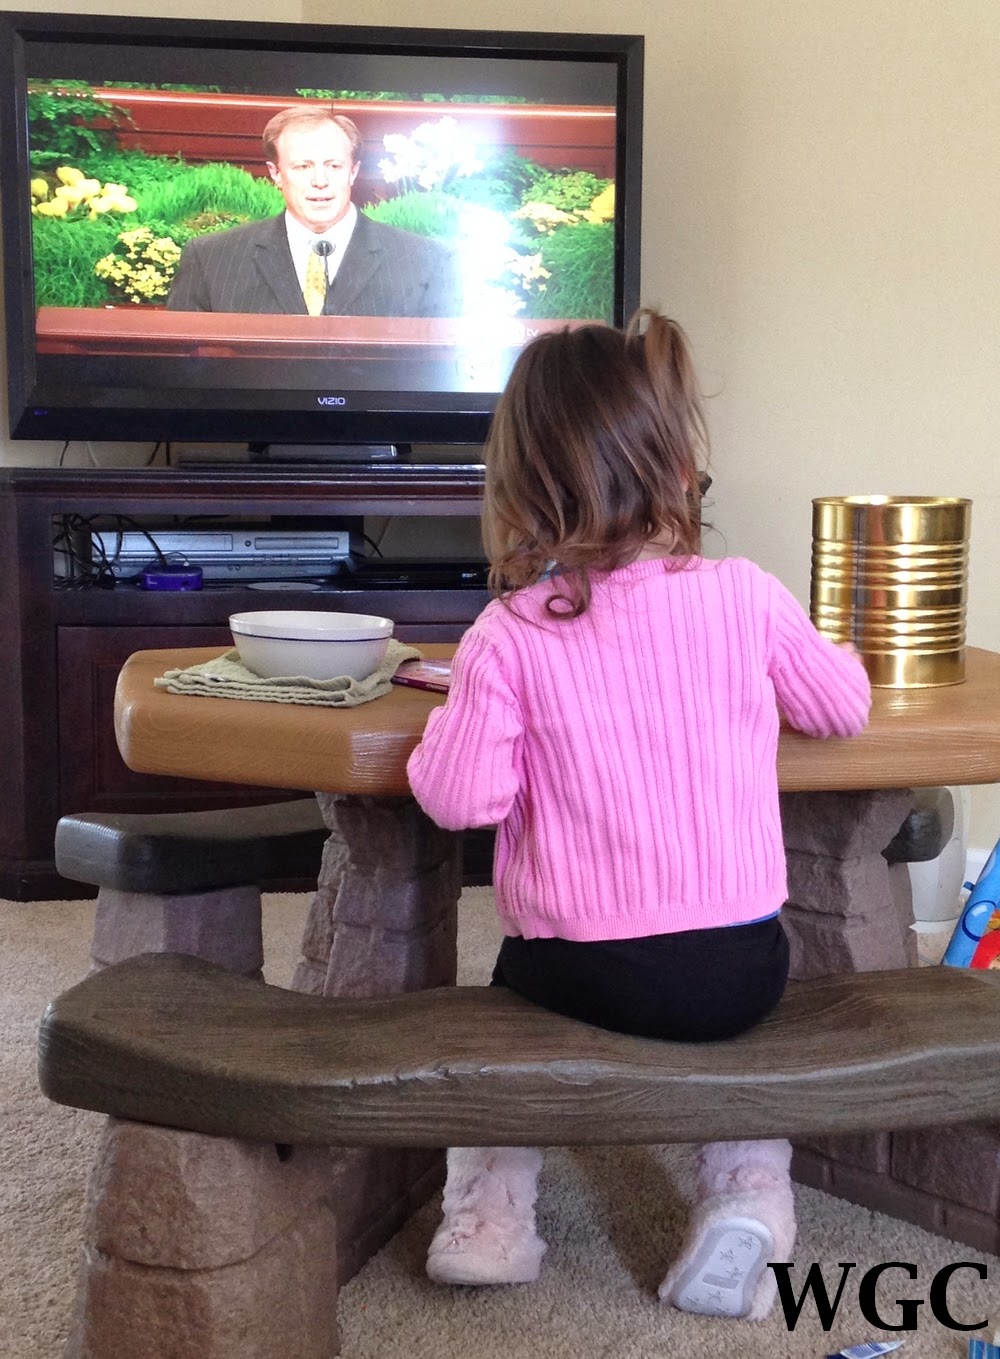
It wasn't perfect but basically it took her the 20 minutes to get bored with an activity or eat her treat. If she finished early there were the activities she had already opened to occupy her. We brought in her little picnic table and she sat and did her activities at that table. 

She did awesome. I was worried that she would get upset that we were watching TV and it wasn't her show and Heaven forbid it wasn't "ELSA!" (Please tell me we're not the only ones that have watched it 20 times in the past two weeks). There were moments of mischief and she did take a good nap on Saturday so she had a bit of a break but overall it was a great experience.

Here is the list of what I bought:

  • Two coloring books (big flop she didn't want to color at all)
  • Velvet coloring sheet (like here but seriously don't buy it there because I got it at the Dollar Store)
  •  Magic Paint booklet (like here I got it at Michael's) 
  • Furreal Spinner (like here)
  • Jewelry Links (like here)
  • Candy- Fruity Tootsie Rolls, Airheads, fruity Mike and Ikes, Sugar Babies. I chose these because I could separate each one out into multiple presents
  • Snacks (not from the Dollar Store) Goldfish, animals crackers, fruit snacks

Here are a couple pictures we took of the girls.
In the #10 can there are crayons and she's painting with water in the bowl in the Magic Paint book she got


 I also pinned a bunch of other ideas found here on Wayward Girls Crafts' Pinterest page.
Here is a post from last year that we did as well. None of the Pinterest pictures are working but the links work. 

Do you have an idea that works for you?

Dollar Store Craft: custom geometric vases

A few months ago, I found some great glass vases at the Dollar Store. I filled them with free seasonal decor. When we moved, I had to find a new place for my vases, and the best place was in the living room. But I needed five more vases.

Rather than filling them all again, I decided I wanted to paint them to match our new living room decor. I picked up some acrylic paint and masking tape ($2 and $1, respectively) and sat down to make some awesome designs with the tape. 

I turned this into a kids' craft, too, because I laid out the newspaper and let my kids loose with the foam brushes!


Some tips on getting this right:
  • Use (at least) two coats of paint, and allow the paint to dry fully between coats.
  • Apply the second coat carefully and quickly, and lay it on thick. Try not to paint an area more than once. If you don't, the paint will ripple and pull off!
  • You can use the acrylic enamel made for glass--it'll be dishwasher safe and it might work better, but I don't know how well it works with masking tape.
  • Be careful when pulling off the tape! The acrylic doesn't want to adhere, especially at the point of diamonds or triangles. If I did it over again, I wouldn't do those shapes. A razor blade can be helpful in holding down the paint while you pull off the tape. (Or you can do what I did and use your fingernails. Wayward!).


I still have three plain vases. What should I do? I was going to leave them blank, but my husband thinks they look . . . well, blank. My two ideas would be to borrow a page from Jaime's book and do a glitter vase, or to fill them with something cool. Glass beads? Autumn leaves? Colored water? (Ha--asking for trouble with four kids 8 & under!)

What do you think??

Toddler Family Home Evening: Week 1

On Monday nights lately we having been trying hard to have Family Home Evening. I looked all over the internet for ideas of FHE lessons for our two year old and I used a few but wasn't really happy with what I found so I came up with my own ideas. I will be posting our toddler FHE lessons every couple of weeks. I hope there are some ideas you can use! I have found that using the Mormon Channel scripture videos is so helpful. PB can't follow along with verbal stories as well as the cartoons that they have on there. So we have been watching those first and then talking about more. (see link below)


Theme: The Parable of the Lost Sheep

Prep: Print out a picture like the one above, color (optional), and cut into a puzzle shape. Make some treasure hunt clues* for around the house. Hide the clues plus one of the pieces from the puzzle. I cut a special heart shape to be the missing piece.
Lesson: 
  1. Play this video.
  2. Give all but the one piece of the puzzle for the child(ren) to complete. When they discover there is one piece missing give them the first clue.
  3. Follow the clues and find the last piece.
  4. Talk about how exciting it is to find the piece just like when the shepherd found the lost lamb or when we are bad but then change and become better and follow Jesus Christ.
*My clues included
  • Look where we keep food (picture of food)
  • Look where you go potty (picture of toilet)
  • Look where you go to sleep (bed)
  • Look where you play with toys (picture of toys)
  • Look in Daddy's pocket (picture of Daddy)
Treats: Here are a few sheep treats. One, two, three.

Stay tuned for more ideas! Enjoy! 


Ornaments kids can make!


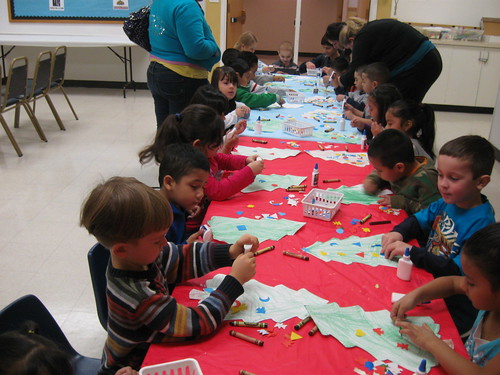
For years when we were younger, Mom put together Christmas crafts for us to do every night of December.

It was probably a lot like this:
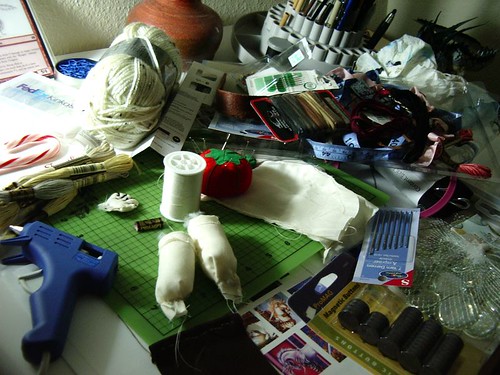
Pietrini School Visit 003huge craft mess

And this:
Craftmaggedon ...

Only with four of us. Screaming at each other. And glitter!

Which is also probably why she always threatened to never, never do this next year. (But we probably did.)

However, some of the crafts we made have lasted through the years, especially ornaments like these:


These ornaments still adorn our Christmas trees! How do you trim your tree?

Photo credits: kids doing crafts: Franklin Park Library; huge craft mess: Insolvable_self; craftmaggedon by Natalie Steed

LDS General Conference Packets (and other ideas)

LDS Church General Conference
LDS Church General Conference infographic

Last week for our activity in Achievement Day girls (8-11 year-olds) we made General Conference Packets.There are quite a few options out there after a search I found I liked this one best by Jenny Phillips for the girls.

Before I copied the packets for the girls I added a quick reminder when General Conference would be and where they could watch it, on the front page.

What are you doing this year for you kids?


Here are some other great ideas I found for General Conference on Pinterest. (These include ideas for younger kids as well):

Good clean fun (literally!)

Hey y'all! It has been weeks and weeks since I have blogged. Between the wedding, holidays, and illness, I am barely keeping my head above water. Things are looking up and here I am blogging on Friday.
I decided to do something totally kid (and mom) friendly. Shaped soap. You can look up directions on how to actually make soap, but this is the wayward way to do it quickly and with the children
You need some Ivory soap and some cookie cutters. Optional supplies include glitter, scented wax or essential oil, and wax.

Here's what to do:
Finely chop or grate 1 or 2 bars of Ivory soap. Here it is finely chopped, but it would have melted better grated. The soap is very soft, so your little ones could cut it with butter knives.


Put your soap in a double broiler and let it melt. (I tried some the microwave, too. It was another fun experiment. It bubbles up really big! The kids would love it.) I added a little water. This is when you would add a few drops of oil or scented wax.

Let it melt.  I only waited until it looked like mashed potatoes. It may have melted further. You know us wayward folks!
Next  I patted out the 'dough' into a circle and cut out stars and snowflakes. (Spray the cutters with Pam or oil.) For a few of the shapes, I  pressed the soap into the shapes rather than cutting them out. Carefully press them out of the cutters.

I sprinkled a tiny bit of glitter on them soap. You can dip the glitter side in melted wax if you want to keep it off your hands.

Clean up is easy. Let water take the soap out of the pans you used. Throw the scraps and the kids into the tub and tell them to bubble up!

13 Fun Ways for Kids to Learn and Show Gratitude

Can you believe it? Thanksgiving's already here! November 22nd is the earliest Thanksgiving ever comes and it certainly feels like it!

I'm definitely looking for ways to help my kids to learn and show gratitude this week, and here are 13 fun ideas I found!

1. Topical gratitude challenge

You can use these categories to go around the Thanksgiving table, too.

2. Gratitude garland

Great for decorating for Thanksgiving, too!

3. Family gratitude journal

Also a fun family activity.

4. Gratitude poster

Beautiful, creative and grateful.

5. Gratitude tree

Another fun way to decorate for Thanksgiving and fall.

6. Gratitude cards

Rainbow colored cards that include prompts, ideas and tasks.

7. Gratitude banner

So many ways to use this one! Here, they've got pockets for each family member and other family members can leave notes telling why they're grateful for them.

8. Gratitude rolls

Fast, easy and fun to share at Thanksgiving dinner!

9. Gratitude at the Thanksgiving table

Prompts and papers for Thanksgiving dinner gratitude. Fun alternative to simply making rounds of the table.

10. Gratitude pinboard (literally!)

A real-life pin board to fill with things you're grateful for.

11. Gratitude alphabet

What you're thankful for, from A to Z

12. Donate food (or clothes/time/service) to those in need

I like to help my children weed out toys they don't play with anymore and donate them at Christmas time, and we'll definitely be donating food this year. (Side note: check with your food bank first. Donating food is a great gesture to involve your children, but sometimes food banks get a better deal than we do, so giving them the same amount of money can go a lot further, and you can find other ways to involve your children.)

13. Collect thank you notes and treats for our troops

You can make care packages for anyone who might need a little extra love during this season: elderly neighbors, far-off family members, our troops.

How do you help your kids remember to be grateful?

Cereal-ously Fun Post Cards!

One day I was at my aunt's house, looking at all the fun things you can send through the mail on Giver's Log with her teenage daughters. My aunt then said that one of the coolest things she ever got in the mail was a post card made from a cereal box. I LOVED this idea and wanted to send some fun post cards to my nephew and niece (Jordan's kids). Another thing I loved about it? The cost: it's free!

What you do:

Photobucket

Take a cereal box, and cut it up in to a rectangle. Make sure to cut it between the minimum and maximum sizes set by the Post Office:
  • Minimum: 5" long by 3 &1/2" high 
  • Maximum: 11" long by 6 & 1/8" high 
Photobucket

On the back, write out your message. Then address it and stamp it. 

Photobucket 

And send!

Photobucket

Here's proof my niece (4 years old) and nephew (6 years old) liked 'em

Photobucket

 These would be equally fun for kids to make!

Photobucket 

Other boxes to cut up and send: Mac and Cheese, Brownie or Cake mix, Tampon box (if you're feeling brave/funny/stupid with your menstruating friend), Toothpaste box (post card from the tooth fairy?). Tissue boxes for sick or sad friends, or a shoe box for shoe lover. Tons of possibilities and all of 'em are free! 

Bubble Marble Card Stock

This is a fun, easy craft that even the kids will enjoy. Take a small amount of soap (preferably uncolored; scented doesn't matter) and add a small amount of water into a bowl. Size changes the pattern so it's up to you as to how large of a bowl you would like to use. I used a regular sized disposable bowl.
Add a few drops of food coloring and mix the color in.
With a straw, blow bubbles in the soapy mixture to fill the bowl a little over the rim. I stirred the bubbles to make them smaller so the color and pattern would look differently.
Taking card stock, lightly press the paper face down onto the bubbles not getting the paper in the water and lift up. You can repeat this as many times as you want adding different layers of bubbles.
Don't overdo it though, then it'll just look like a mess. Some bubbles may stay on the paper. You can let them pop on their own or blow them off.
Set aside to dry. Dry time is short and varies as to how many times you dipped it in the bubbles.
Related Posts Plugin for WordPress, Blogger...