I'm sorry this is a little wordy today.
Here is the second part of the nursery tutorials. Click here to see the first part of the tutorials. I don't have a lot of pictures for the tutorials so I used my artistic abilities. I'm sure you guys will be really impressed.
Gathered Cornice Boards
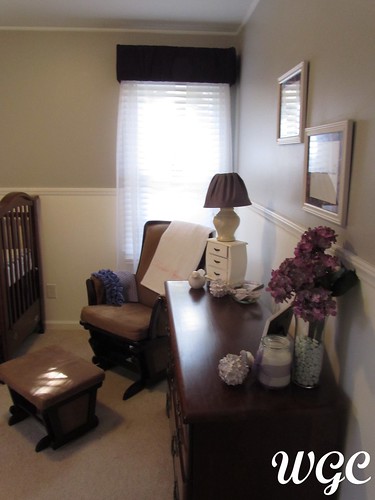
For this project we bought one 1inch x 10 inch x 8 ft board and we had just enough for our windows. I had to employ the help of my husband for the cutting, assembly, and installation but I did the creative part in the middle. Here is what you will need.
1 10 inch x 8 ft long board cut into 6 sections (see picture)
Mounting "L" brackets
Fabric to cover the cornice boards 1.5 yards should be enough but it depends on your windows. Our windows are 32.5 inches wide. Width wise I could fit 2 on the fabric.
Batting
Spray Adhesive
Staple Gun and Staples
1. Cut the wood, glue and nail it together. At this point we clamped the cornices and let the glue dry. A tip for measuring the width make sure you add an inch on each side for the width of the feet.

2. I sprayed the adhesive on the front and sides of the cornice boards and put the batting on it.
3. I measured and cut the fabric. I had about an extra foot for each board. I then stapled the ends of the fabric onto the inside edge of the feet of the board. I pulled the fabric covering the feet tight and stapled it. Lots of staples. Then I put one staple on each side, top and bottom, of the middle. Then I found about the middle of each side left and right and put a staple on the top and bottom there. I continued that until there were excess that I bunched and stapled.
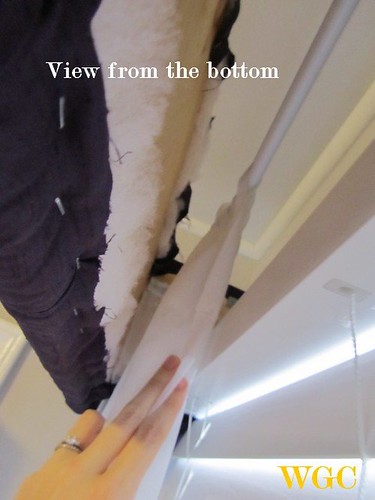
4. I installed a curtain rod facing the wall (backwards of what you usually would) behind the back of the board. I threaded the sheers on and put rubber bands on the corners so it wouldn't look strange.


5. Nail the edge of the L brackets into the wall and cornice boards and then into the wall.

I got this idea here. At the end of the post she said that it did not leave residue which is what I was worried about.

She gives a great tutorial but here are a few tips I found:
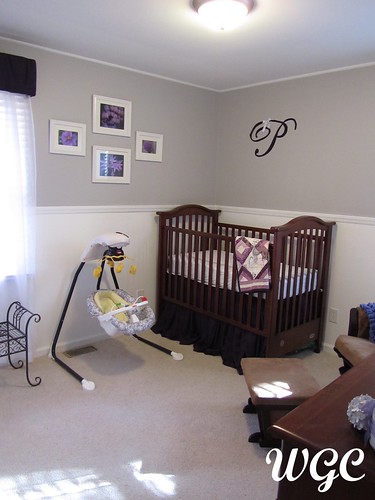
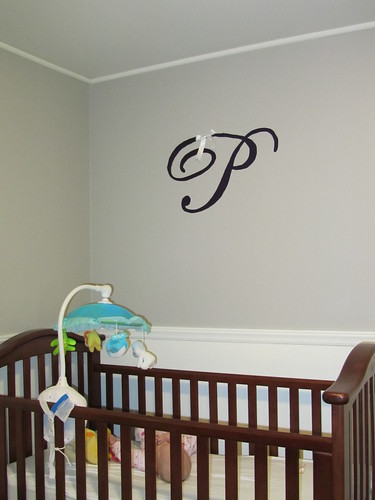
1. Yup my letter looks really fancy but I would not suggest using such a thin and curly letter because it frayed and I had to use an craft knife to cut the edges once it was on the wall. This made it come back off the wall and I had to keep ironing it back on.
2. Be careful with the humidifier. It made the letter come off the wall a bit but it irons back on.
3. Before you iron, tape the edges so the weight won't pull the rest of the letter off while you go.
Recovering A Swing Cushion
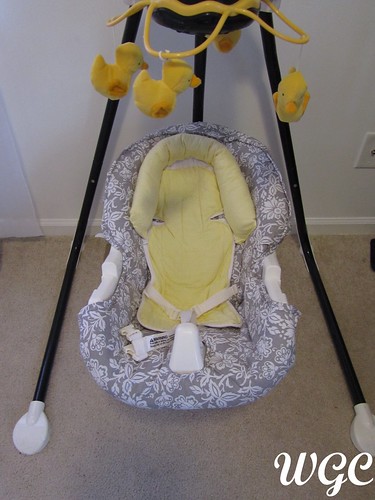
 I was VERY VERY nervous about doing this. First of all this is the swing my sister-in-law let me borrow. Second I consider myself very much a novice at sewing and I didn't know if I could pull it off. I got inspiration here. She gives GREAT instruction. This is how I did mine. As I started to deconstruct the swing I chickened out a few times before I started cutting. I did not take pictures because of this nervousness so I will have to try to illustrate what it was like.

 I hope this has helped with everything. Also refer to the tutorial I listed above. Go slow and just try to mimic what the original is like. Now that I have the confidence of doing this I'm looking for some oilcloth to cover a hand-me-down high chair I got a couple weeks ago. Wish me luck! I'll show you the result when I finish it.

2. I sprayed the adhesive on the front and sides of the cornice boards and put the batting on it.
3. I measured and cut the fabric. I had about an extra foot for each board. I then stapled the ends of the fabric onto the inside edge of the feet of the board. I pulled the fabric covering the feet tight and stapled it. Lots of staples. Then I put one staple on each side, top and bottom, of the middle. Then I found about the middle of each side left and right and put a staple on the top and bottom there. I continued that until there were excess that I bunched and stapled.
4. I installed a curtain rod facing the wall (backwards of what you usually would) behind the back of the board. I threaded the sheers on and put rubber bands on the corners so it wouldn't look strange.


5. Nail the edge of the L brackets into the wall and cornice boards and then into the wall.

Iron-On Wall Decals

She gives a great tutorial but here are a few tips I found:
1. Yup my letter looks really fancy but I would not suggest using such a thin and curly letter because it frayed and I had to use an craft knife to cut the edges once it was on the wall. This made it come back off the wall and I had to keep ironing it back on.
2. Be careful with the humidifier. It made the letter come off the wall a bit but it irons back on.
3. Before you iron, tape the edges so the weight won't pull the rest of the letter off while you go.
Recovering A Swing Cushion
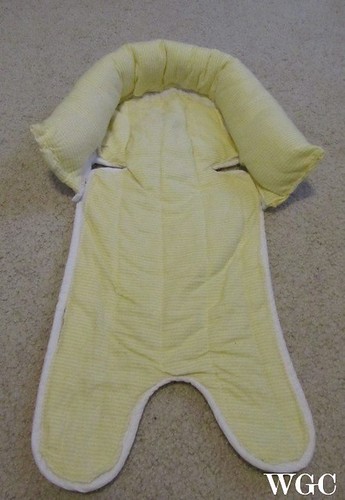
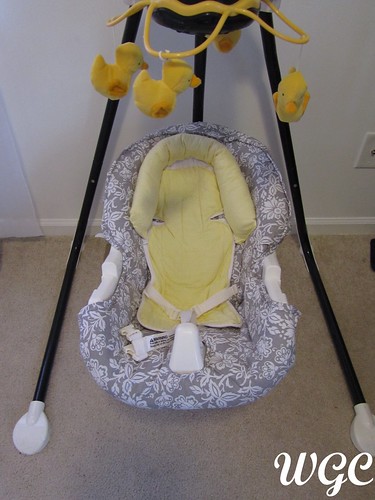
 I was VERY VERY nervous about doing this. First of all this is the swing my sister-in-law let me borrow. Second I consider myself very much a novice at sewing and I didn't know if I could pull it off. I got inspiration here. She gives GREAT instruction. This is how I did mine. As I started to deconstruct the swing I chickened out a few times before I started cutting. I did not take pictures because of this nervousness so I will have to try to illustrate what it was like.
 - I first tried picking the seams but it was too hard so I just cut it as close the the edge as I could. The edge had piping that had a small rope inside that filled it. There was batting inside of the cushion that was in two pieces behind A/C and B.
- I measured the pipping and made my own out of the gray fabric I used. I cut it and pressed it in half and then each side in half again which mimicked the old piping. I started from the inside and worked my way our. I used the old fabric as a pattern. I cut the new fabric SLIGHTLY larger than the old fabric. I did not include seam allowance because this will be sewn right along the edge of the cushion with the piping. When I did leave extra to fold over the edge it distorted the shape.
- I started with the hole in the middle of the B cushion. I traced the hole and cut an X through the middle. I then pinned and sewed the edge. I cut off the excess. I cut holes for the other three cut outs and sewed around the edge of those.

- I sewed the top of B fabric to the B cushion. I sewed the bottom of A fabric to the A cushion. Then I sewed the stitching in the middle. I could still see on the back where it went so I used that as a guide.
- I then sewed A to C with piping. I put the inner rope and pinned it before sewing.
- Then I sewed A to B. I pinned and sewed around the edge with the rope inside the piping around the edge working on about a foot at a time.