Life is crazy at our house! As a part of getting ready for the wedding and Christmas, we decided to tile our kitchen floor. The husband laid the underflooring on Friday and then was too sore to tile on Saturday. So guess who got to do it? That's right, me.
It wasn't so hard, but it was very messy. It took a long time, and at the end I could hardly stand. The last box of tile was all broken so we couldn't even finish the room. We wrapped up our work at around 11:30 Saturday night, and then the three of us sat in the family room and ate cake!
It is now 1 week later, and we are still not done. Jasmine and I are about to grout because Ben has to work late.
The floor looks ok-- but some of my joints aren't straight. (The joints in the floor, not in my body.) Now I am looking at tiling everywhere I go to see if anyone else has wayward tiles like we do. Hopefully we will get finished tonight so we can move our major appliances out of the living room and dining room.


Wayward Tiling


Bridal Bouquet
When I was choosing my flowers I had an idea from a good friend's wedding that I was a bridesmaid in. I loved her bouquet. When I started looking at flowers I realized that bouquet really didn't transfer well to winter colors. From them I just looked at what was available and looked like it fit in the right season for my wedding. I didn't want stark white flowers and I definitely wanted red in there. I looked so many times at flowers (mainly at Michaels). I planned on having silk flowers so I can keep my bouquet and it's the same bouquet for my bridals and the wedding. I found some magnolias that I loved! They were off-white and not too big. A great filler flower that comes in so many colors is the hydrangea. We found some of those in the right shade of red and found a couple other kinds of flowers that would accent the others. If I had been thinking about it I would've taken pictures of the process of making the bouquet but of course I didn't even think about it.
So arranging my bouquet was no easy task. I rearranged everything a few times and took pictures to remind myself of what I liked. When it came time to actually make it we used heavy duty shears, floral tape and some creativity. It helped to have another pair of hands doing this. Thanks mom! We made sure only the pretty flowers made it to the bouquet. We weren't afraid of taking apart the flowers with the shears and occasionally a knife...that was not the safest! We built it from the center, starting with the best magnolia, and then fanned out, tapping the layers as we went. After all the flowers had been adjusted, taped, and readjusted, we cut the stems to the same length and then I pinned ribbon around the stems. I glued VERY carefully a small circle of cardstock to the bottom of the bouquet then cover it with ribbon to give the bottom a clean, flat surface. I found this pearl bouquet wrap thing at Michaels and slid that on over the ribbon for the last finishing touch and voila! There's my bouquet!
So arranging my bouquet was no easy task. I rearranged everything a few times and took pictures to remind myself of what I liked. When it came time to actually make it we used heavy duty shears, floral tape and some creativity. It helped to have another pair of hands doing this. Thanks mom! We made sure only the pretty flowers made it to the bouquet. We weren't afraid of taking apart the flowers with the shears and occasionally a knife...that was not the safest! We built it from the center, starting with the best magnolia, and then fanned out, tapping the layers as we went. After all the flowers had been adjusted, taped, and readjusted, we cut the stems to the same length and then I pinned ribbon around the stems. I glued VERY carefully a small circle of cardstock to the bottom of the bouquet then cover it with ribbon to give the bottom a clean, flat surface. I found this pearl bouquet wrap thing at Michaels and slid that on over the ribbon for the last finishing touch and voila! There's my bouquet!

Posted by
Jasmine
at
10:46 PM
2 comments
:
 Labels:
bouquet
,
fabric flowers
,
flowers
,
Holidays and Entertaining
,
Jasmine
,
wedding

Quick Homemade Christmas Gift Idea: toddler girl
I recently started to crochet. Well okay that's not the truth. I started 3 or 4 years ago but I always end up going back to knitting. This would be a great gift for a niece (or a few!) or friend you have on your list this year. It was very quick to make and very simple. This is the tutorial I used. The only problem I had was with the Magic Circle. She gives a tutorial example on her site but I like this one better
Here is the finished result:
Here is the finished result:
 |
| Not so thrilled to be in the picture :) |
What Christmas presents are you making this year?

Posted by
Brave Brooke
at
8:18 AM
3 comments
:
 Labels:
baby
,
Baby & Kids
,
baby girl tutorials
,
baby hair bows
,
Brave Brooke
,
diy christmas presents
,
hair bow tutorials
,
hair bows
,
tutorial

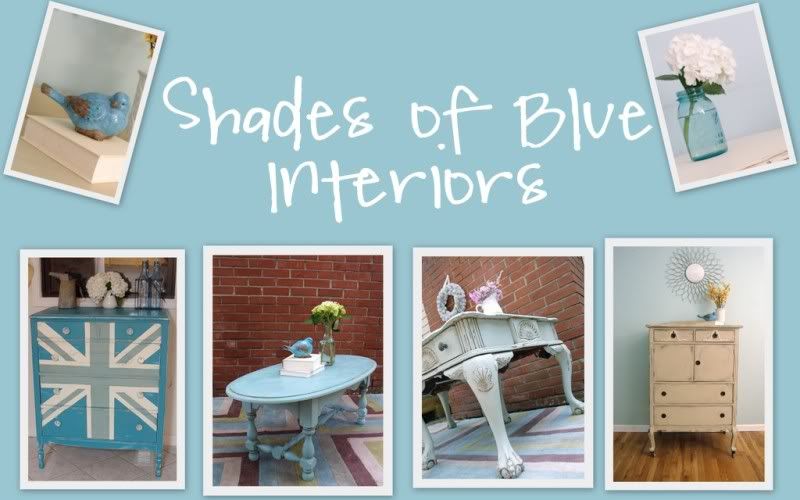
Guest Post: Shades of Blue Interiors
Rachel and I met our freshman year of college. She is a fun, spunky, and positive person. I've always been impressed by her art. Now she's doing furniture redos and they're amazing! I'm so glad to have her here! Take it away Rachel!
First of all, I am so thankful for this opportunity! Jaime and I became friends in college and years later, after we are married, moved and settled into our lives, she's a big "dot com" blogger and I'm just a start-up blogger! I feel so honored that she asked me to share a little about myself and my successes!
First of all, I am so thankful for this opportunity! Jaime and I became friends in college and years later, after we are married, moved and settled into our lives, she's a big "dot com" blogger and I'm just a start-up blogger! I feel so honored that she asked me to share a little about myself and my successes!
My
name is Rachel. I'm a midwest transplant (who loves it here!) and I am a
full-time mama to 3 sweet kids (2 boys, 1 girl). I have always been an
artist, doing painting, drawing, sculpture, crafting, you name it (art
related), I've done it.
About a year ago I
caught on to the Annie Sloan Chalk Paint craze and started re-doing my
own personal furniture. After a short time, I started selling my work on
Craigslist and fast forward to a month ago, when I started selling my
furniture in a retail store in the mall! I absolutely love working
around my schedule, using my artistic skills, and creating something
beautiful and loved from something ugly and rejected! Several months ago
I brainstormed what I would call my store if I ever opened one and came
up with Shades of Blue Interiors because I'm pretty much obsessed with
all shades of blue (especially anything teal or turquoise). So, it was
just a matter of making it (somewhat) official when I started my blog a
little over a month ago with the intention of connecting with other
talented people for inspiration, recognition, and so I could have a
place to direct my clients when they ask to see my work!
I
am going to share with you some of my favorite projects that I've done
and sold, then share some tips for those of you who are thinking about
starting to re-paint your own furniture or to make it possibly into
something more!
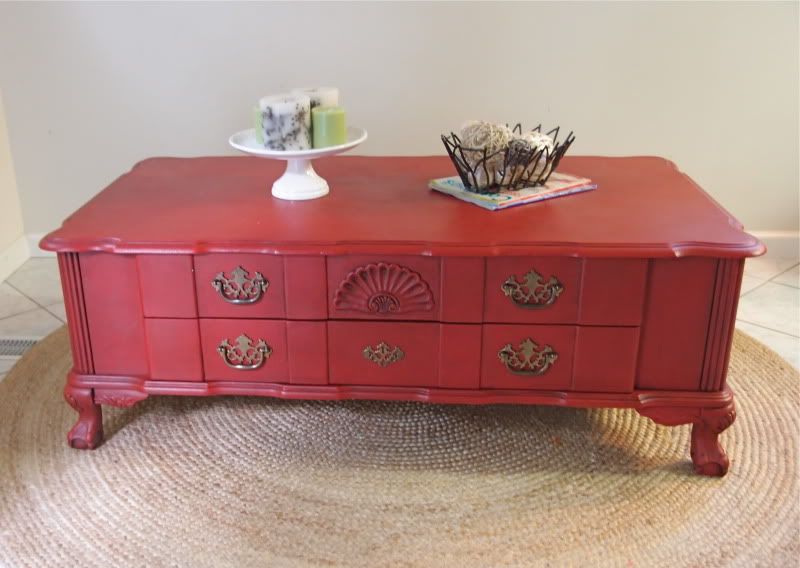
I had been painting mostly
white & blue pieces (because they sell the fastest) for months
before I finally took the plunge and painted this gorgeous coffee table
RED! The color is called Emperor's Silk and I used Annie Sloan Dark Wax
on top of it, to add depth. It is probably my favorite coffee table to
date. I loved the claw-foot legs, the two huge drawers, and of course
the color.
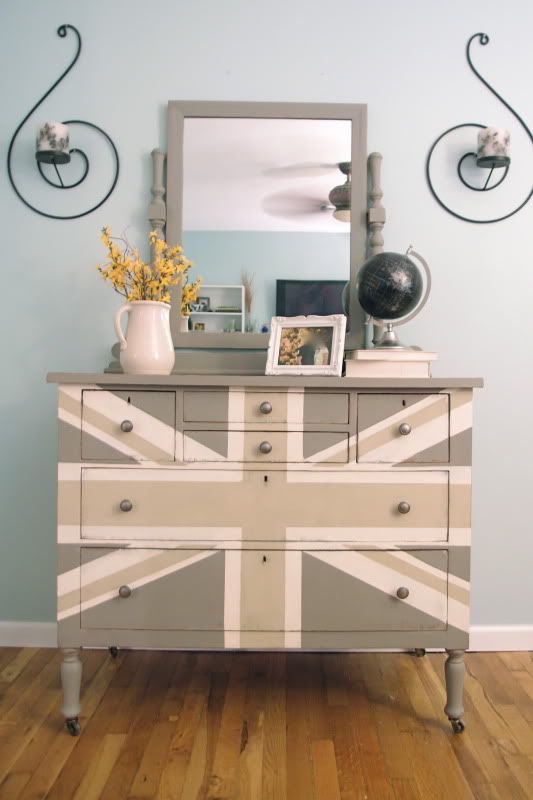
Another
one of my favorite pieces was the Gray Union Jack dresser I did. After
my very first entry into Miss Mustard Seed's Furniture Feature Friday,
it got picked! I love the simple lines, the solid wood, and the neutral
colors, while still making a statement with the British flag design. I
also love how original this color combination is. I seriously looked
everywhere, because I was nervous that the French Linen, Country Grey,
and Old White, wouldn't look good together. I ended up getting on the
old-school Paint app and drawing a dresser, and coloring it in with the
colors I wanted, to make sure it looked good, before I actually plunged
in.
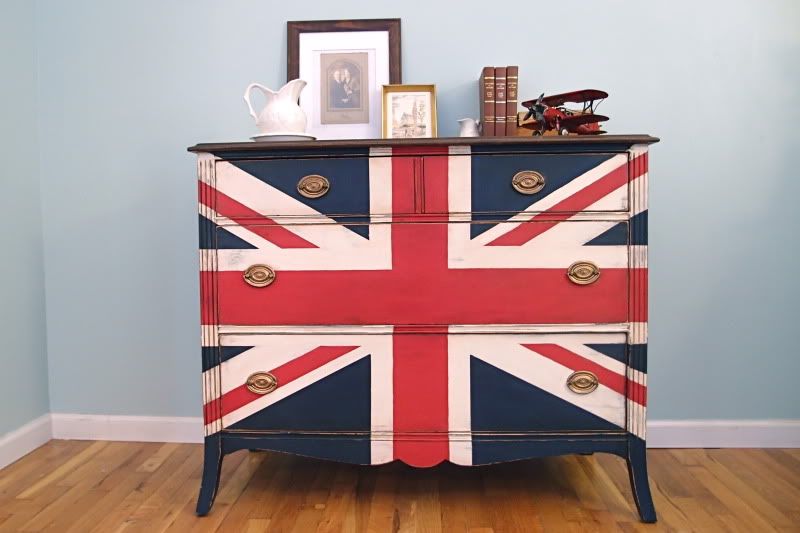
I
have a thing for Union Jack dressers actually. Another favorite is the
traditional Union Jack dresser I did. It just has a rich, regal look
about it, I can't help but love it! This was the 3rd time I did the same
design (different colors each time) and I often get asked how I do it. I
use a trace-projector! I have a mini one that I put over a picture of
the British flag and move it around till the size and placement is just
right and centered on the dresser-front. Then I use chalk to draw on the
lines, then tape over the chalk lines (with frog-tape). I can't even
believe people will measure it out and go through all the painstaking
math to get it right! I hate math! The mini projectors are less than $50
and they can be used for all kinds of projects.
The
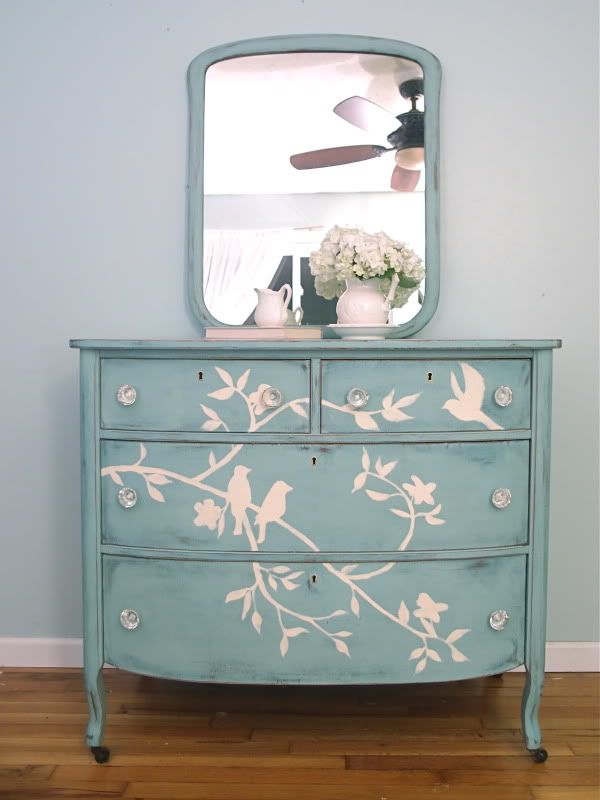
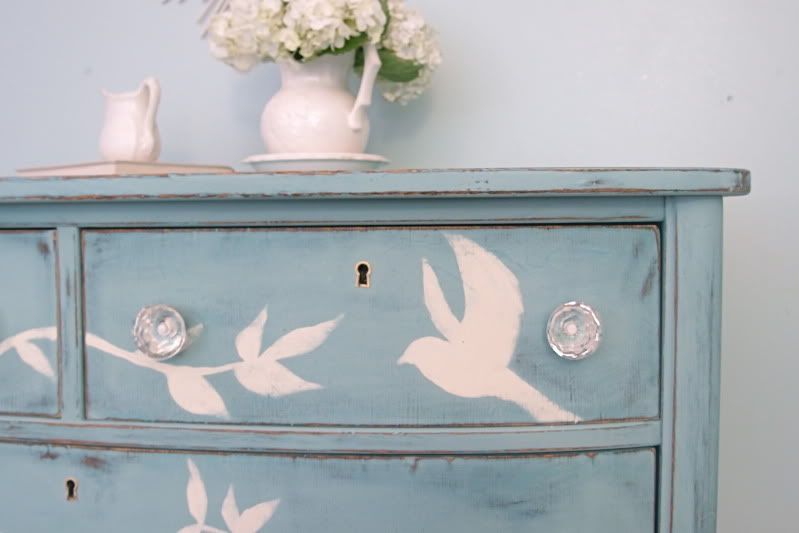
last favorite that I'm going to share is the Blue Bird Dresser I did a
couple weeks ago. It was by far the most fun I've had painting
furniture. I wish I could have kept this one! I saw the same bird and
branch design online and after painting the dresser, just sketched it on
with some chalk. Because it was free-hand, I didn't have to worry about
it being perfect, which is part of what made it so much fun. It was
fast too! I think people are too intimidated by free-hand sketching on
furniture, so they rely on stencils. But free-hand allows you to make it
your own, unique, one-of-a-kind, which is also what will make you stand
out as an artist, and what, coincidently, people pay the most money
for!
Ok,
now on to some tips. If you are a beginner and are debating whether to
fork out around $40 for a quart of paint, let me offer you my advice.
First, if looking at it for a value standpoint, Chalk Paint is the best
value IF you have several pieces of furniture you want to paint, using
the same color (ie: 1 quart could easily paint 5-7 small pieces, each
with 2 coats), AND/OR you like the distressed, textured, or layered
look.
Chalk Paint is an artistic paint, but
you don't have to be an artist to appreciate it's potential! For
example, when you distress it, the paint comes off in a fine chalky
powder... no chips, ever! This makes the piece look authentic. I always
try to imagine where the furniture was, how it was used, and where it
would naturally show wear as I'm sanding off corners and edges.
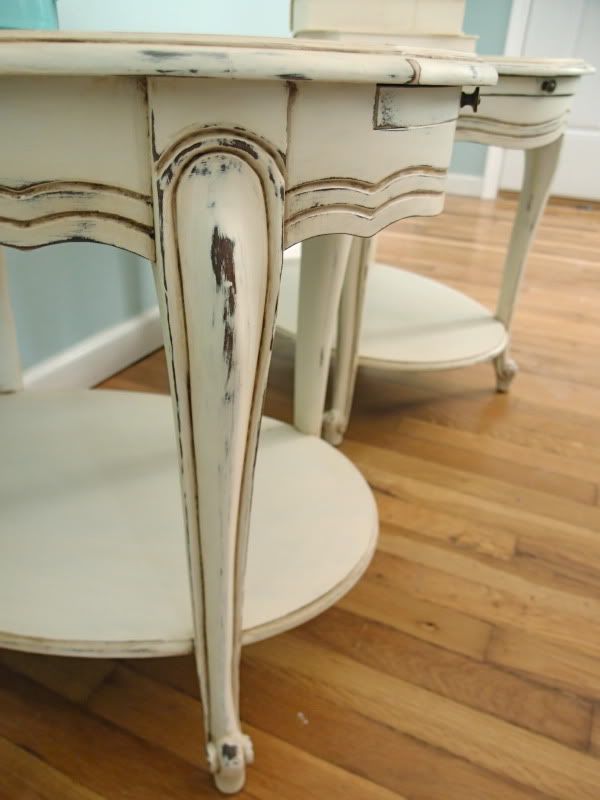
You can also layer colors (like a lighter color over a darker color) and lightly distress to reveal the color dimension. [View full project here]
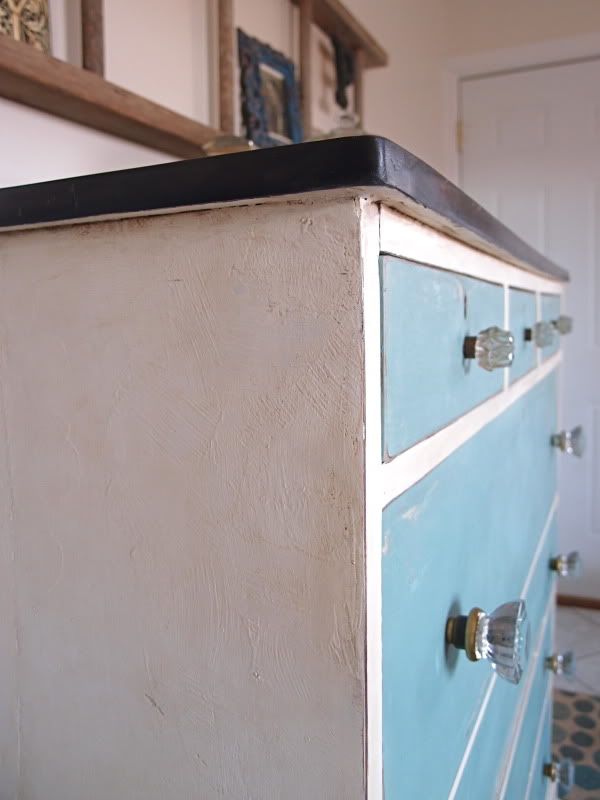
Another
technique is to paint unevenly and in all different directions, to add
texture, then use dark wax to highlight the texture. This look reminds
me of old french plaster walls. It also is more visually interesting to
look at. [View Full Project Here]
If
you are planning on possibly selling the furniture you paint, I'd say
it is definitely worth the investment, because you save time, more than
anything, and time is money. No sanding or stripping is required
beforehand or afterward and you are left with a completely smooth
painted piece, ready for whatever kind of protective top coat you want
(if any)!
So, for you beginners, I hope I have
given some useful information to get you inspired to paint that old
dresser you have or that dated night stand. Don't be afraid! Just do
it!
____________________________________________________________________________
Thank you Rachel! Please check out Shades of Blue Interiors for tons of inspiration and tips!
____________________________________________________________________________
Thank you Rachel! Please check out Shades of Blue Interiors for tons of inspiration and tips!

Posted by
Just Jaime
at
6:30 AM
No comments
:
 Labels:
art
,
artwork
,
furniture
,
guest post
,
painting
,
redo
,
tutorial

Making your Christmas decorations "evergreen"
I posted this last year after Christmas, but it makes much more sense to talk about making your decorations last when you're putting them up!
I may sound like Scrooge here, but one part of Christmas that I don't particularly care for is decorating. I like having Christmas decor up, and trimming the tree together is fun, but hauling box after box of decor out and moving around everything that's already in our home to make room is a lot of effort to me—especially when I know I'm going to have to turn around and pack everything back up in a month or less (because heaven forbid we enjoy our Christmas decorations after the presents are unwrapped!).
So when I saw an article in the newspaper about getting the most out of your holiday decorations—how to make them more useful year-round and how to save money, too—I fell in love. Here are a few awesome things I learned:
And speaking of cheap:
In the winter, pine boughs, pine cones, and white-bark tree branches like birch and aspen, look timeless and chic throughout the season. Nothing says spring like flowers. Fall leaves, acorns and the like are really the hallmark of the season. And all these can go great with the first suggestion ;) .
If you don't have these things around, you can often find them for cheap at craft stores. Jaime found a bag of red and yellow fall leaves at the dollar store. While it doesn't sound as cool as actual items from nature, one plus to fakes: you don't have to go hunting for fresh ones every year (and they don't turn brown and crunchy!).
You can also incorporate this principal in other ways. One person in the article said she used a red cardinal theme in her Christmas decorations. The birds last through at least Valentine's day without looking like she forgot to take down her Christmas stuff!
If the plates and holders are neutrals (including neutral colors, white, clear, or metal), you don't even have to change them!
Possibly best of all, candles are small and easy to store. Three small boxes of candles (for the three seasons of the year we're not in right now) take up probably less room than my current Christmas decorations.
Red might be a bit of a surprise, but a quick search of Pinterest proves red plates are festive all year:
Now, I'm not getting rid of any Christmas decorations yet. But for 2012, I'm going to look for some of these things and think about how I can incorporate them into my home—and maybe I'll stop resenting decorating quite so much and start actually doing it a little more!
How do you make your decorations last?
I may sound like Scrooge here, but one part of Christmas that I don't particularly care for is decorating. I like having Christmas decor up, and trimming the tree together is fun, but hauling box after box of decor out and moving around everything that's already in our home to make room is a lot of effort to me—especially when I know I'm going to have to turn around and pack everything back up in a month or less (because heaven forbid we enjoy our Christmas decorations after the presents are unwrapped!).
So when I saw an article in the newspaper about getting the most out of your holiday decorations—how to make them more useful year-round and how to save money, too—I fell in love. Here are a few awesome things I learned:
- For quick changes, get large clear vases.
And speaking of cheap:
- Sometimes the best decor is free—just waiting for you to go outside and pick it up.
In the winter, pine boughs, pine cones, and white-bark tree branches like birch and aspen, look timeless and chic throughout the season. Nothing says spring like flowers. Fall leaves, acorns and the like are really the hallmark of the season. And all these can go great with the first suggestion ;) .
If you don't have these things around, you can often find them for cheap at craft stores. Jaime found a bag of red and yellow fall leaves at the dollar store. While it doesn't sound as cool as actual items from nature, one plus to fakes: you don't have to go hunting for fresh ones every year (and they don't turn brown and crunchy!).
You can also incorporate this principal in other ways. One person in the article said she used a red cardinal theme in her Christmas decorations. The birds last through at least Valentine's day without looking like she forgot to take down her Christmas stuff!
- Candles are quick change artists.
If the plates and holders are neutrals (including neutral colors, white, clear, or metal), you don't even have to change them!
Possibly best of all, candles are small and easy to store. Three small boxes of candles (for the three seasons of the year we're not in right now) take up probably less room than my current Christmas decorations.
 |
| Source: vintagerosegarden.tumblr.com via Grace on Pinterest |
 |
| Source: flickr.com via Abegaile on Pinterest |
- Love to entertain? The most versatile colors for plates are clear (one person loved to use scrapbook paper beneath them for a really custom look), white, and red.
Red might be a bit of a surprise, but a quick search of Pinterest proves red plates are festive all year:
 |
| Source: cacareco.net via Maria on Pinterest |
 |
| Source: s151.photobucket.com via Kristin on Pinterest |
How do you make your decorations last?

Posted by
Jordan McCollum
at
4:00 AM
2 comments
:
 Labels:
holiday decor
,
home decor
,
Jordan
,
tutorial

Turkey Bow
Hey guys! I'm over at Mashed Potatoes and Crafts sharing my turkey bow from last year! Go check it out and give Rachelle some love!


Gift Idea: Watercolor Artwork by My Sweet Rose
This weekend my husband and celebrated six years of marriage! And six years ago we moved into an LDS ward (congregation) where I met the lovely Laura. She is a woman of many talents and has opened an Etsy shop, My Sweet Rose, to offer those talents to you!
I asked her a few questions about her work and here's what she had to say:
When did you start painting? I started painting when I was in high school. Back then, I used acrylics and loved painting huge flowers like Georgia O’Keeffe. Then when I got to college I took a drawing class and a watercolor class and I changed mediums. From then on I’ve mostly worked with watercolors, although I occasionally do some larger works in acrylic and oil paint.
How do you find time to paint with two little ones? Painting can be hard some days with my two busy sons (ages 3 and 1 yrs) but I usually get little breaks here and there throughout the day. They may be brief 10 minute increments but I know there’s always bedtime to really focus in and get things done. Most of my painting happens between 8 pm and 10 pm. I also try to get the housework done during the day, with the help of my boys, so I don’t have to worry about finishing it up after they go to bed. And if worse comes to worse I find a baby sitter and get to work!
Here she is:
Yes, she's beautiful in addition to being an artist, photographer and awesome momma.
I asked her a few questions about her work and here's what she had to say:
When did you start painting? I started painting when I was in high school. Back then, I used acrylics and loved painting huge flowers like Georgia O’Keeffe. Then when I got to college I took a drawing class and a watercolor class and I changed mediums. From then on I’ve mostly worked with watercolors, although I occasionally do some larger works in acrylic and oil paint.
Where do you get your inspiration? My
inspiration comes from nature. I’m always attracted to the simple beauty found
there, from feathers, to fruit, to my potted plants around my house. I also
love to peruse Pinterest and draw inspiration from all the beautiful things
there.
How do you find time to paint with two little ones? Painting can be hard some days with my two busy sons (ages 3 and 1 yrs) but I usually get little breaks here and there throughout the day. They may be brief 10 minute increments but I know there’s always bedtime to really focus in and get things done. Most of my painting happens between 8 pm and 10 pm. I also try to get the housework done during the day, with the help of my boys, so I don’t have to worry about finishing it up after they go to bed. And if worse comes to worse I find a baby sitter and get to work!

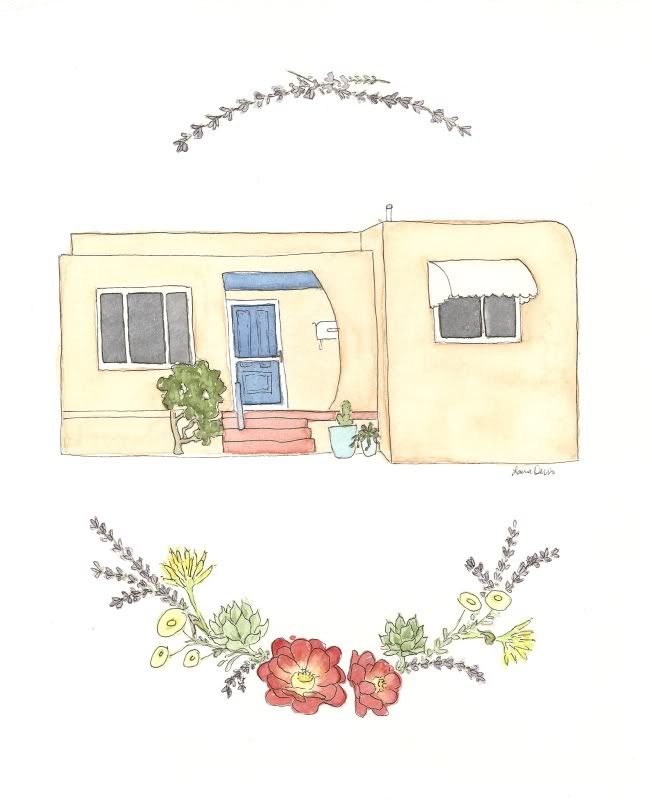
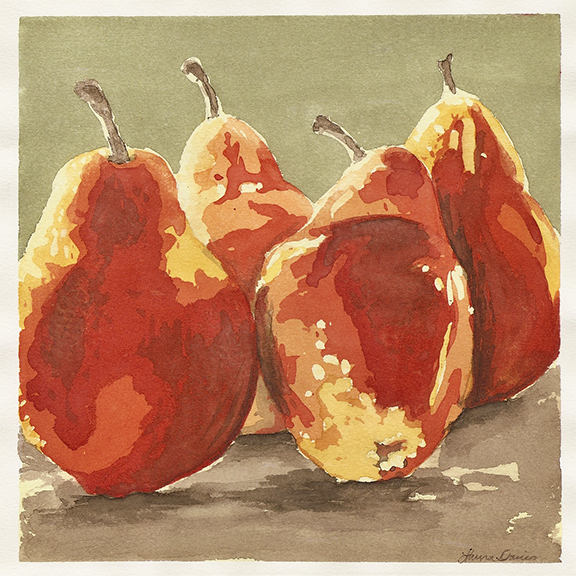
So talented right? She also does custom work like these home portraits! Which would be perfect for someone like Brooke, who just bought a new home!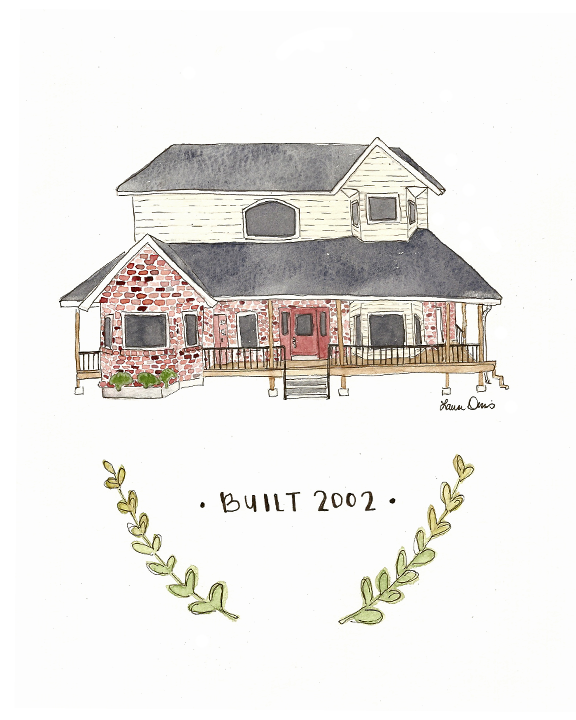

Please visit Laura's shop to see all her beautiful work: My Sweet Rose!

Posted by
Just Jaime
at
6:30 AM
1 comment
:
 Labels:
art
,
artwork
,
Etsy Shop
,
gift ideas
,
gifts
,
Holidays and Entertaining
,
Just Jaime
,
painting
,
presents
,
tutorial

13 Fun Ways for Kids to Learn and Show Gratitude
Can you believe it? Thanksgiving's already here! November 22nd is the earliest Thanksgiving ever comes and it certainly feels like it!
I'm definitely looking for ways to help my kids to learn and show gratitude this week, and here are 13 fun ideas I found!
1. Topical gratitude challenge
You can use these categories to go around the Thanksgiving table, too.
2. Gratitude garland
Great for decorating for Thanksgiving, too!
3. Family gratitude journal
3. Family gratitude journal
Also a fun family activity.
4. Gratitude poster
4. Gratitude poster
Beautiful, creative and grateful.
5. Gratitude tree
5. Gratitude tree
Another fun way to decorate for Thanksgiving and fall.
6. Gratitude cards
Rainbow colored cards that include prompts, ideas and tasks.
7. Gratitude banner
So many ways to use this one! Here, they've got pockets for each family member and other family members can leave notes telling why they're grateful for them.
8. Gratitude rolls
Fast, easy and fun to share at Thanksgiving dinner!
9. Gratitude at the Thanksgiving table
Prompts and papers for Thanksgiving dinner gratitude. Fun alternative to simply making rounds of the table.
10. Gratitude pinboard (literally!)
A real-life pin board to fill with things you're grateful for.
11. Gratitude alphabet
What you're thankful for, from A to Z
12. Donate food (or clothes/time/service) to those in need
I like to help my children weed out toys they don't play with anymore and donate them at Christmas time, and we'll definitely be donating food this year. (Side note: check with your food bank first. Donating food is a great gesture to involve your children, but sometimes food banks get a better deal than we do, so giving them the same amount of money can go a lot further, and you can find other ways to involve your children.)
13. Collect thank you notes and treats for our troops
You can make care packages for anyone who might need a little extra love during this season: elderly neighbors, far-off family members, our troops.
How do you help your kids remember to be grateful?

Posted by
Jordan McCollum
at
7:00 AM
1 comment
:
 Labels:
Baby & Kids
,
gratitude
,
Holidays and Entertaining
,
Jordan
,
kids
,
kids activities
,
Thanksgiving

Stars and Stripes update!
Reader Jen Day repinned a 4th of July craft I did earlier this year and gave a great suggestion to update it for Christmas.
So I gave it a try. (Maybe I did it during a little break at work and maybe I only had a few supplies there. SHHH, don't tell!)
I used some scraps of laminated construction paper, but you could also use scrapbook paper or paper decorated by the children.
As you can see, they are super simple to make. Check for the directions here.

Fireplace TV Cutout Turned Storage
Our house was only built 6 years ago and yet the builder put in a cut out above the fireplace that would be much more applicable to 15 years ago when tube TVs were all the rage. Needless to say our TV didn't come close to fitting in that space. Our realtor told us about how many people decorate the space or seal it off. My cute friend Rachel filled her space with salvaged wood.
I wanted to be able to use the space behind for storage so I explained what I wanted to my husband and he went to work. He had quite the busy schedule so it took him longer than he wanted but I love it and it works great!
I wanted to be able to use the space behind for storage so I explained what I wanted to my husband and he went to work. He had quite the busy schedule so it took him longer than he wanted but I love it and it works great!
I know you can't really tell the scale in the picture but this thing is huge. The hole was more than 4' tall and wide so it was a lot to cover. To make this we:
1. Measured the area and found out how many boards we would need. We used click together panel boards that were bare wood. (I don't think those are the technical terms...). We also got a piece of trim for the top and bottom, 2x4s for the cross bars, and hinges. Because of poor planning and mismeasurement this step took us 3 trips to the store...
2. My husband cut down each board to equal lengths, glued them together in between the interlocking pieces, and let them dry. He screwed the cross bars on to keep it all together.
3. He then sanded down any extra glue and stained the piece. The back has one coat of stain and the front has two.
4. He used four hinges and screwed them into studs on the wall. This was a hard steps because we had to stand on ladders and it was too heavy for me to hold. We carefully measured, took the hinges apart, and screwed one side to the wall and the other to the piece. He then held it in place as I put the pins back into the hinges.

Posted by
Brave Brooke
at
3:36 PM
3 comments
:
 Labels:
Brave Brooke
,
fireplace cutout
,
home decor
,
home renovation
,
tutorial

Guest Posts Wanted!
Hello WGC readers! Have you ever wanted to guest post here? Well we're looking for some posts to go up right around the holidays. The types of posts we'd like to feature are new tutorials. We want to learn how to make something so we need pictures of the process. We're looking for recipes, crafts, home decor projects, sewing projects, etc! So please share what ya got!
Email us if you're interested with your idea at waywardgirlscrafts@gmail.com

Subscribe to:
Posts
(
Atom
)


