Hey everyone!
The Mrs. here from
"Like Mom And Apple Pie"
I was super excited and completely honored when the lovely and talented ladies of WGC asked me to do a guest post.
So here is a simple Onesie makeover craft that is sure to make your little snuggler absolutely scrumptious!
Darling Right?!
All you need is:
1 Onesie in any color/size you prefer.
A roll of tulle in the color of your choice
Coordinating lace or other trim
1 disappearing ink fabric pen
Step 1:
I start by figuring out the length of trim I need by measuring, where the waist would be, on the front of the Onesie from seam to seam and then double it.
Now Onesies are stretchy, and we need to keep that stretch to squeeze around those big baby bellies, so I add 4-6" to the length.
(remember in sewing, you can always cut away excess, but you won't be able to add more.)
Step 2.
Now we need to sew the tulle to the trim to make the little tutu.
I like the rolls of tulle because it is already the perfect size for this.
Start by lining up the edge of the tulle with the edge of the wrong side of the lace.
Place together, lace side down, under your presser foot.
Sew 1/8 of an inch in.
Gather the tulle in even folds on top of the lace as it guides through the presser foot, keeping the lace straight, to create a cute ruffle with the tulle.
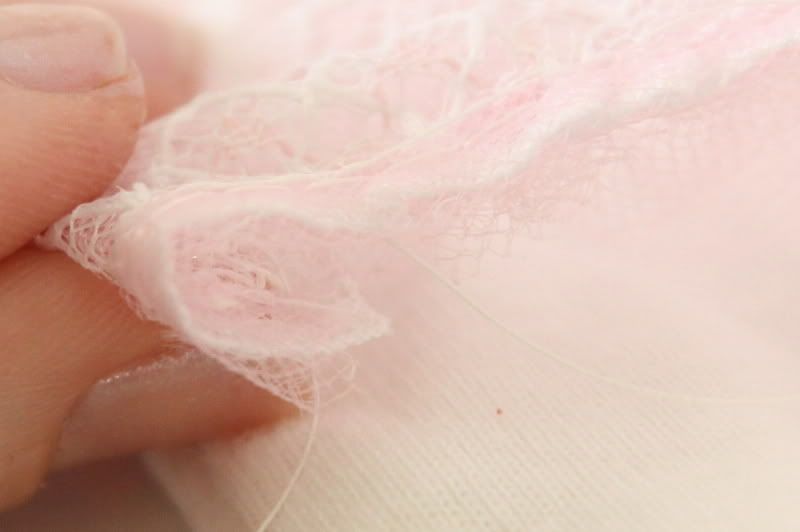
When you come to the end of the lace, cut the tulle from the roll and you should have a length that looks a little something like this:
If you aren't confident in your sewing skills to eye it this way,
Here is a tutorial on gathering by hand, or another sewing machine technique for ruffling.
I use this for fabrics, but find if you aren't careful it can rip the diamonds of the tulle, so I suggest you practice on a smaller piece first.
Step 3.
Now it's time to attach our tutu to our Onesie.
Tulle can be a little scratchy, so I like to attach it no lower than the little leg openings on the Onesie so it doesn't rub on that deliciously soft baby skin.
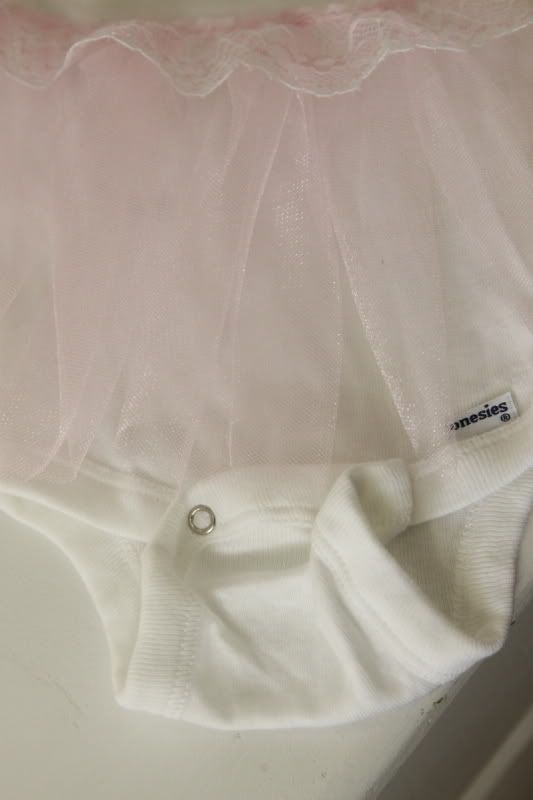
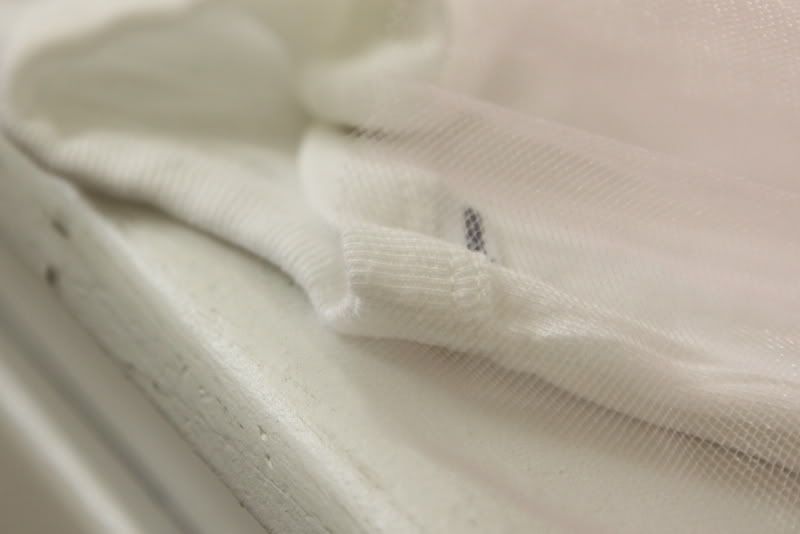
Once I have found the right placing, I measure the distance from the bottom seam of the sleeve (armpit) to the top of the trim, then I pin it at that spot.
(measurements will differ depending on the size of your Onesie and length of tulle...mine was at exactly 3" using a 0-3 month Gerber Onesie)
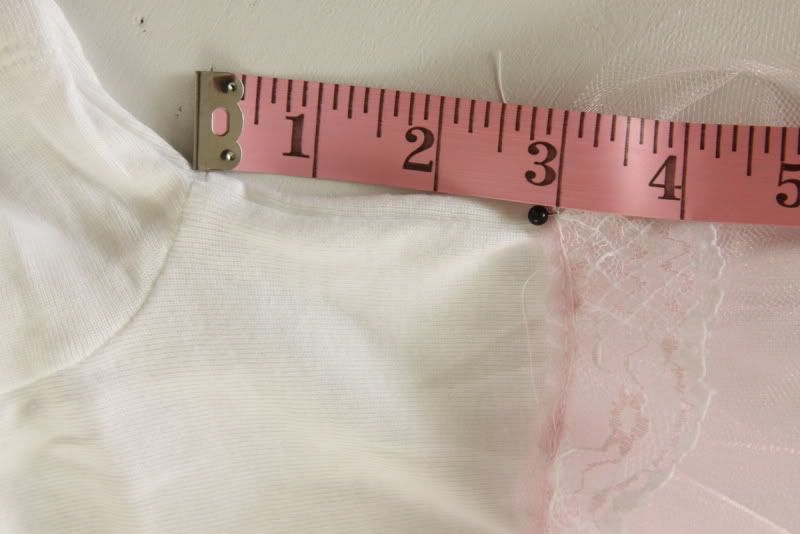 Now we can't just pin the whole thing, we have to make room for that baby belly.
Place a little mark with your disappearing fabric pen at 3" (or whatever your measurement was) on the opposite side of the Onesie.
Now stretch the fabric, and then pin your tutu to the spot you marked.
Now we can't just pin the whole thing, we have to make room for that baby belly.
Place a little mark with your disappearing fabric pen at 3" (or whatever your measurement was) on the opposite side of the Onesie.
Now stretch the fabric, and then pin your tutu to the spot you marked.
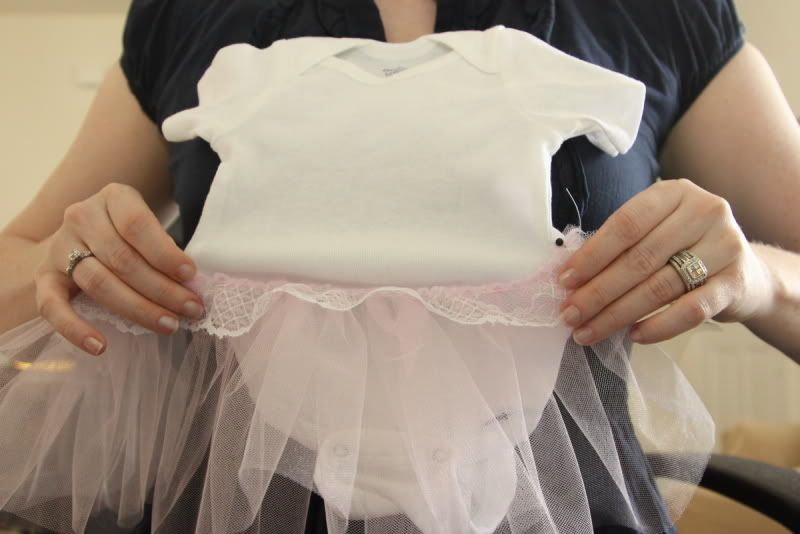
Make sure your tutu is straight and pin in the center on the front and the back.
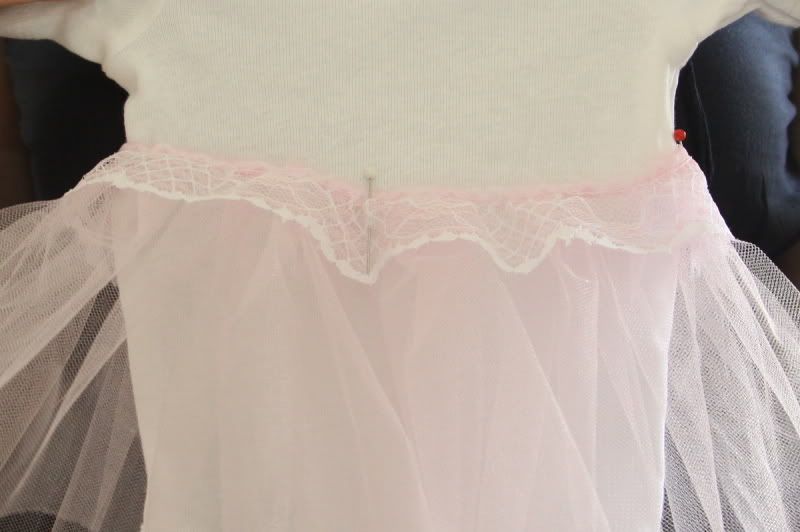 Now sew, making sure to stretch the Onesie as you move along.
If you think it sounds a bit tricky to just pull and stretch as you go, feel free to stretch the Onesie and pin the tutu to it every couple of inches, and then sew.
I'm just too impatient for proper pinning.
When you get to the end, fold over the raw edge like so and stitch on, making sure the beginning and end of the tutu line up.
Now sew, making sure to stretch the Onesie as you move along.
If you think it sounds a bit tricky to just pull and stretch as you go, feel free to stretch the Onesie and pin the tutu to it every couple of inches, and then sew.
I'm just too impatient for proper pinning.
When you get to the end, fold over the raw edge like so and stitch on, making sure the beginning and end of the tutu line up.
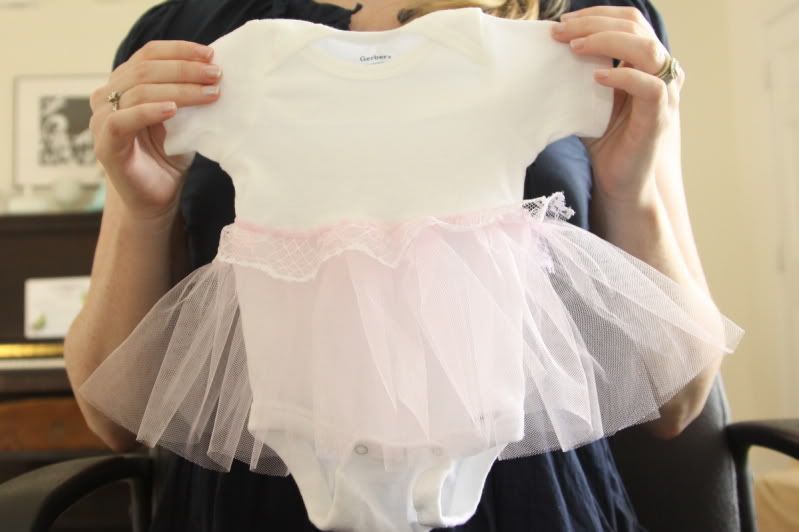
Now your blah Onesie has become adorable!
 You don't have to stop there though
... let's make plain old adorable into absolutely delicious!
Step 4:
This is my favorite part because there are soooo many things you can do to add to the fanciness.
I had some cute flower trim leftover from another one of these I made for my darling sister in law
(sadly not enough for another Onesie trim though).
You don't have to stop there though
... let's make plain old adorable into absolutely delicious!
Step 4:
This is my favorite part because there are soooo many things you can do to add to the fanciness.
I had some cute flower trim leftover from another one of these I made for my darling sister in law
(sadly not enough for another Onesie trim though).
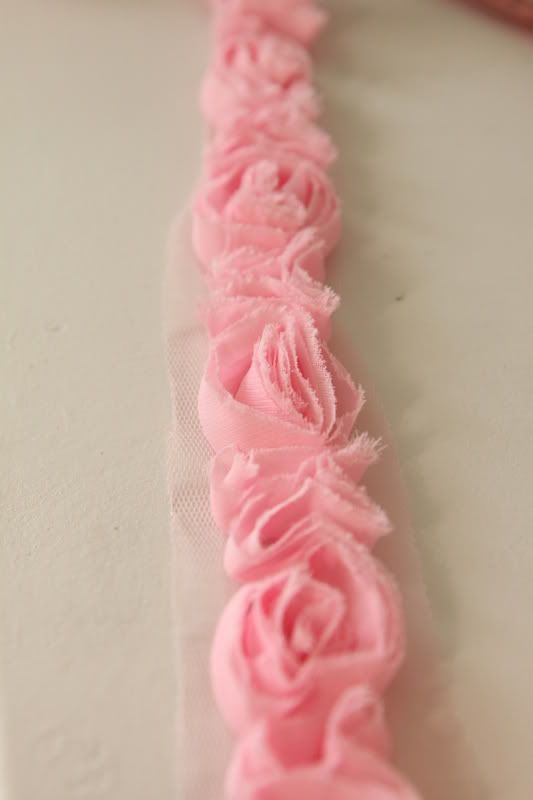
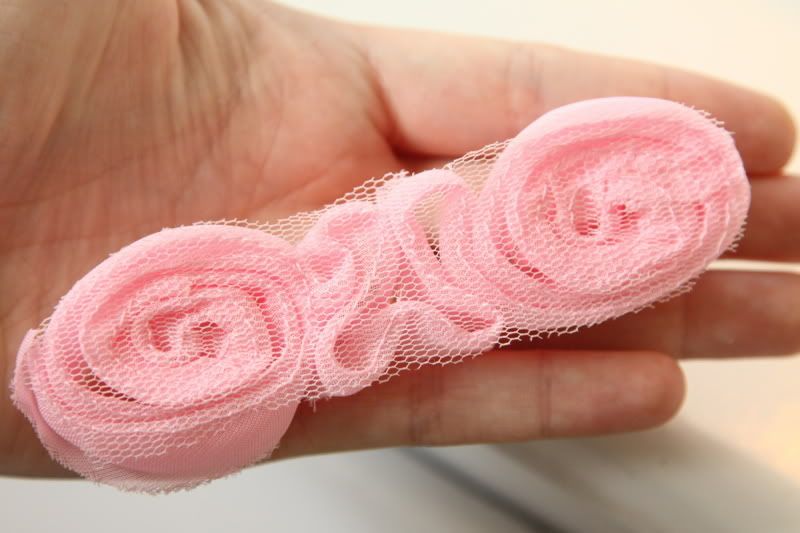
I cut out 2 complete rosettes from the trim
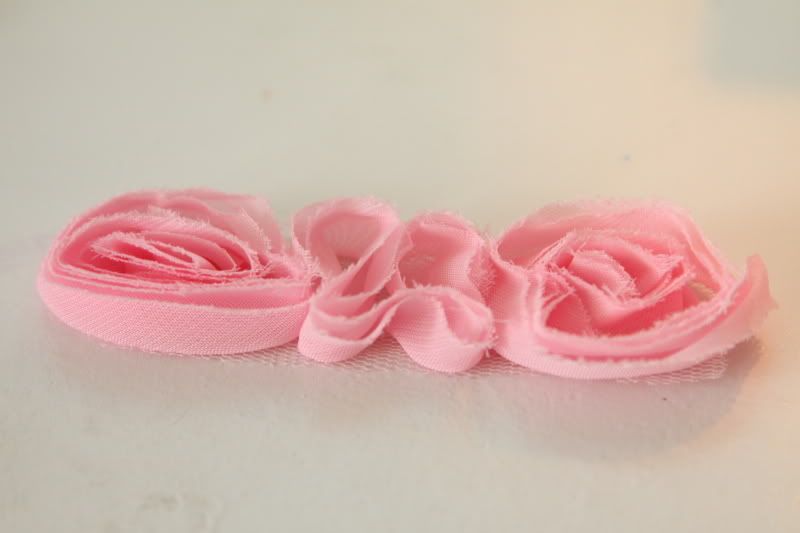 And snipped off the excess tulle it was attached to
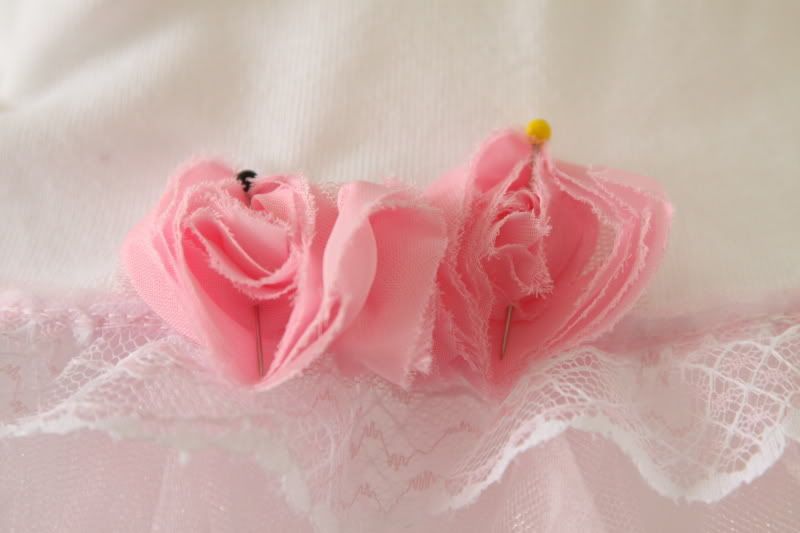
 Then I pinned the rosettes in the center of the front of the tutu along the top of the lace trim.
 Next I hand stitched the rosettes on, making sure the stitching was hidden inside the folds of the rosette.
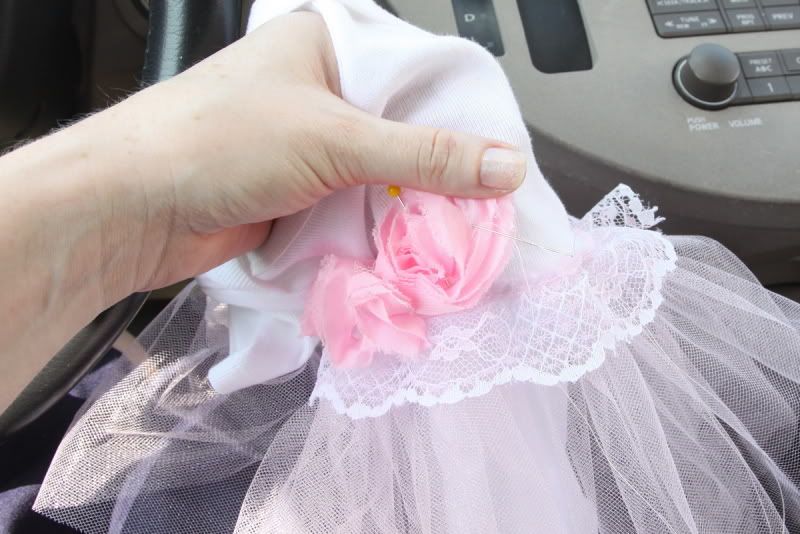 What?
You don't sew while sitting in the school carpool lane and photo document it?
Weird.
What?
You don't sew while sitting in the school carpool lane and photo document it?
Weird.
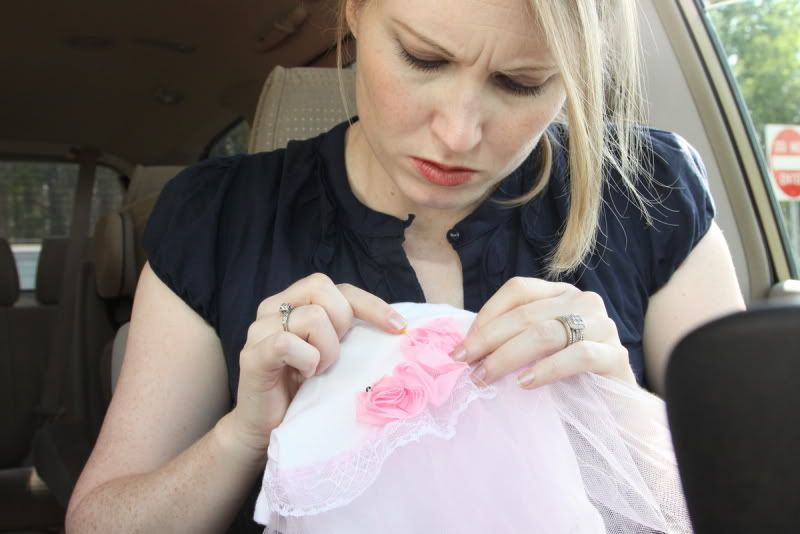 Finished...
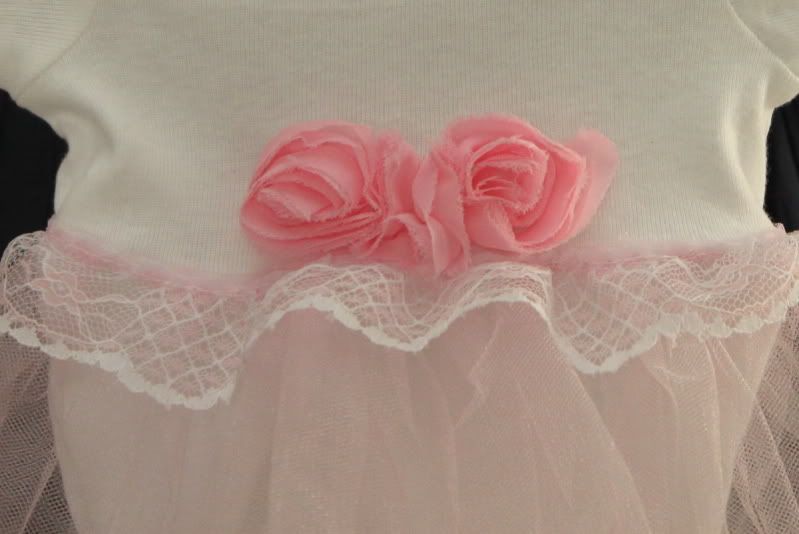 Adorable...but not quiet delicious just yet...
Step 5:
Let's take some of that lace trim and sew it to fancy up the collar.
For this measure out a length of lace, following along the bottom of the stitched folded collar of the Onesie, from under the overlapped shoulder piece of each side
Adorable...but not quiet delicious just yet...
Step 5:
Let's take some of that lace trim and sew it to fancy up the collar.
For this measure out a length of lace, following along the bottom of the stitched folded collar of the Onesie, from under the overlapped shoulder piece of each side
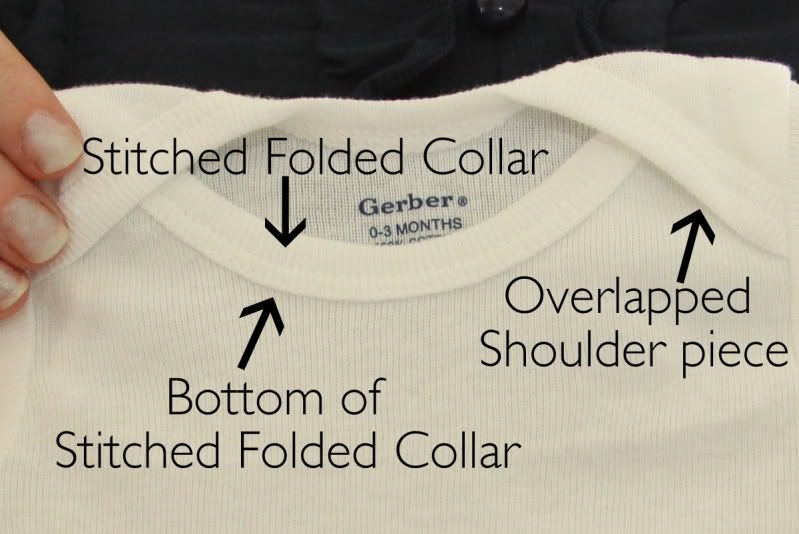
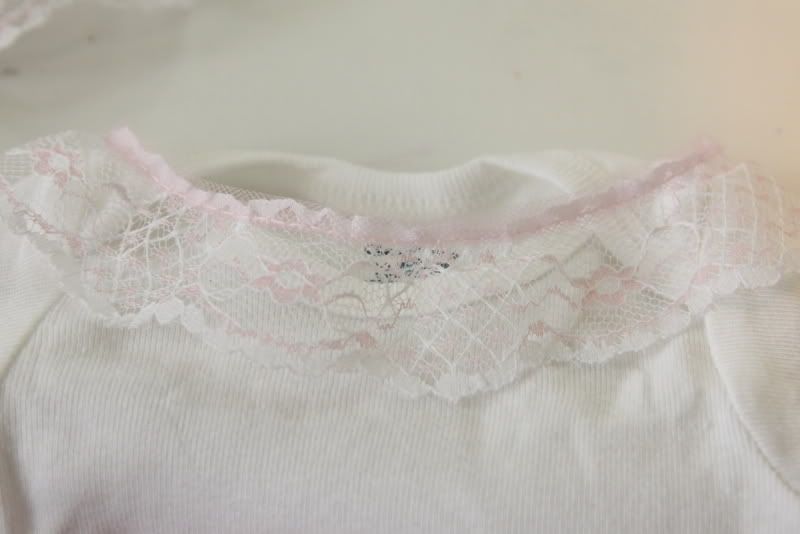
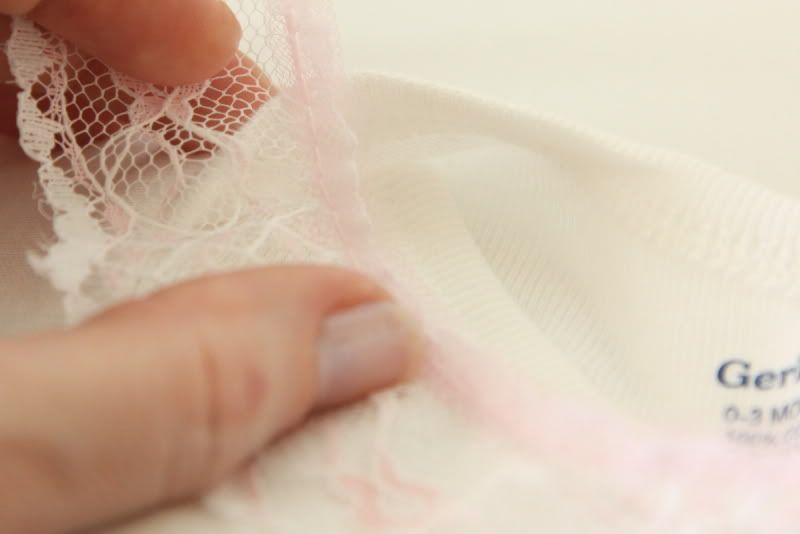 You don't want to sew over the overlapped shoulder pieces or else you won't be able to get it over baby's sweet smelling head, so make sure it's under.
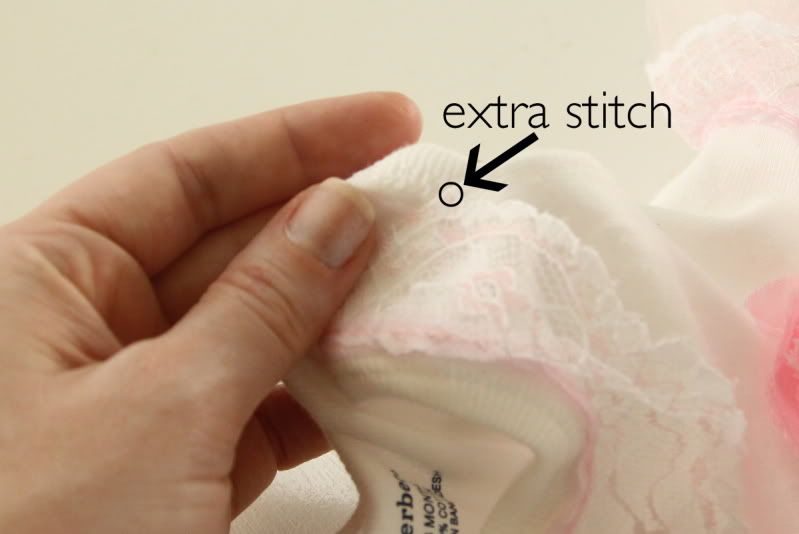
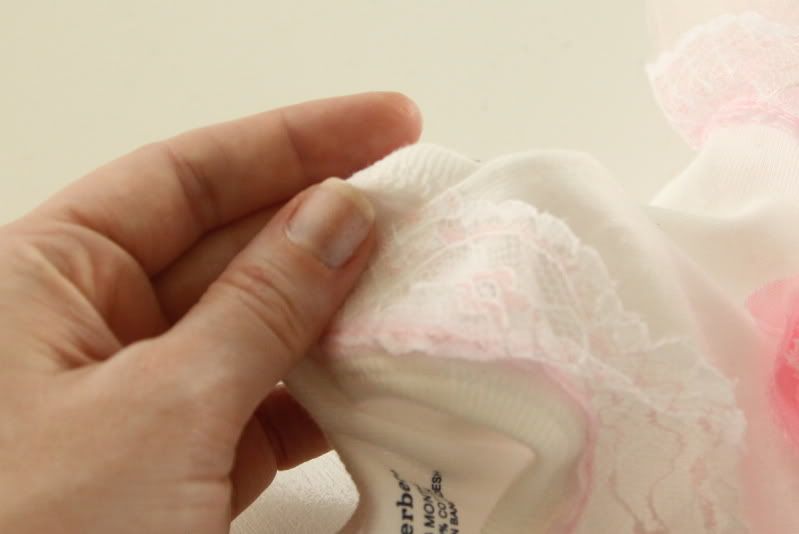 Now, hand stitch the lace on, following the bottom of the collar line of the Onesie
Add a little extra stitch to the bottom of the lace under the overlapped shoulder piece so it lays flat underneath.
Now, hand stitch the lace on, following the bottom of the collar line of the Onesie
Add a little extra stitch to the bottom of the lace under the overlapped shoulder piece so it lays flat underneath.
 And voila!
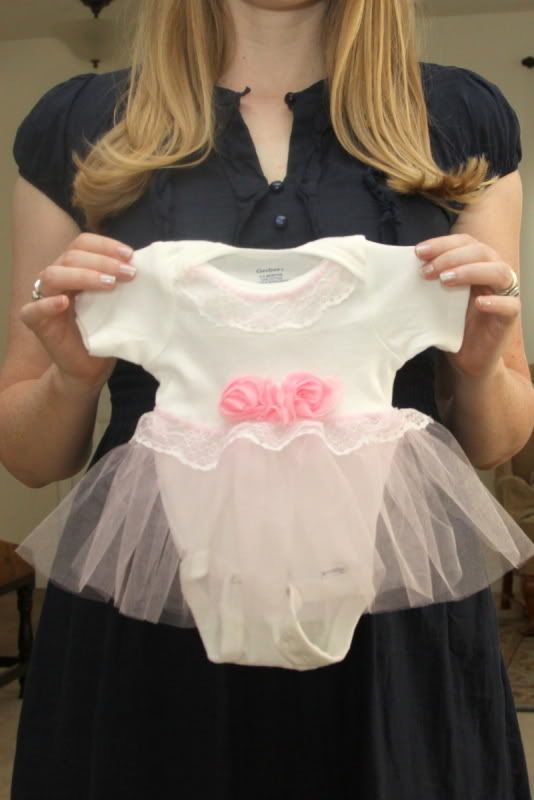
There are many other ideas you could do instead of the rosettes center, and lace collar, these I just happened to have around the house, but one item that any of even the least craftiest of lady's probably has around their house is Ribbons- You could tie one big bow for the middle, and two matching little ones on each of those overlapping shoulder pieces.
You could even bedazzle it with some hot glued gems.
Get creative, go crazy with it!
Now, I am a sucker for matching accessories,
And what would a fancy baby girl outfit be without a matching headpiece?
So I couldn't possibly leave this delicious Tutu Onesie in it's non-matching accessorized state.
It's just unacceptable.
So I cut out 3 of the Rosettes from that leftover trim, and snipped off the excess tulle from the back of each.
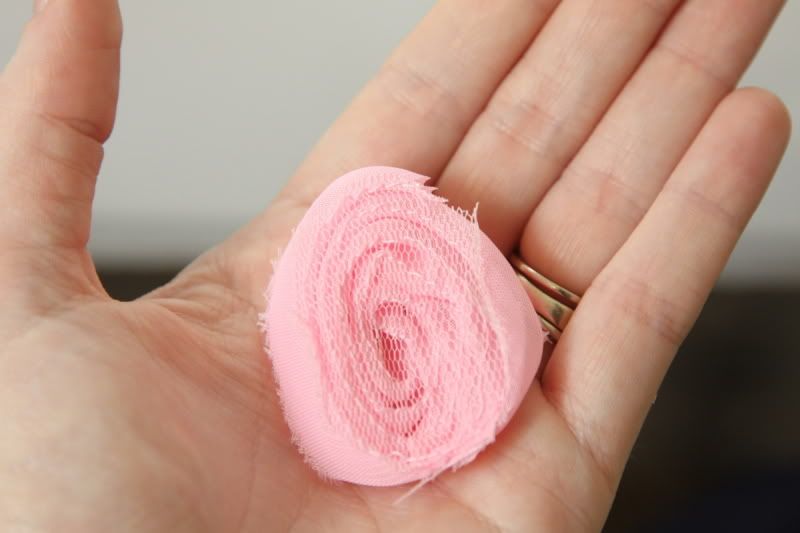 Then I scrounged through my ribbon box, finding the perfect pink frilly stretchy elastic one.
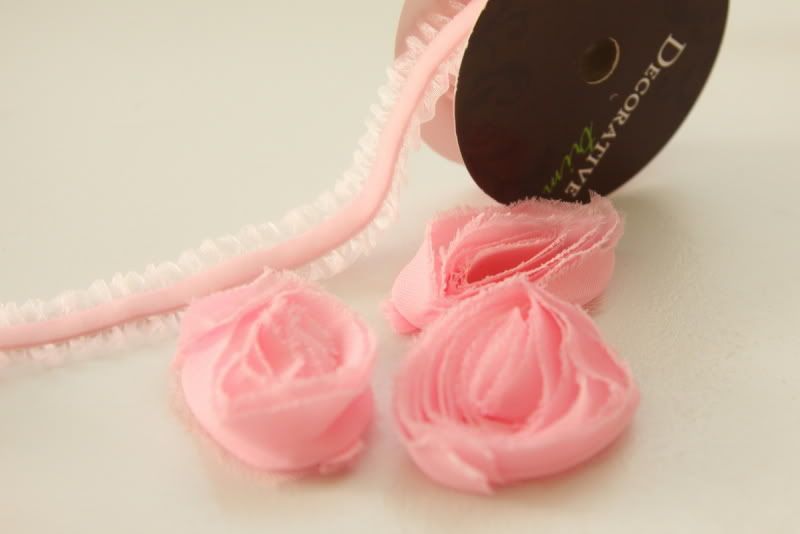 I cut the elastic ribbon 10" long (according to an elastic baby headband I just so happened to have handy because it is used at least once a day in my home as a slingshot), and stitched the ends together.
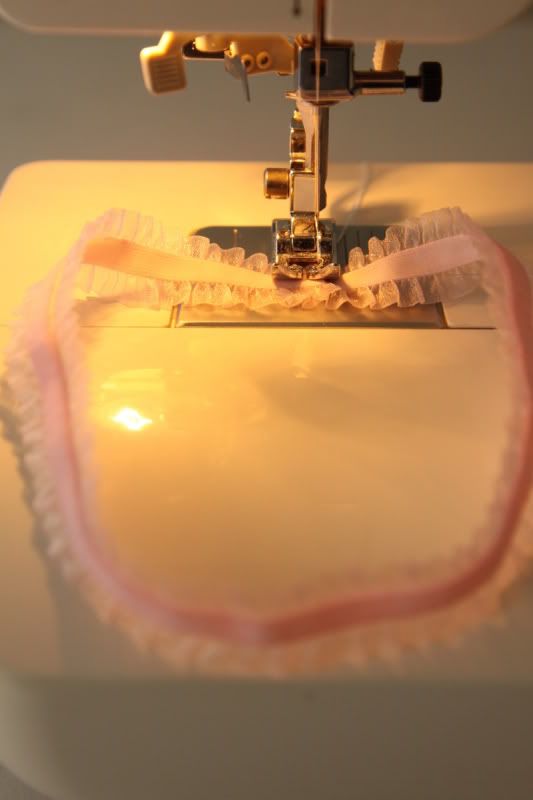
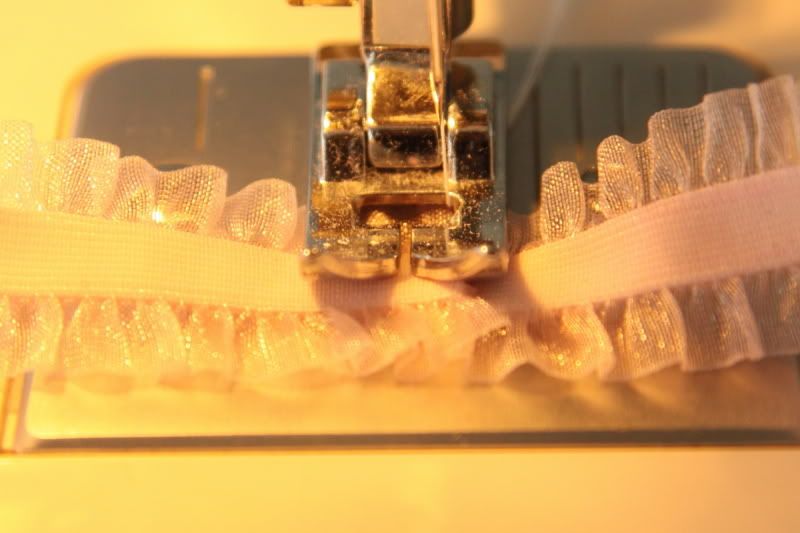 Then I sewed the rosettes by hand, onto the elastic, directly over the seam I just sewed.
Making a completely adorable headband to match our absolutely delicious Onesie Tutu.
Then I sewed the rosettes by hand, onto the elastic, directly over the seam I just sewed.
Making a completely adorable headband to match our absolutely delicious Onesie Tutu.
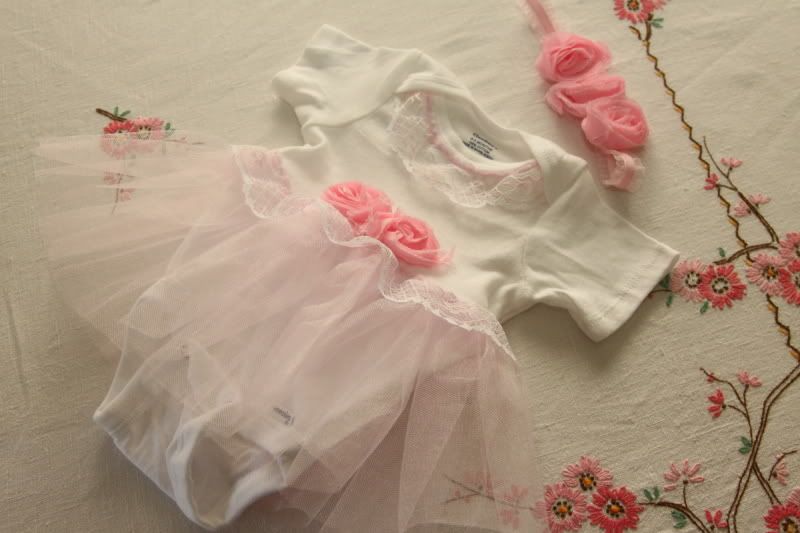
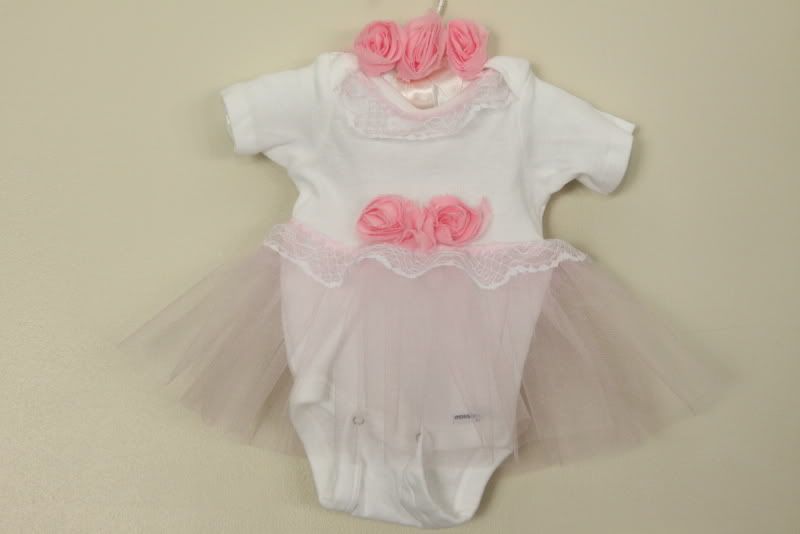
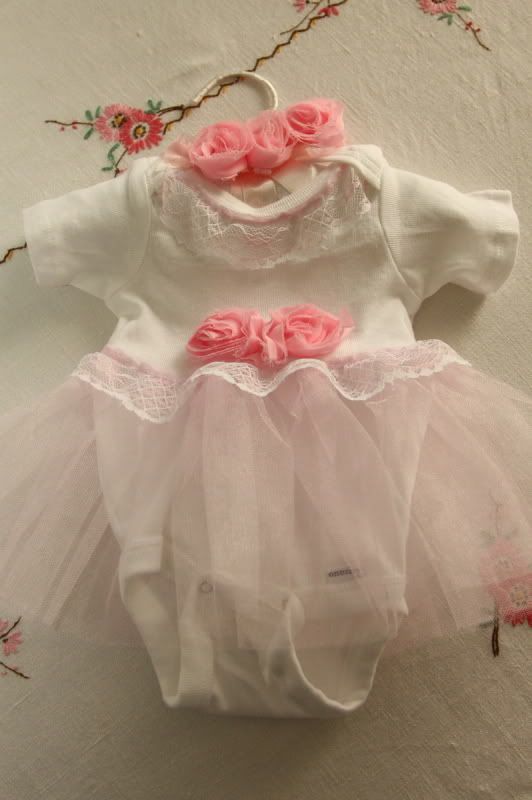
And for our final step?
Swoon.
(Model- Baby Julianna)
Happy Creating!!
Thanks so much, The Mrs. for posting today! She just so happens to be my sister-in-law and we get the fruits of her wonderful crafting skills over here too. Look at this PB in a similar outfit she made her last year.
We enjoyed having you today, The Mrs. We would love to have you back soon!