Moving Week: Day 2 Pinterest Ideas

Welcome to Moving day two! To see day one which talked about supplies for moving go here.


Today we're talking about some of the tips I used from Pinterest and the ones I wished I had.


I had seen a couple tricks for packing up dishes on Pinterest and I decided to combine them.

Here is the first pin that I tried. I have two sets of dishes to I used two buckets. This only partially worked. One of my buckets was a 5-gallon bucket and the other was a 3-gallon bucket. The problem was that both buckets tapered and I'm not sure if all buckets taper but both of the ones I had did. . I put a sturdy plastic bag (like one you get from a clothing store not the grocery store) inside and then placed the bags in but they still wedged in 6 inches above the bottom of the bucket. Knowing that though you could put something in the bottom. This makes the bucket very heavy so much make sure you mark that the bucket is heavy.

I also used this trick to pack my dishes inside the buckets.

This worked well and we didn't have any casualties.

Here is one tip I wished I had used:


and here is one great blog post about moving.


Have you found any great pins about moving?

Join us tomorrow for general packing and moving tips! 

Moving Week: Day 1

WGC isn't going anywhere! These are just tips and tricks for moving!

I'm taking over the blog this week to tell you all something about I've been meaning to blog about for 6 months.

When we moved back in September we had been in our home for five years, we were very close to our neighbors, we had outgrown our house and were looking to move in town. Oh and did I mention I had never moved before? My parents moved when I was a baby to the house I grew up in and I moved myself out to college and then in to our little first house when we got married but I had never moved houses (at least that I could remember ;) ) 

I was very nervous. I researched moving on Pinterest and got tricks from our family and friends. Luckily my husband's family moved around many times growing up so he had some tricks of his own. 

To start our week off we're going to talk about supplies and labeling.


  1. Boxes: 


  • Try your hardest to get boxes that are the same size. Moving boxes come in pretty standard sizes. We were lucky that my husband's brother worked at a local fast food restaurant and we got the majority of our boxes from there. Same size boxes are much easier to pack in a truck. 
  • Other places to get boxes are on Craigslist- you have to be quick to get the ones that are free, or purchasing them at places like U-haul or a home improvement store. U-haul boxes are nice because you can buy a bunch and if you buy too many you can return the extras. 
  • Make sure your boxes are sturdy and have not spent too much time in hot or cold weather or been exposed to water. 
  • Tape the bottom of boxes that will be heavy multiple times to make sure they can withstand the weight.
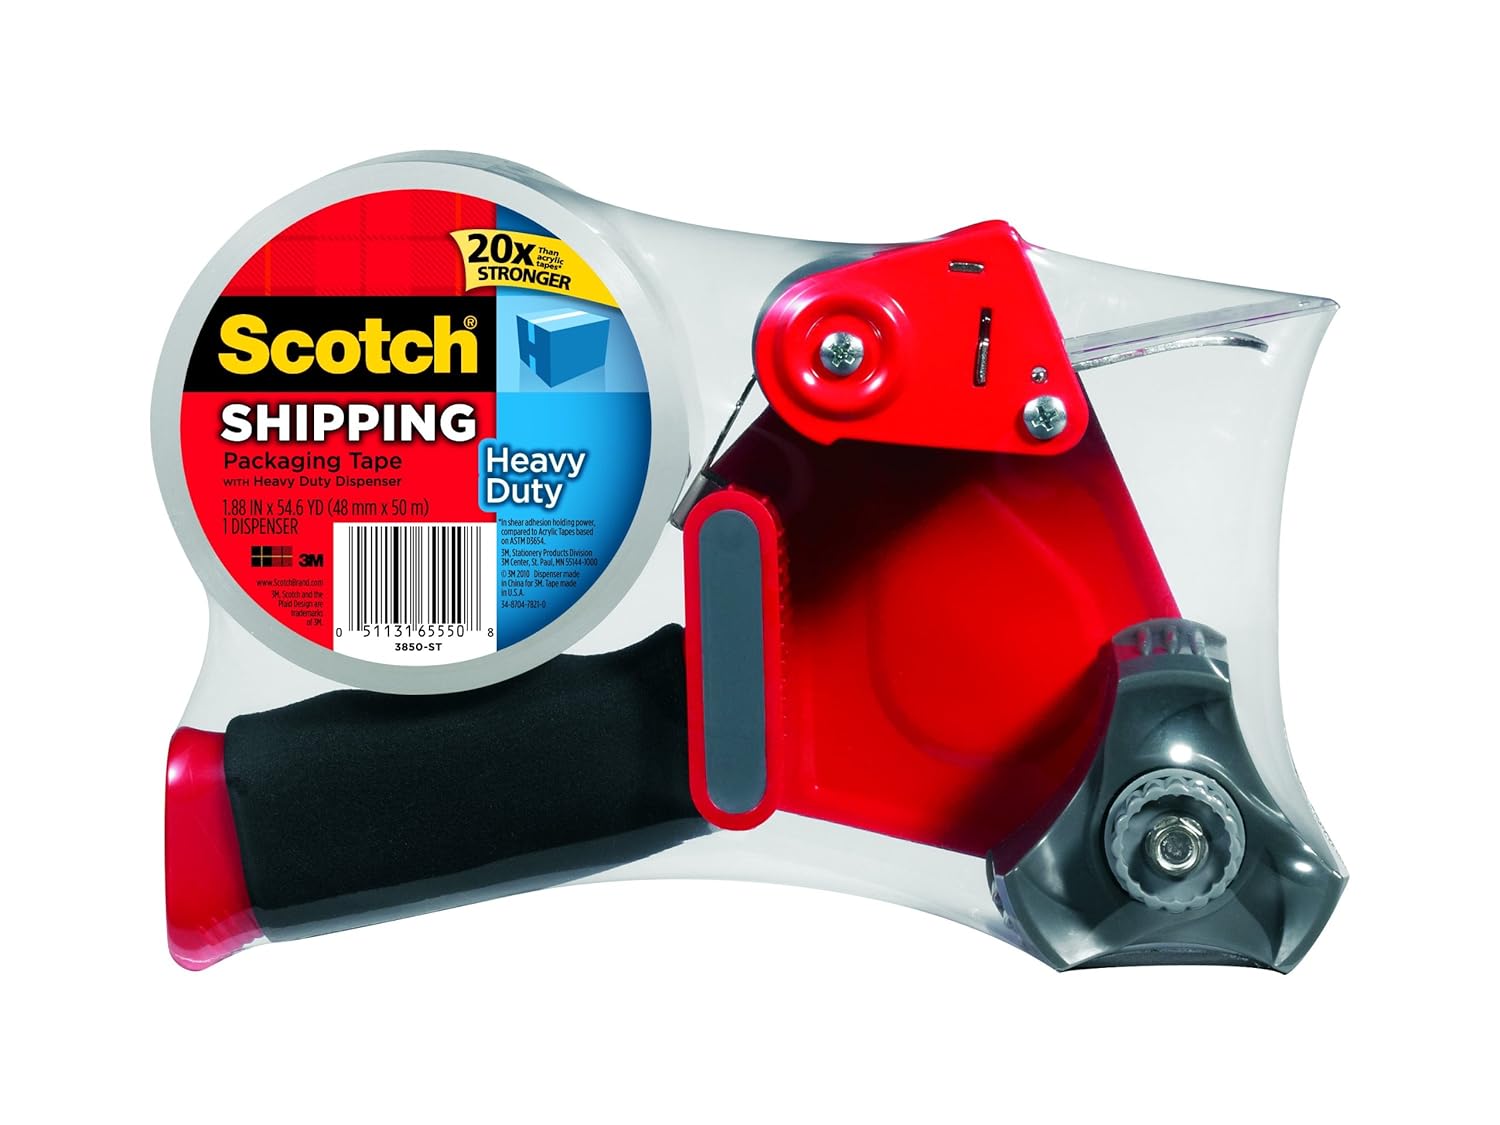
2. Tape:
Amazon listing
  • Name brand tape will always to be easier to use but I also used quite a bit of the Target brand's tape and we were happy with it. We went through about 6 rolls of tape for our 1100 sq. ft home with three people.
  • Use a hand held dispenser. They save a ton of time. The one pictured above is the one we have.
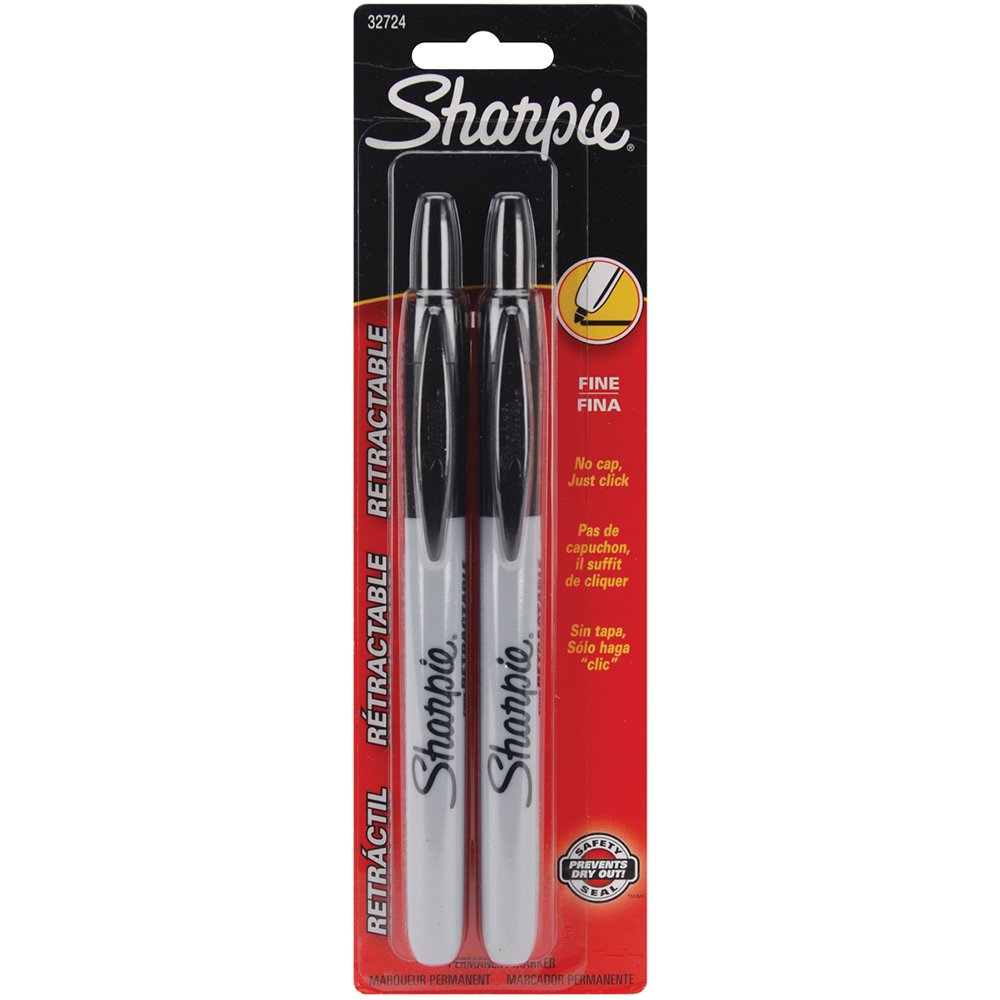
3. Permanent Markers: I found the best ones were the retractable ones to I never misplaced a cap. I used 3 markers until they were dry
Amazon listing
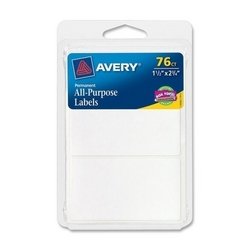
4. Labels: I used a system that I thought was very organized but my husband thought was a little over-the-top. I used white labels like this
Amazon listing
and added colored tape
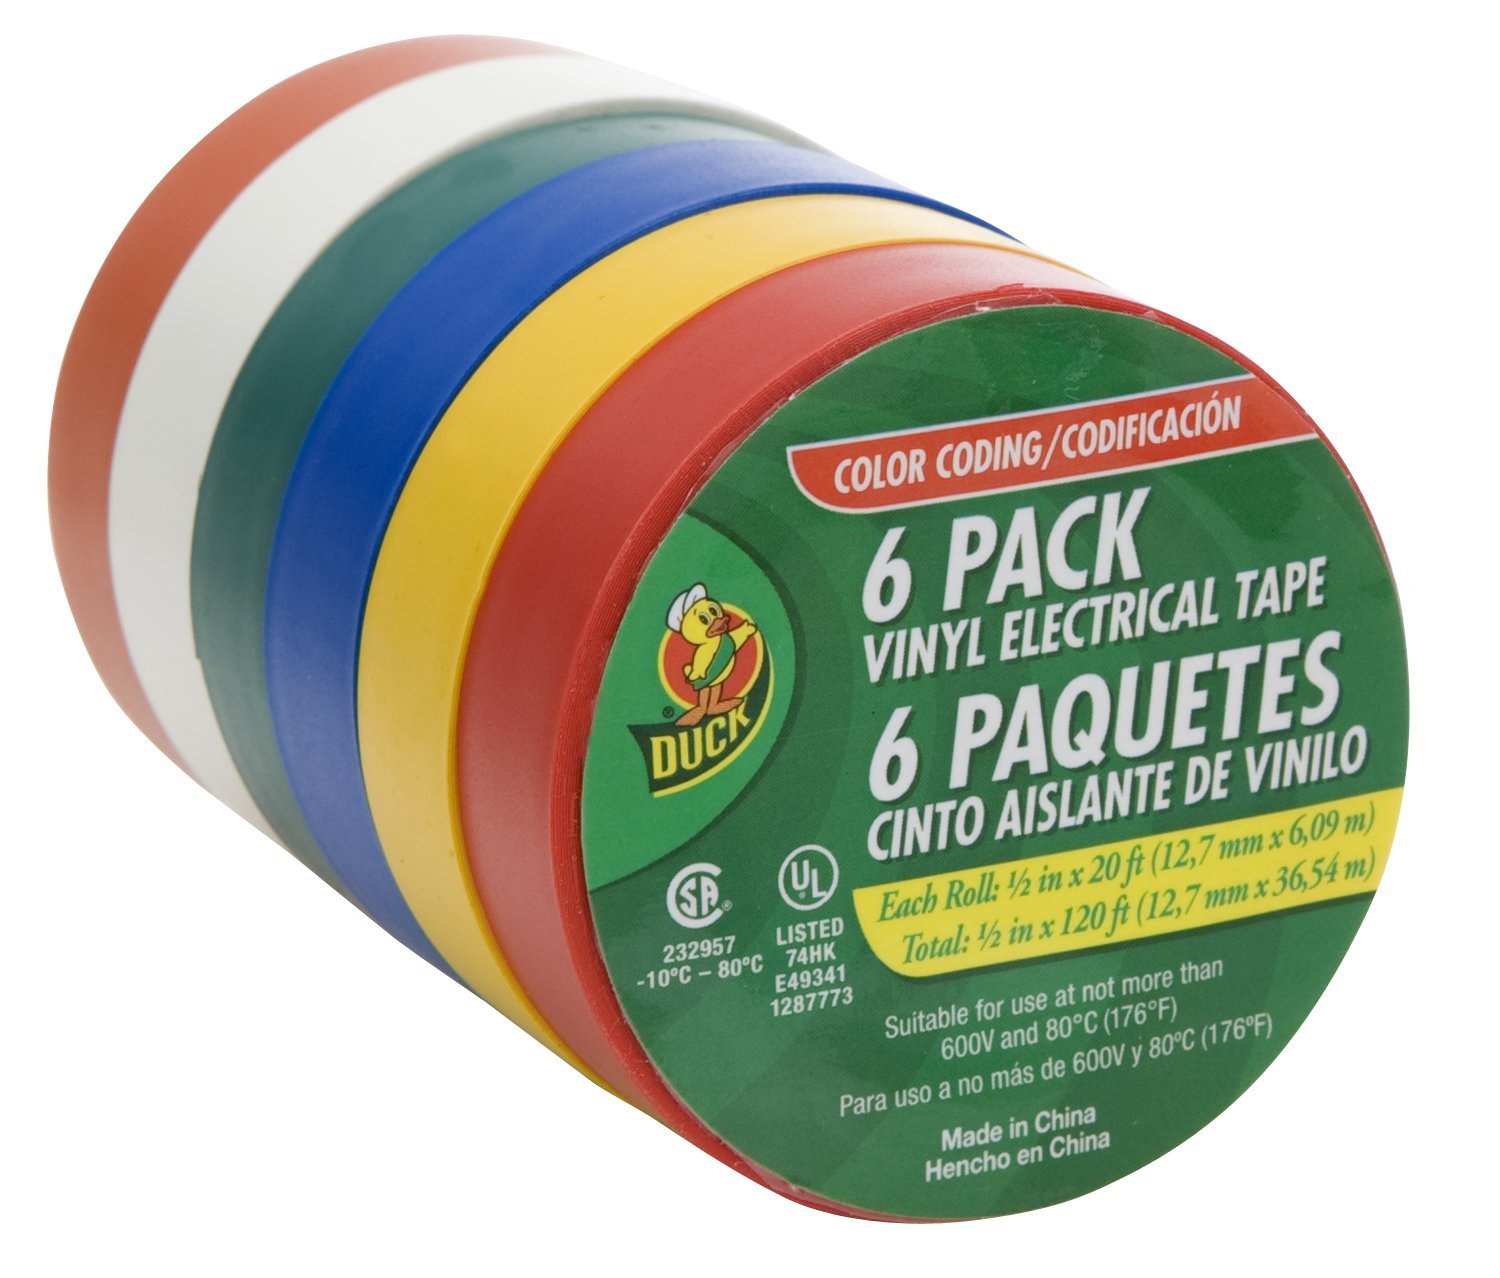
to label each box. I drew a map of each room of the house (more about this on Wednesday) and numbered each box on the yellow. Blue meant the box was heavy, red meant the box was fragile, and an orange X meant it needed to be last in and first out. Packing took a little extra time but unpacking the truck took very little time. Here is a picture of PB helping me label boxes. You can see what the labels looked like here.

5.Moving supplies bag: I used a gallon sized bag to keep my extra tape, markers, labels, scissors, to-do lists, and anything else needed for moving in one central location. 

What supplies did you have find useful while moving?

Come back tomorrow for Pinterest suggestions I tried out!

Day 2- Pinterest Ideas I tried out

Day 3- General Tips and Tricks

Day 4- Preparing Your House for Showings

Day 5- Leaving Behind Your Home and Neighbors

Hair Take Over: Day Four- Braids and All The Rest

Have you caught the rest of our series on hairstyles? If not, start here and go from the beginning! Enjoy!


Braids:

4. French: You can do this in pig tails or one braid. You can start in the front or the back of the head. This technique is used in many hairstyles. Section the hair off in three equal sections. Braid one time. As you continue take small sections that are even and parallel to the braid and incorporate them over the section you have on the left and right each time you braid.


5. Inside Out: This braid is the same as a French braid only when you are braiding you bring the extra hair under each time you incorporate the hair.


6. Fish Tail: Divide the hair into 2 parts. Take small pieces from the back of the two larger sections, cross to the other section and incorporate. Repeat on opposite sides until get to end of the hair.


Other:
18.French Twist: Gather all of the hair at the nape of the neck. Starting at the base of the gathered hair, twist upward smoothing the top hair as you go. Tuck left over hair down under the twist when you get to the top. Pin by putting bobby pins into the outside of the twist and flipping the opposite direction while pinning into hair by the scalp. 

19. Beach Curls:
Taking smaller sections of hair, wrap around the curling iron barrel. I like to hold on the end of the strand the whole time and not readjust it so it twists a little bit as I wrap it around the barrel. This allows the ends to look more tapered and natural versus flat. After curling all your hair, flip your hair over (I like to bend over and do this) and either run your fingers through your hair or mess it up by scratching your scalp but not hurting your scalp. This just loosens up the curls making them more full and more natural looking.

20. Double Pony: This hair style is best with loosely curled hair with lots of volume. Divide your hair with a line level with the tops of your ears. Put that in a pony. To create more volume you could tease the hair on top. Gather the rest of the hair and put the bottom pony tail as close to the top one as you can. Make sure the top pony is covering the top of the bottom pony.
Related Posts Plugin for WordPress, Blogger...