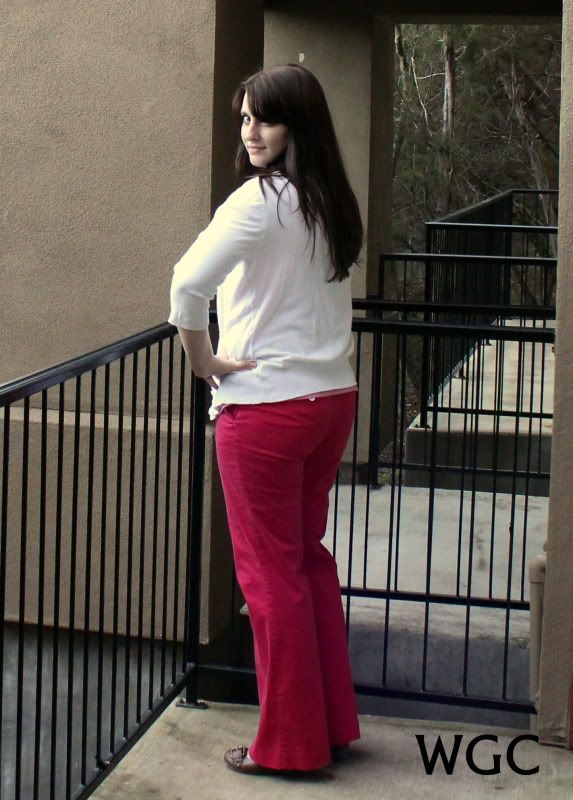
Tailoring Made Easy!

I had this cute jacket hanging in my closet that I had never worn. I got it a couple summers ago on a trip with my mom and Jasmine and it was a great deal. I paid less than $5 for it! The only problem was that it didn't fit. A great deal isn't a deal if you can't use the thing you bought. Today I decided to change that and I did it all during nap time :)

The problem was that it did not fit in the torso. The arms fit great but the rest was boxy and too wide. I decided to make the outer shape more feminine and take in the darts-yup I'm not endowed, I'll admit it.
IMG_1999
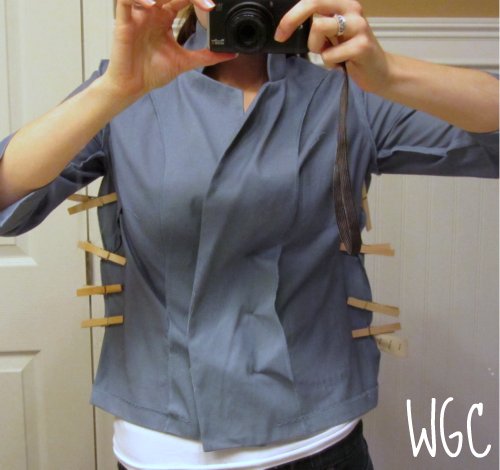
Marking for tailoring an article of clothing while you're wearing it with straight pins is pretty hard. Instead I got the idea to do it with clothes pins! I turned the jacket inside out and buttoned it. I then pinched the excess fabric making sure that it was about even on each side and put on the clothes pin.

IMG_2000IMG_2004


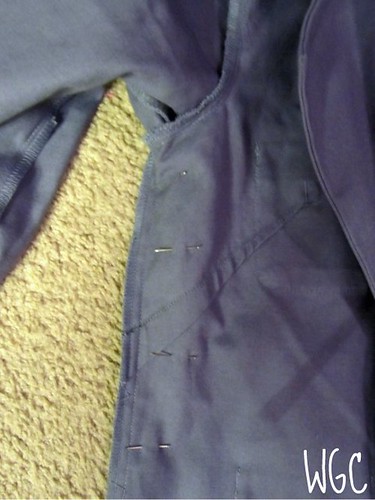
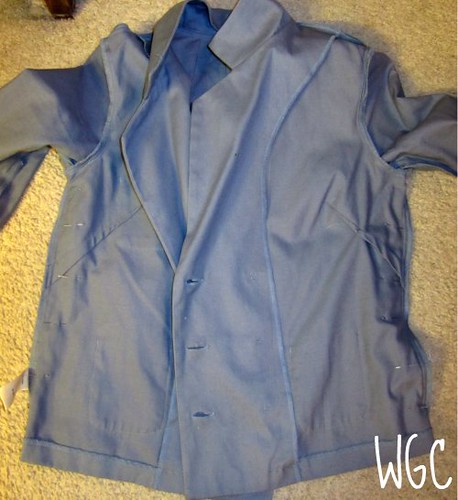
 I then took the jacket off and pinned where the clothes pins were with straight pins.

IMG_2006IMG_2005

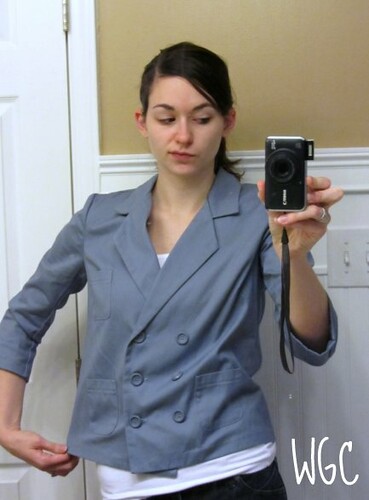
This part is important: I didn't want to change the sleeves or bottom edge so I tapered the top and bottom of the edge. I made sure that under the bust area the seam went in so that it would be fitted. I then altered the darts (for a tutorial on darts go here) by starting at the smaller original edge and making the angle greater. I turned it right side out and made sure it fit and pinned a flower to my lapel.  (Note: I also put on makeup and fixed my hair so I wasn't such a hot mess)

IMG_2007IMG_2008

I hope this inspires you to tailor your own clothes to you because none of us are the same shape! I heard a really cool quote the other day on a commercial for foundation. I don't remember exactly what they said but it was basically we each are a melting pot of our ancestors and our face is the combination of their faces looking back at you in the mirror. We each have a unique heritage and thus are different. Having clothes that fit make you feel more confidant so do it!

Book Review: Stamped Metal Jewelry by Lisa Niven Kelly

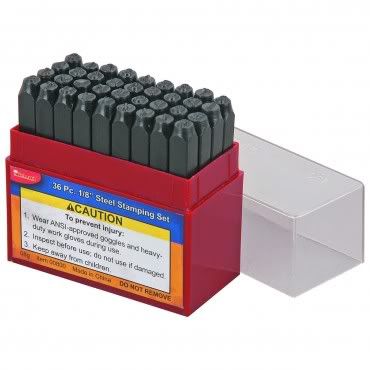
For Christmas, I asked for and received two steel letter stamping sets like this:

Photobucket 
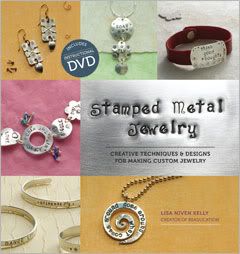
 I used them for the first time on my Clay Conversation Hearts, but I knew they could be used on so much more. I need a lot of direction. I came across Stamped Metal Jewelry by Lisa Niven Kelly. I wanted to take a good look at the book to see if I liked enough to purchase it. I really didn't think my library would have it, but they did!
Photobucket

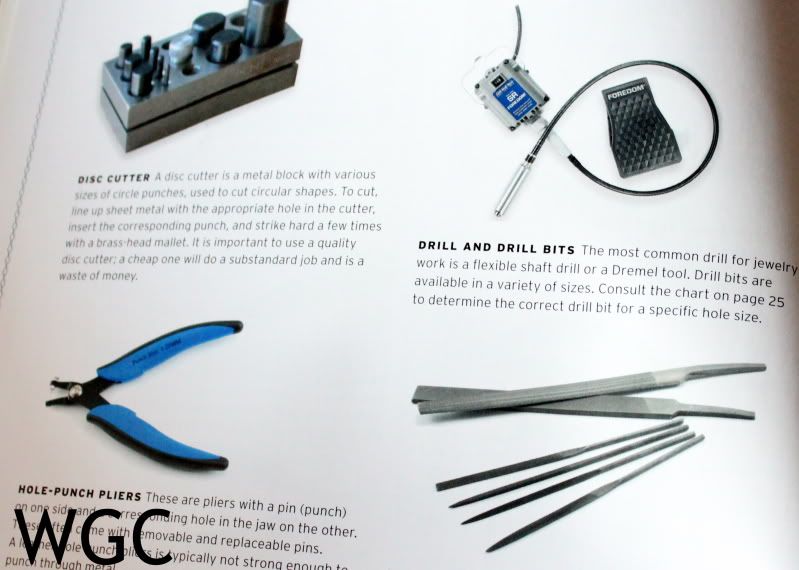
I read the 137 page book in about an hour. The beginning had a wonderful picture glossary of tools and materials.The pictures and descriptions were informative and helpful, especially for a newbie like me.  There were basic tutorials as well, like how to use a crimp bead (finally! I needed that!). The were clearer and more concise than others I'd seen and read online. The information was presented in a way I could understand.

Photobucket


One of the best parts about this book was there was an instructional DVD included. It was pretty well done, but I think it could have been a little better quality (maybe in the production, etc). It was just great to actually see someone hitting the hammer and to hear what it sounds like!

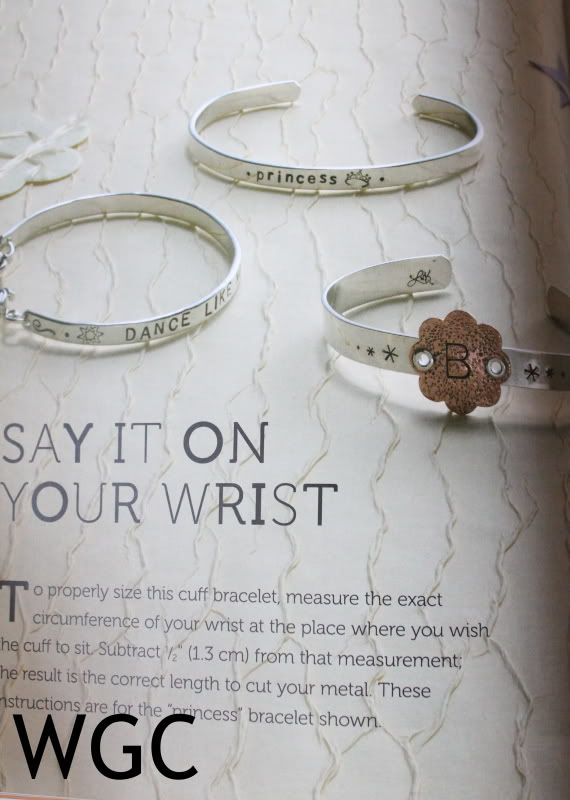
The projects were innovative and original. I loved learning not only about stamping, but metalsmithing and jewelry making. My favorite was learning about how to make a metal cuff.

Photobucket

I'd recommend this book because it really talks about the processes of making a good stamp in metal, the right tools to use, the right type of metal to use, and has original ideas. The tips and tricks were really informative and helpful. I think I'm ready to start stamping! I just found out that Lisa Niven Kelly teaches classes online at Beaducation.

I wish I was ready to stamp now, but it made me realize I need a few materials. Glad to know that though!

I was not paid for this review, I was not given this book or anything in exchange for this review. I just wanted to read this book of my own free will. =)

How to get better at ANY craft!

How many times have you seen something on Pinterest or a favorite blog and thought "Man, I wish I was better at knitting/sewing/decorating/painting/scrapbooking/quilting/etc."? If you're like me, it's pretty much every time you go on one of these sites.

Looking at how far you have to go in your skills can be pretty depressing--or it can inspire you to improve your craft! So here's a quick guide on how to get better at your craft of choice, no matter what it is!


Seek out inspiration
You probably already have this down, but when you're looking to get better at a craft, look for inspiration. Pinterest is a perennial source, as well as craft blogs and aggregating sites like Ravelry (it's like an index of knitting & crochet patterns!). Your inspiration might depend on your craft--a piece of clothing or a pretty scene or an awesome colorscape might inspire you.

For knitting, I'm often inspired by clothing I see on TV, on the Internet or out and about. For example, I was at a children's museum and saw a woman in an orange peacoat made from what looked like really fat corduroy, cut on the bias so the welts ran diagonally. I immediately sketched out a rough design and started theorizing what yarn weights and fibers and patterns might best replicate that look.

Now, if only I really wanted to devote my time to learning knitwear design . . . but that does bring us to our next point:

Look for something new and challenging to try
This is probably the biggest key to improving your skills. Mom recently talked about doing this with her first wonky quilt. With every knit gift or craft I make, I specifically try to seek out patterns that have something I've never done before.

Of course, you want to balance this--tackling something that is too far above your current skill level is often a sink-or-swim proposition. If you're in over your head, don't let yourself drown--get help or step back from the project for a while until you try some of the challenging components in other projects, learning them one at a time.

UPDATE: a great way to do this is through classes. I've really enjoyed the online classes at Craftsy. They offer classes in knitting, sewing, cooking, cake decorating, papercrafting, jewelry making, fine art and more! (WGC is a Craftsy affiliate and happy customer!)

Craftsy


Give it time and practice
All improvement takes those two things: time and practice. Keep working on the skills you have (don't want to forget those!) and don't chart yourself on a daily basis. Look at how far you come over weeks or months--BE PATIENT WITH YOURSELF!


Go back to the basics
Don't be afraid or think you can't learn anything from a class. Even if you already have all the skills the teacher does, sometimes it's the bond with her or other students that helps you learn more. I'm told that even just visiting a local yarn store often leads to learning new skills--but you have to do the next step to really learn.

For an even lower-commitment, check out a basic book on your craft from the library and review the most basic principles of design and form in your craft. Look at beginners' scrapbook layouts or sewing patterns: have you mastered what makes them work? How would you change them to suit your tastes now?

Ask for help
There is no shame in admitting you don't know something! And these days, there are resources to help with almost anything at your fingertips. There are a wealth of craft videos on YouTube and on craft-specific sites, just waiting for you.

Even better, of course, is getting help from a real live person. They can walk you through each step in the process and correct you if you get off course. It can be intimidating to ask someone for help, but in general crafters are very nice. The creative mindset of crafting--and possibly the compulsive hoarding of supplies and potential craft fodder--create a common bond, and most of the time, there's no competition to discourage people from helping one another out.


Go your own way
Yes, ask for help, but don't be afraid to try things on your own. If you have another way of doing something, give it a shot!

I taught myself to knit from reading a book. Apparently I wasn't so good at reading the pictures, though, because several years later, I realized I was knitting the "wrong" way. I contemplated learning to knit the "right" way so that my stitches would all face right, I could follow patterns more easily without having to adapt them to my "special" stitches, etc.

Fortunately, before I went to all that trouble, I discovered that I wasn't wrong after all! There is a small minority out there that knit in my special style. It even has a name: "combination style knitting." I do still have to make notes in almost all my patterns about how I have to "fix" things for increases and decreases, but there's a special pride about doing things my own way in knitting.

Added from the comments: It's okay to fail --Just Jaime
We're not working with  nuclear core reactors! It's okay not to live up to our own high expectations every once in a while. And how many crafts really turn out like the image in our head. I often hear variations on this saying:

 
The same thing goes for living as for crafting. If you're not failing, you're probably not putting yourself out there enough. And, hey, when you fail, come on over and tell us about it. We know exactly how you feel.

Have you noticed some messages repeated over and over in this post? Like maybe "just try" and "don't be afraid"? If I had to put those another way, it would be:


BE WAYWARD, CRAFTY--AND FEARLESS!

You can do it!

How did you learn to do your favorite crafts? How did you get better?
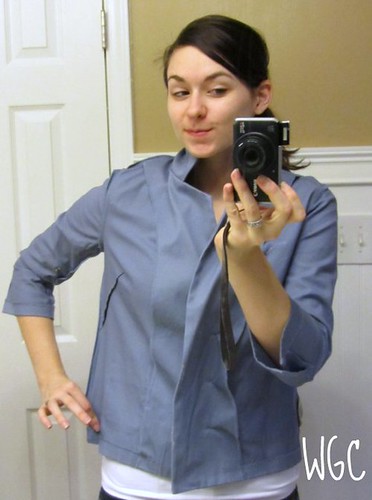
Wayward Weekend Week 5

We took a break last week, so we have no favorites today. But thanks for sticking with us and getting ready to party!

First up, here's what we shared this week. (All pictures are clickable!)


Now it's your turn!

Wayward Weekend Guidelines:
1. We ask you follow our before linking up. Already following us? You could take it to another level and like us on Facebook
2. We ask that you visit and comment on others' blogs. This is the whole point =)
3. We ask that you please use this badge somewhere on your blog:


<a href="http://www.waywardgirlscrafts.com/search/label/wayward%20weekend"><img src="http://i192.photobucket.com/albums/z41/MamaBlogga/waywardweekend.png" border="0" alt="Wayward Weekend" /></a>

Now let's see what YOU'VE been up to!


Antique Faux Metal Barrettes

This is a throwback to a craft by Aleene that we used to do a long time ago. Ever since I had to buy new gold paste for the frames I made a few weeks ago,  I have been itching to do this.
Here is what you need:

Oops! I forgot to picture the tube of Rub'n Buff. You can see a picture below.

Brown paper bags, metal barrettes, a candle,  Aleene's Tacky Glue and Rub'n Buff metallic finish paste.

Cut pieces of a heavy, brown paper bag out in the desired size. . Glue them together (printed sides in). Allow them to dry over night.  I tried a large section with the tacky glue and it warped. Then I used a glue stick and did a piece the size shown. It wrinkled a little, but not bad.
In order the may the barrette more durable, I recommend making a piece that is 4 layers thick. I would do one piece, let it dry, then cut it and glue that together.

Cut the desired shape based on the size of the barrette. Make sure you cut it long enough to extend slightly beyond the barrette.

Next smear Tacky Glue on one side of the paper. THICK! I used a squeegee I made from leftover brown bags.
Light your candle and hold the glue side right over the candle. It will bubble and smoke. Just keep moving it back and forth. You want it to get black and sooty.

When the whole thing is black and sooty, use a piece of fabric to wipe away the soot. Be gentle. The glue will still be wet and you should try to make interesting patterns in it.
It looks pretty cool right now, huh? But wait, there's more!
Let it dry overnight. Then...
Squeeze out a tiny dab of the Rub'N Buff. With a cloth (or your finger if you want to end up with the Midas touch!), LIGHTLY (and I mean LIGHTLY) wipe a tiny bit of the paste on the barrette. You want to highlight the pieces, leaving lots of black showing through.


This is really 100x too much paste. You could just touch the tip with your cloth.


Voila!
Use a glue gun to attach it to the barrette.
Done! I really liked this craft. It is easy and inexpensive. I think you will be seeing more of it in the coming weeks!

Homemade Tortilla Chips

This weekend I visited my sister, Jordan. Over the weekend we decided to make 7 Layer Dip (no worries, that post will come soon.) After we had gone out for some errands we did NOT want to go back out even after we found no chips in the pantry. We did find some tortillas though. Jordan brought out the deep fryer and I cut up the tortillas. They were small (about 6 in. diameter) and the perfect size after cut into sixths or eighths. We cooked them in the fryer until they turned golden.

Jordan's son helped us put them in the oil. Be careful when dropping them into the oil!! It might splash if you drop them in too hard. We only fried about a dozen triangles at a time to avoid overlapping or sticking.

After they turn golden, remove them from the oil onto a plate with a paper towel on it. The paper towel absorbs the excess oil. Sprinkle some salt on them and let them cool. They are super yummy and perfect for dipping!


Pop Rolls Hacks!

So I enjoy to coupon. I frequently get Pillbury instant rolls on sale. I like to take these and turn them into something different. I have tried three different recipes and I added one at the end that I would like to try. A lot of these don't have exact measurements because I just do it how we like it.

Cream Cheese Chicken Crescents
 (this one was given to me by my college roomie Kim!)
Shredded chicken breast (I usually only use one)
1 8 oz. Cream Cheese block
Onion (green or white) to taste
Milk to make it smooth
2 crescent roll tubes

Cook chicken and mix all ingredients other than rolls in bowl. Combine two triangles together and stuff them with the mixture and roll and pinch closed. Bake according to instructions on package.

Taco Crescents
 (this one is from my mom)
Taco seasoning
Ground Beef
Sour Cream
Onions
Salsa
Cheddar Cheese
2 crescent roll tubes

Brown the beef and add the seasoning as per the instructions. Add a couple dollops of sour cream and the cheddar.  Open the crescent rolls and lay them on the baking sheet with the wide sides in a circle with overlapping corners. Fill circle and tuck and pinch the rest of the crescent roll so it forms a ring. Sprinkle cheddar on top and bake according to time on instructions. Add salsa after baked.

Substitute Cinnamon Rolls from Grands 
 (my hubby thought this one up. He's pretty much genius)
Grands
Cinnamon 
Sugar
Butter or margarine
powered sugar
milk
vanilla

Put the biscuits in a casserole dish. Spread butter and sprinkle cinnamon and sugar over the tops. Be generous :) Bake as directed. Make frosting to add on top while they are baking. Mix together powdered sugar, milk, and a touch of vanilla.

I saw a recipe for King Cake out of crescent rolls. Although we don't celebrate Mardi Gras I'll gladly enjoy the tasty food from any holiday :)

Dyeing Your Own Pants

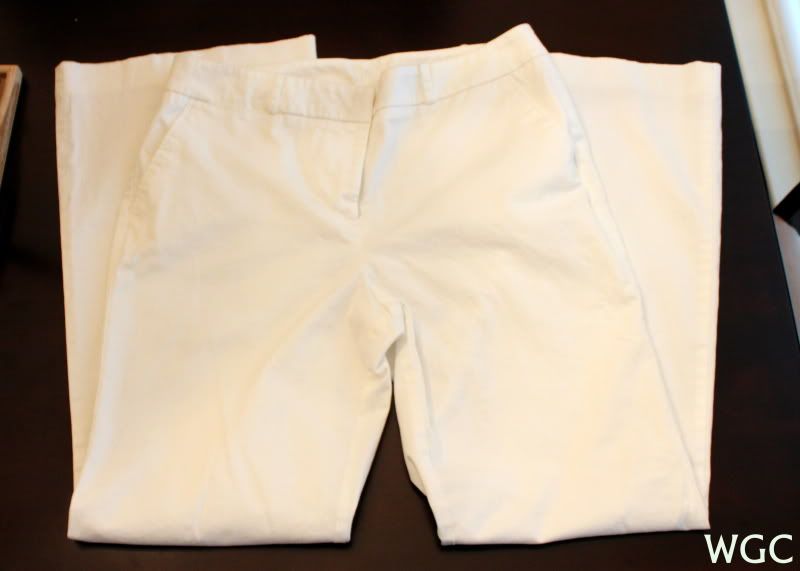
Remember my RED Valentine's Day Party? Remember how you were supposed to wear red? Well I had the perfect outfit in mind. A cream shirt with red polka dots, that was sheer and gauzey. Fabulous red pants and red shoes with a red headband and red jewelery. The problem? The only part of that outfit in my closet were the red shoes. I tried to find the red pants for a good price. No luck. So with just a few days to spare, I went to my favorite thrift store, Savers. I found the perfect pants there.

Photobucket

White, 97% cotton, my size, and $7. Plus they fit really nicely! I told my friend I really thought I was blessed to find exactly what I was looking for.

But wait, these pants are white? What? A while back, I read this post about Cori dyeing some pants. I wanted to do that so badly. Finally I got my chance. I used Rit's Wesbite to choose my dye color. Seriously GO THERE FIRST before you dye anything! Their article gave me a ton of tips and tricks to use to help me dye my pants.

Photobucket

Materials Needed:
Fabric Dye, I used Rit's liquid dye in Cherry Red (pictured above)
Container to dye the product in, like a Rubbermaid container or sink
Garment made with natural fibers like cotton or silk
Warm water
Salt
Plastic Gloves
Drop cloth or something to cover the area. I used a plastic table cloth I had.
Paper towels
Washing machine


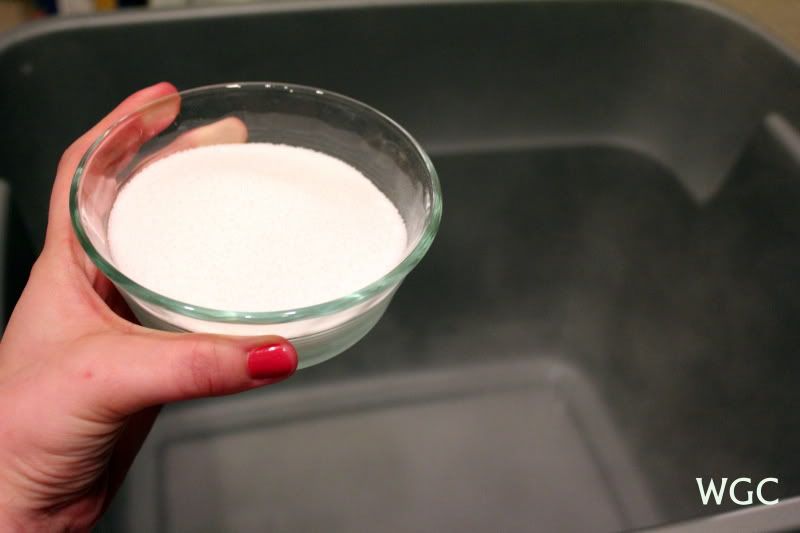
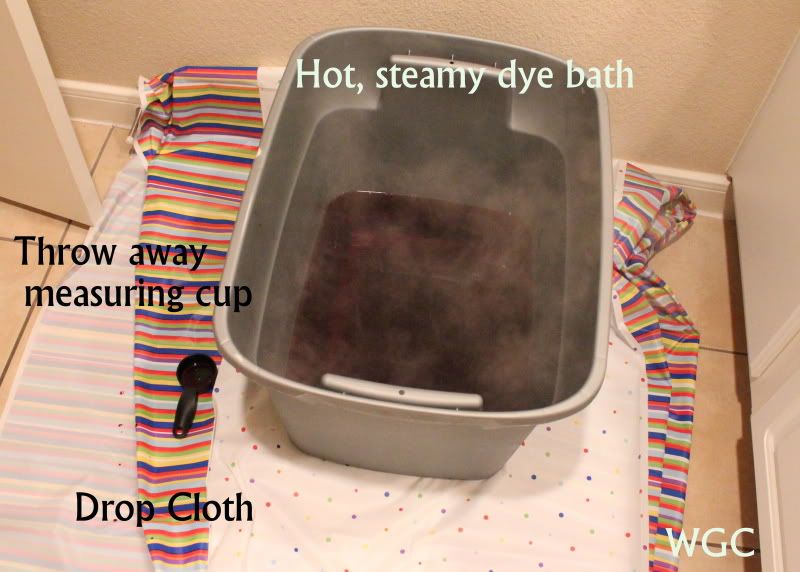
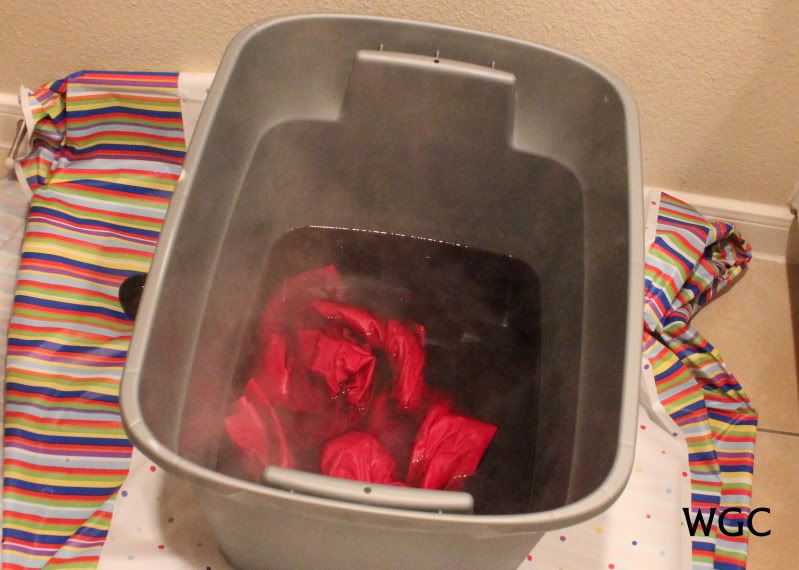
First thing I did was boring. I washed my pants. Then I heated about 3 gallons of hot water on my stove. Then I poured the water into a large Rubbermaid bin. The water wasn't boiling, but it was giving off a lot of steam and did so for at least 45 minutes. Next I poured in the salt (Don't do it this way! Rit recommends letting the garment sit in the dye for 5 minutes before putting the salt in the mixture), mixed it around and then poured in the dye. 

Photobucket

The dye looks so pretty getting poured in (no pic of that as I was nervous, but just trust me). I used a measuring cup that I would throw away after because I didn't trust it after measuring dye.

Photobucket

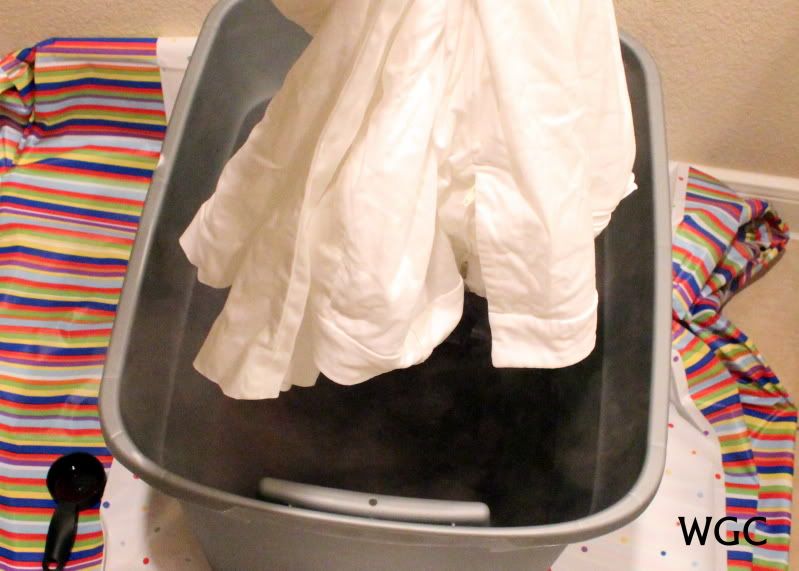
 After pouring the dye and mixing it in the water, I bravely put my pants in dye--there was no turning back now!

Photobucket

The tips and tricks said that the pants should be agitated constantly. I wasn't exactly down for that. I agitated every ten minutes or so.

Photobucket 

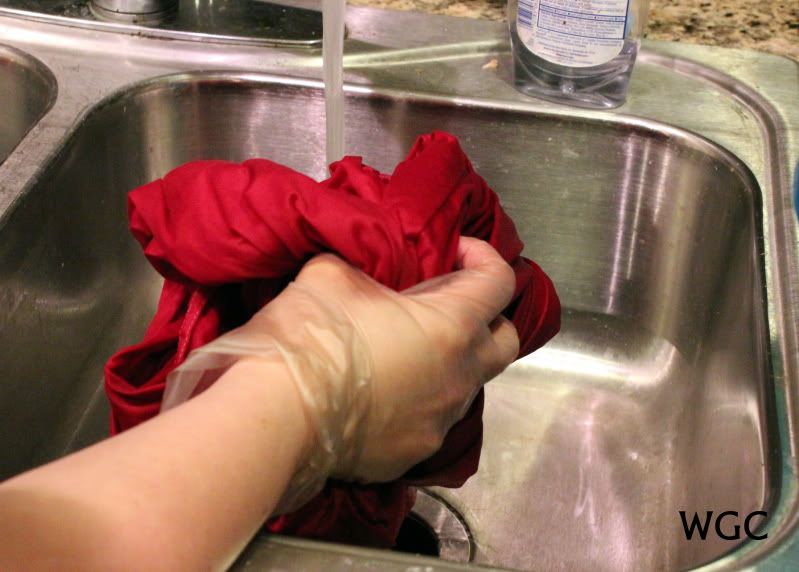
I left the pants in  the dye bath for about 40 minutes, then rinsed them (this took forever)

Photobucket 

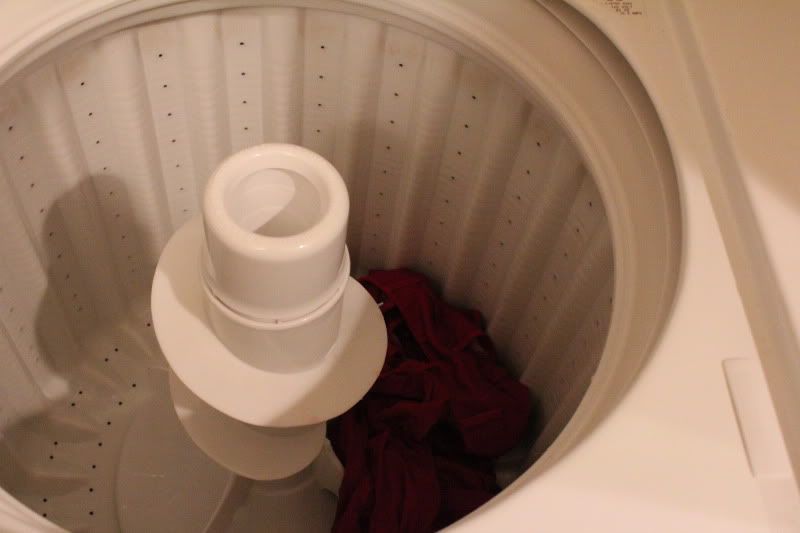
and washed them in the washing machine.

Photobucket

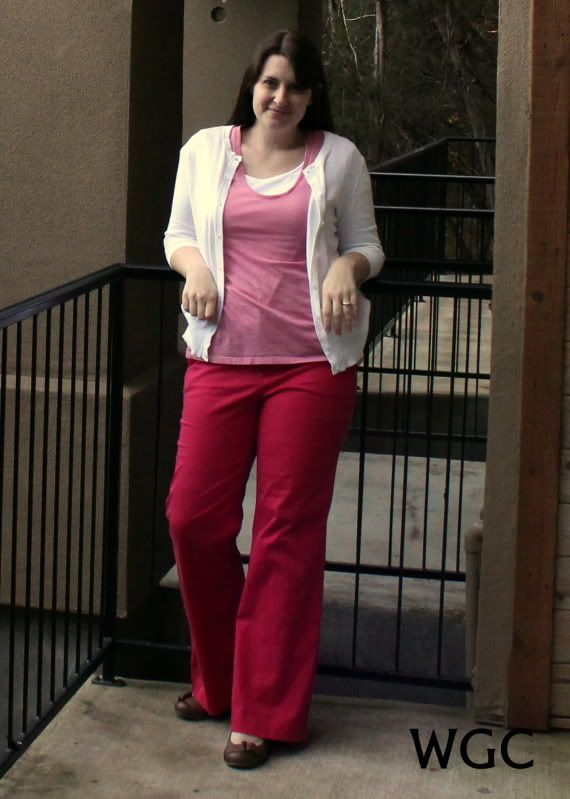
They came out....pink. So I repeated the process, but this time I did it in the sink, pouring the salt in at the right time, adding a tablespoon of laundry detergent and agitating for over an hour. Constantly. I had my husband turn on Netflix and I stirred those pants with all I had. Then I rinsed them. For twenty minutes. And then washed them. This is how they turned out.

Photobucket

This is how I wore them on Valentine's Day

Photobucket


I modeled this yesterday--a headache kept me from smiling


Tips on dyeing clothing:
Only dye natural fibers, synthetics won't dye.
A lot of garments are sewn using synthetic thread. It won't pick up the dye, but in my case it didn't look bad
Make sure you wear gloves, cover your work area, and have a towel handy for any splashes. Otherwise you'll end up with dyed hands, floors or countertops.
Don't dye in a ceramic sink unless you want a pink sink.
Don't wash your garment with other garments the first few washes.
Read the whole article about tips and tricks before you start

Reversible Cables!

In knitting, one of my favorite design elements are cables. You make a cable by moving some stitches onto another needle and basically knitting them out of order.

But most of the time, cables only look good from the front of the garment. On a sweater, that doesn't really matter (unless you really want to wear it inside out...). But on something like a scarf where you see both sides, you know one of those sides won't look as good.

Unless you can design some reversible cables. And that's exactly why I wanted to try this scarf by Kris Hanson. This was another of my gift scarves, and for this friend I was looking to make something very classy. When I saw the awesome texture on this pattern, I knew I'd found it.


The pattern uses ribbing to make the cables look the same on the front and the back. The middle cable is offset, which makes this really cool ripple effect across the pattern.

I went for a bamboo acrylic blend yarn, which was very soft and had a nice sheen. It might have been just a little bit too soft for this design, since it felt almost a little "mushy."

And here it is all tied up and ready for delivery!


What do you think? What kind of scarf says "you"?
Related Posts Plugin for WordPress, Blogger...