A while ago I got a plain canvas bag to carry my things to church in. I had plans to do something to make it great and just never did anything with it. Then I got a big ink stain on it and I conceded to doing something with it. I used some left over fabric that I had and a flower to embellish it.
What I used:
Canvas Tote
Fabric ( I used two contrasting fabrics)
A flower with rhinestone (got to have some sparkle!)
1. The fabric I used for the bottom was thin so you could see the ink spot through it so I lined the yellow fabric. I decided how high up the bag I wanted the yellow fabric to be. I laid the bag inside out flat and to determine the width to cut the fabric. I added an 1" for seam allowance. I then cut the lining fabric the same dimensions
2. I sewed the sides (it was one piece so the bottom did not need a seam) with the yellow and lining fabric together with the lining on the outside. I sewed the top edge of the yellow and lining together. To mimic the shape of the canvas bag I sewed the corners of the lining and yellow so the bottom will lay flat.
3. I turned the new bottom right side out and sewed it on to the outside of the bag with a seam on the top edge. I had orange fabric that I measured it out to be double the width of the bag and 4 inches wide. With right sides together I sewed it in half length wise, turned it inside out, and pressed it.
4. I sewed it onto the top edge of the yellow sewing the top and bottom edge. I added the flower to embellish it.
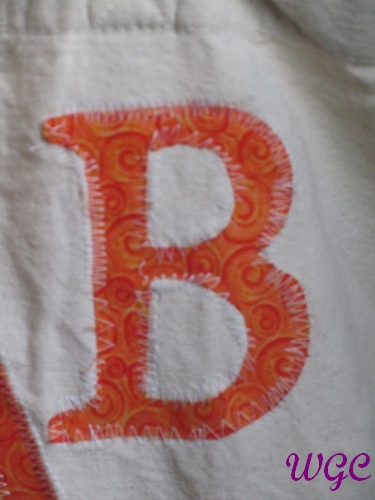
5. I used the computer to print and cut out letters for my initials. I ironed on heat transfer paper to the orange fabric and traced the letters BACKWARDS onto them. I cut them out and ironed them to the bag.
then I waited over a year to the point where they were falling off before I did the last step. Oops!
6. Using a zig zag stitch I sewed around all the edges.