Showing posts with label papercrafts. Show all posts

Fall Leaves Monogram

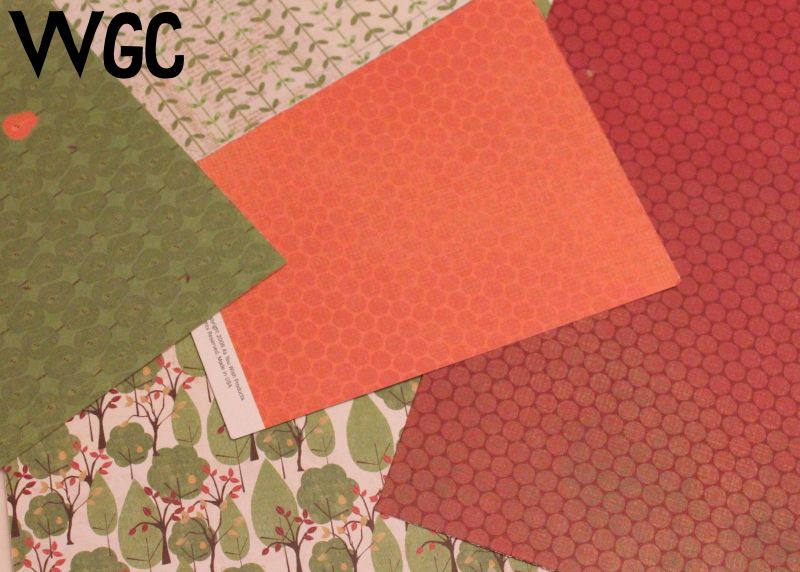
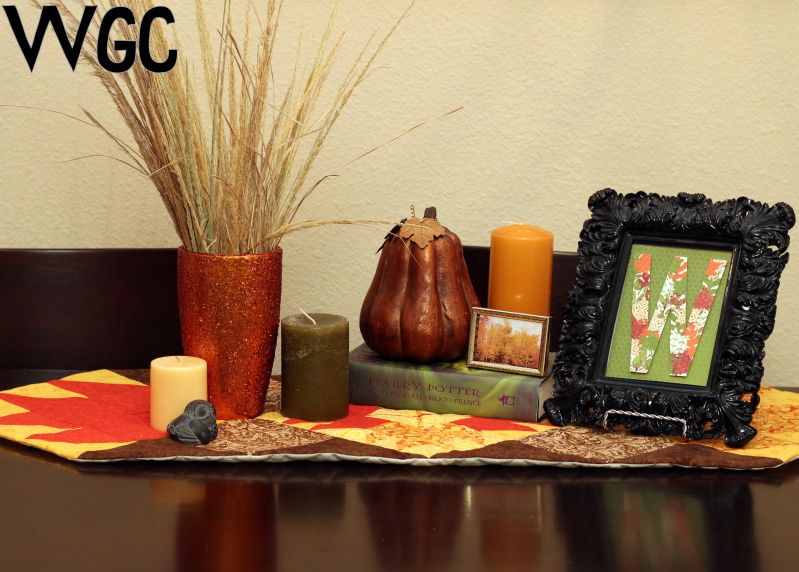
Happy Fall, Y'all! I wrote this post as a guest post two years ago but never shared it on our blog. So to get in the spirit of the season, here is my  Fall Leaves Monogram. I started by grabbing some fall patterned paper scraps from my scrapbook stash.

Photobucket

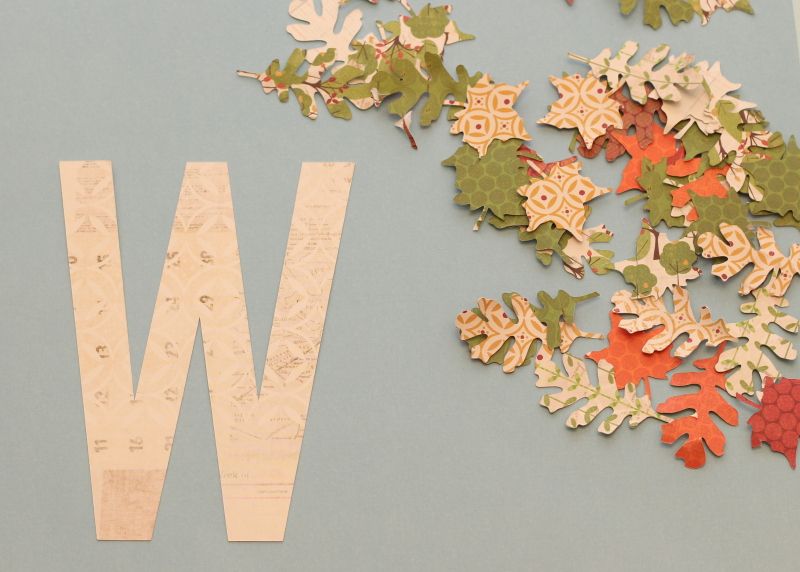
Using my Silhouette, I cut out a bunch of leaves from these scraps. Then I cut out my monogram also using my Silhouette. If you don't have a Silhouette, you could get some leaves like these and then hand cut your monogram. For this craft, you want a simple monogram because it ends up being really busy--straight lines are best!

Photobucket

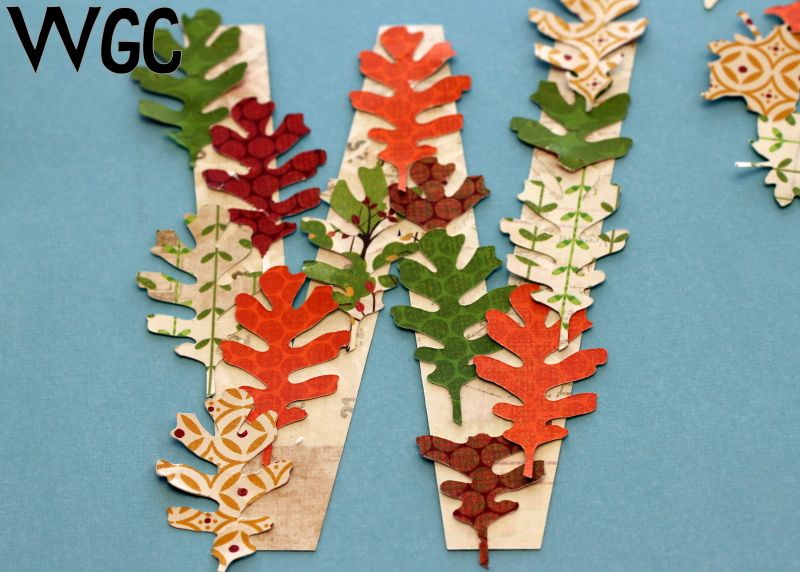
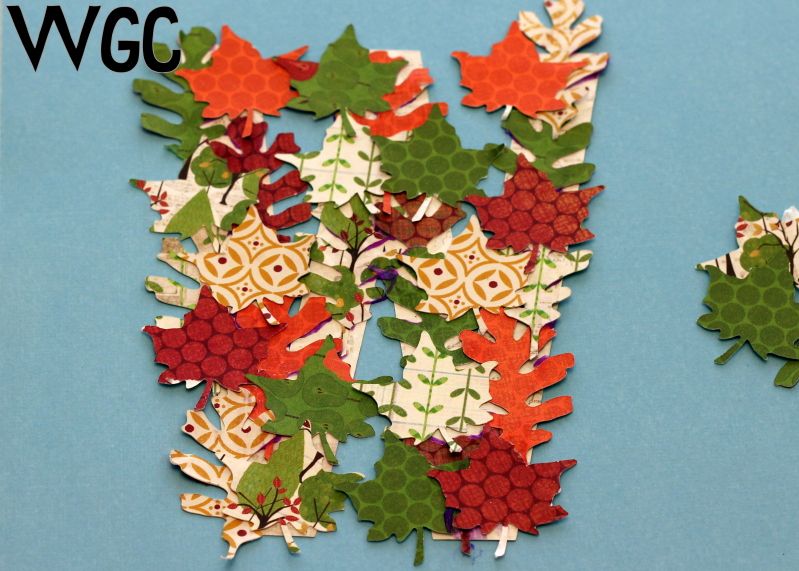
I covered the "W" in adhesive and then stuck my first layer of leaves on.

Photobucket

Then I added more glue and filled in the holes.

Photobucket

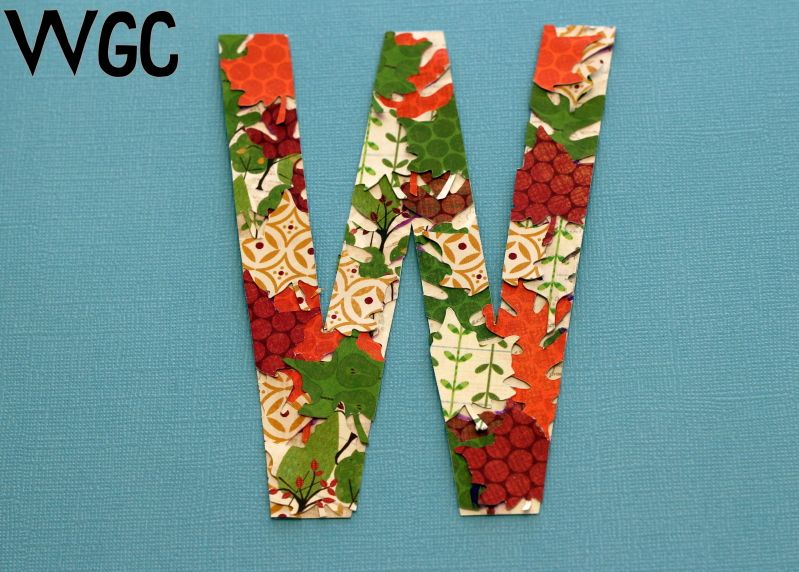
I let the leaves staggered the leaves to create more visual interest and then trimmed down the sides.

Photobucket

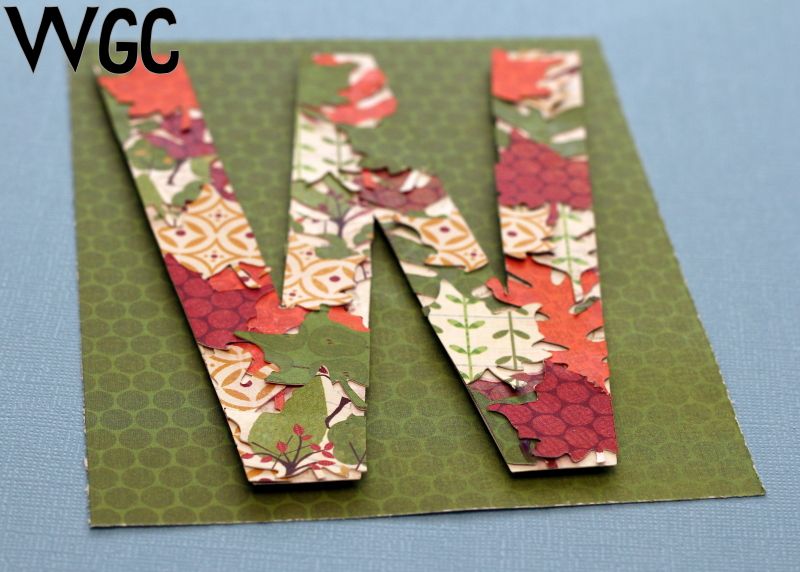
Then I used some 3-D pop adhesives to give it a little dimension and backed it on a coordinating piece of cardstock.

Photobucket

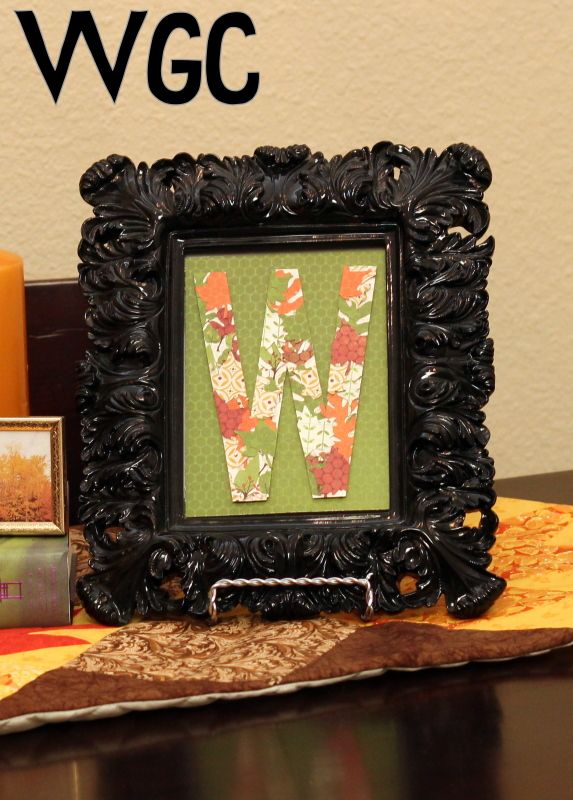
Last, I popped it in a frame and called it good. Here's the finished product!

Photobucket

Here it is with my fall table scape:

Photobucket

(kinda weird to see this--I've moved two times since I wrote this post!)


Father's Day Card: Happy Father's Day to My Favorite Baby Daddy

I made this card for my husband for Father's Day. (Inspiration found here)


Another card using my pen holder. It's so fun! I can't wait to use it to address envelopes!

Happy Father's Day to all the dads reading this blog, even if it is only mine =)

Father's Day Card: Papa Bear

This card is for my husband from my daughter. Ok she's 7 months old, so I made it. Anyways. I found this shape in the Silhouette store and I loved it, but it didn't quite meet what I was looking for. So I modified it.


First I erased all the shapes except the bear. Then I duplicated the bear (or copy + paste) and flipped it to face the other bear. To make sure it would fold correctly, I spaced the bears away from each other a little and drew two cut lines. Voila!

Closed


 Open


 I really love this one! Happy Father's Day!

Father's Day Card: Best Dad of All Time

Here's a card I made for Father's Day for my pawpaw, father-in-law and Ricardo. (Inspiration found here) Ricardo is my husband's grandma's husband. We don't say "step grandpa" we just say Ricardo (even though his name is Richard).
To make this card, I found a clipart of a watch I liked:


And then used my "Trace" feature in Silhouette Studio. (Sidenote, Silhouette users, what do you think of Silhouette Studio 3.0? It's taken a little getting used to, but I like it!)


I cut out the watch and then the words for each card. Slapped the watch on the card and some paper behind to fill in the background of the words and voila. I even made some simple envelopes to go with. 


I've got more cards coming, one for my dad and two (hopefully) for my husband. It's his first Father's Day!

Birthday Candles Card

My friend's birthday was this past week and I made her a quick and easy card to go with some cookies. I got the idea from this card and remembered I had purchased these candles for this same friend's birthday last year. I rummaged them out of the back of our silverware drawer to find the candles and then broke out my glue gun.  This card came together in 15 minutes!


I liked the asymmetry with the candles. The ribbon hides the glue!


Next time I would use more glue, since some of the candles came loose on the way there! 

(I snapped these pictures on the way to my friend's birthday lunch--while stopped at a red light!! Say hello to my car, leg, and foot)

Music Advent Calendar Garland

This year I wanted to make an advent calendar, but I wasn't sure what I wanted to do for each day. I wanted something simple enough I could really do it everyday. So I decided on music. I love Christmas music and my favorite part of Christmas Eve at my parents' house is singing all the Christmas carols. This was a great way to celebrate and appreciate the music all month long.

 photo 3319932B-0C6D-4D9A-AC7B-2247ECE72A2B_zpszlweutvu.jpg
Ignore the football game on TV in the background

I thought it'd be fun to put the countdown on my mini Christmas tree as a garland. First, I found some vintage Christmas sheet music and printed it onto cardstock. Using my Silhouette, I cut out circles from the cardstock with the numbers counting down to Christmas and small holes at the top of each circle, to attach them to the garland. I also cut red circles.

 photo 46933383-ECC1-4707-AF63-25D3BD179A04_zpsbpacu1hy.jpg 

I wrote two song titles on the red circles, one a Christmas hymn and the other a fun Christmas song. Finally, I glued the red circles on the back of the printed cardstock circles and tied them onto twine to make the garland.

 photo 89F3E6BE-1E09-4A86-905F-81FFAC06A409_zpswprzstxb.jpg

Here's the list of songs I used:

Christmas Hymns


Spiritual Children's Christmas Songs
From the Church of Jesus Christ of Latter-day Saints' (aka Mormon) Children's Songbook:


Fun Christmas Songs:

Deck the Halls
God Rest Ye Merry Gentlemen
O Christmas Tree
O Come, O Come Emmanuel
The Twelve Days of Christmas
We Three Kings of Orient Are
We Wish You a Merry Christmas
What Child is This?
The Holly and the Ivy
Santa Claus is Coming to Town
White Christmas
Let it Snow
Jingle Bells
Jingle Bell Rock
Rudolph The Red-nosed Reindeer
It’s the Most Wonderful Time of the Year
Rockin’ Around the Christmas Tree
Feliz Navidad
Frosty the Snowman
A Holly Jolly Christmas
Here comes Santa Claus
Carol of the Bells
Home or the Holidays
It’s Beginning to Look a Lot Like Christmas
Winter Wonderland
The Christmas Song

Now each day we can sing those songs and, if I'm feeling ambitous, I can research about these songs or read coordinating scripture references (found in the LDS hymnal at the bottom of the page, helpful!).

Merry Christmas

Watercolor Easter Cards

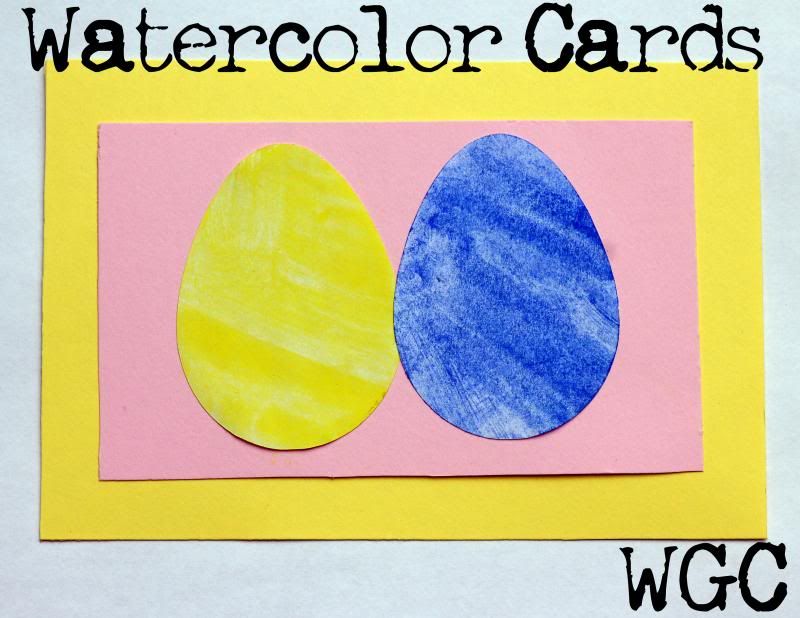
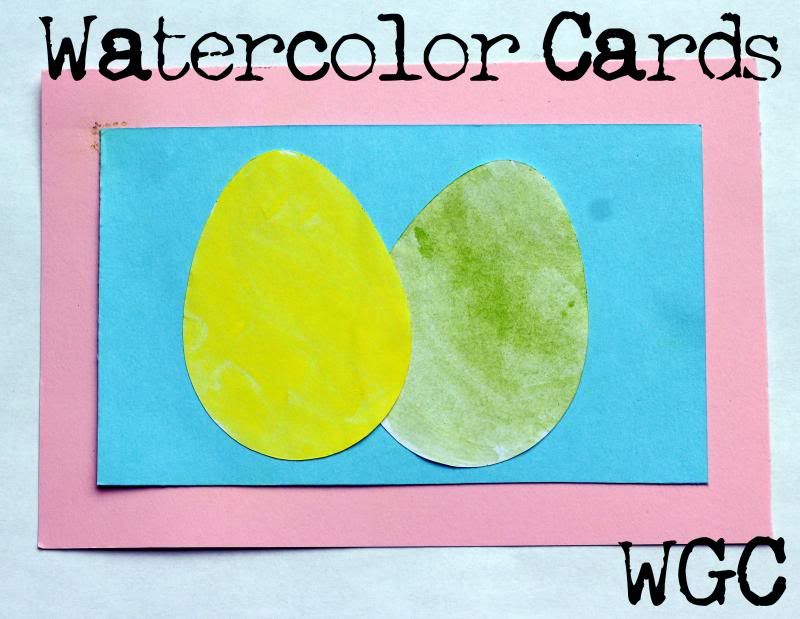
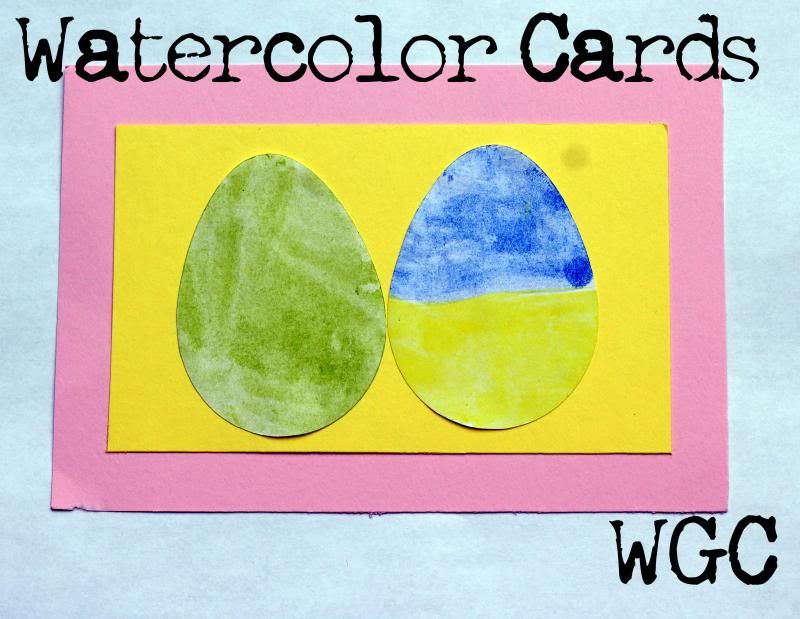
Sometime last year I became a tiny bit obsessed with watercolors. I wanted so badly to try them, but the local class was $84, with $100 worth of supplies. It seemed like an investment I wasn't ready to make. A few weeks ago I decided to get some cheap supplies and just try to see if I liked it. $15 later and I was set. I decided my first project would be greeting cards for Easter. After brainstorming I came up with these:

 photo Eastercard1_zpsd7178f98.jpg

The eggs were cut with my Silhouette Cameo. One of the best features about the Silhouette Studio (software program for the Silhouette) is the "Trace" feature. I can take any picture and trace it and have a shape for free. I found an egg shape online and saved it. Then I opened it in Silhouette Studio, used the trace feature and had a free shape!

 photo eastercard2_zps5a9571f1.jpg

I used watercolor paper and dug in! While the eggs were drying, they curled up, but with glue they stayed down on the cards. I love how the watercolor looks like dyed eggs! This was a fun, simple project and perfect for my first time with watercolors!

 photo Eastercard3_zps3aeb2423.jpg


Did you send anything fun for Easter? 

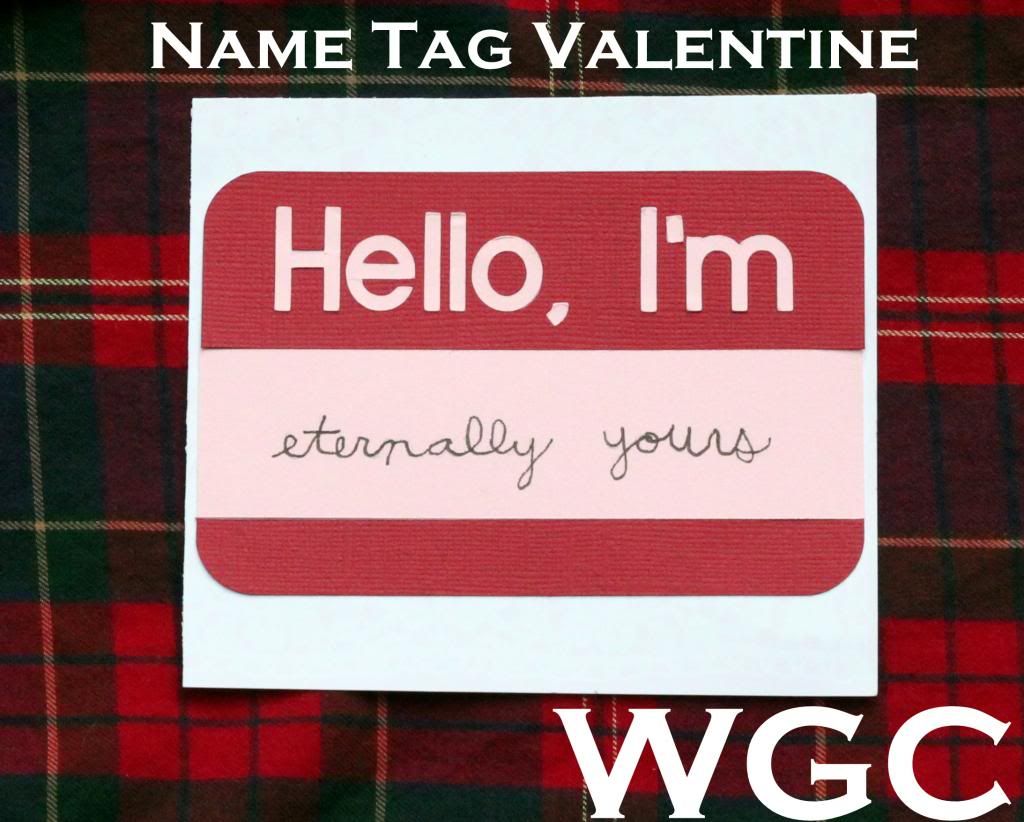
"Hello, I'm" Name Tag Valentine

Once upon a time, I was a moody pre-adolescent. I had just gotten my own bedroom and inherited a large desk, filled with forgotten office supplies. Inside, I found some name tags. I suppose I was feeling victimized in some way, so I took one of these name tags, which said "Hello, I'm" at the top and wrote underneath, "feeling unloved" I put it on my bedroom door as a flag of my intense, preteen feelings. My parents got a good laugh out of it.

Fast forward to a few weeks ago and I see this amazing pin and wanted to make something like it. So I got to work on my Silhouette and pumped out this:

 photo nametag1_zpsfa6e1979.jpg

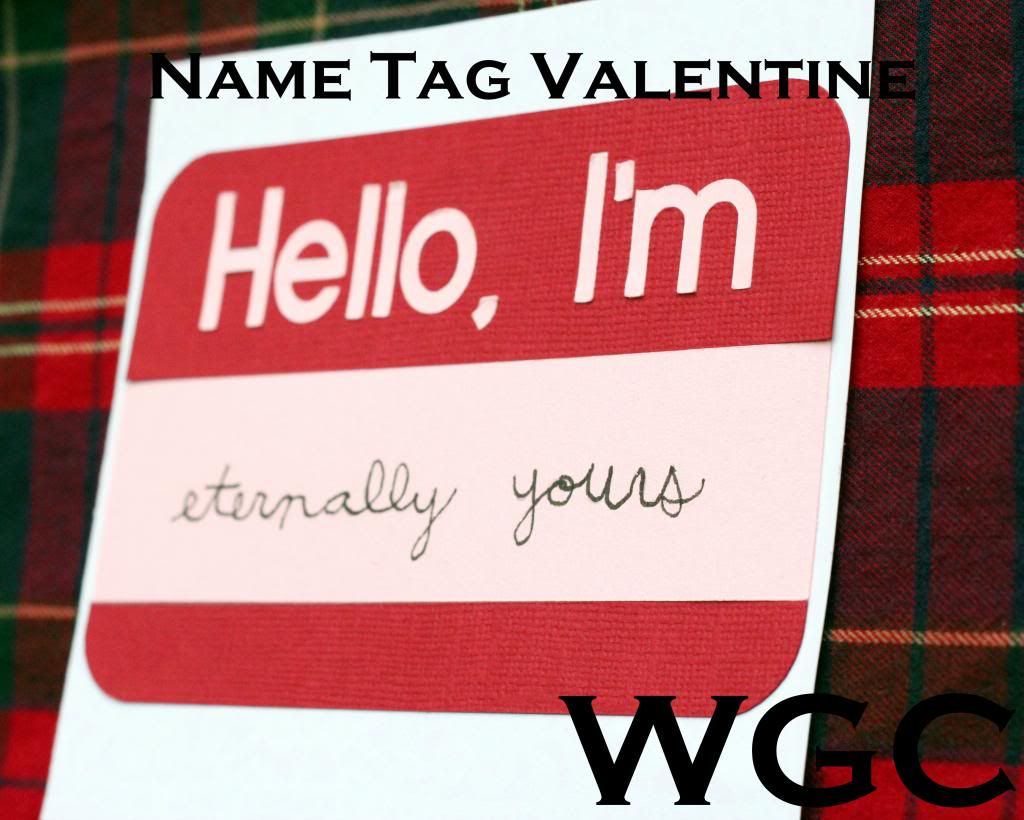
Simple enough and I really like it! I think it could be a fun card, or cool to use in a scrapbook layout. I plan on giving mine to my husband, who is totally beating me in the "month of love" love notes, by the way! And I love it =)

How I made mine: Cut out the whole design from red, then cut the middle rectangle and letters (again) from pink. Inserted the pink letters and middle rectangle into the design, gluing to the base paper of the card. Then I added in my sad, sad cursive the message in the middle. Done!

 photo nametag2_zps3cff38e4.jpg

I designed this myself and thought I'd give it away as a free download! Happy Valentine's Day!


Happy Valentine's Day!

What I Made for Christmas, Silhouette Edition!

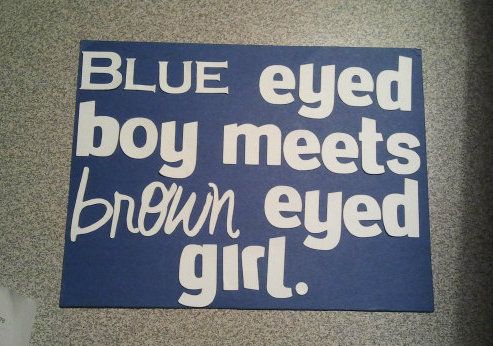
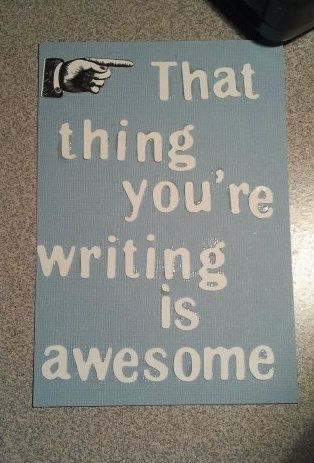
Amongst the Wayward Girl Sisters, we exchange families names for gift giving. I still like to do a little something for all my sisters. I made these two cards with my Silhouette:

Brooke's

2012-12-01215702
I ended up changing this one to say "Blue eyed boy meets a brown eyed girl."

Did you know Jordan's a writer? Here's her writing blog

2012-12-01203945

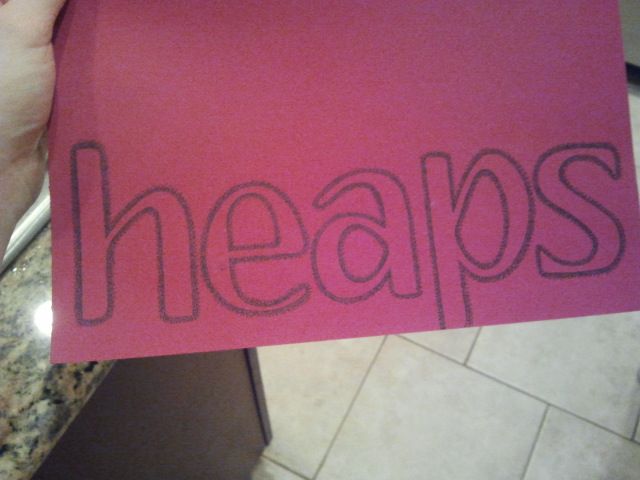
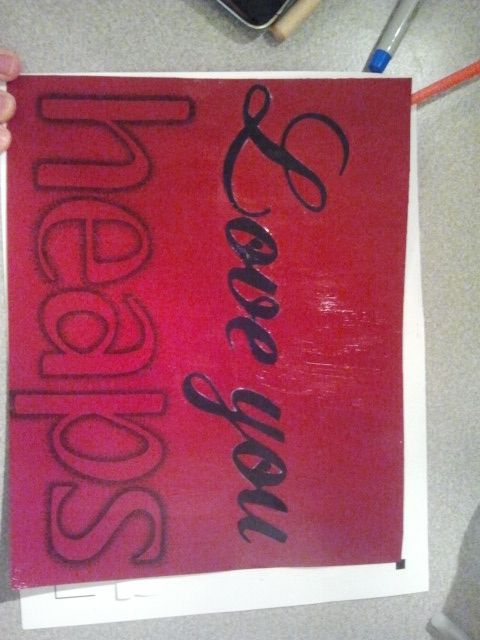
I had Jasmine's name this year so I made this beauty with my Silhouette and by hand. The "Love you" is cut with the Silhouette. I cut out the letters for "heaps" and hand stippled around them, and then removed the letters and voila. The phrase is one Jasmine and her husband, who went on an LDS mission to Australia, use. I framed this for them and I think it looks quite nice, but as Jasmine and her husband just got to their brand new apartment on Saturday night, I'm not going to request her to take a picture of it, so this crappy cell phone picture will have to do.

Uploaded from the Photobucket Android App
Stippling In process

Uploaded from the Photobucket Android App 
Finished


Because of the stupid glue I used showing up on the background of each of these, I had to Mod Podge over the top. It's not that noticeable in real life.

Craft-A-Palooza: Shaving Cream Painting

This is my last Craft-A-Palooza! How sad. This one is very fun for both you and the kids. I got this idea from Little Wonders' Days. You need shaving cream, paint and card stock.
On a plate or a pan, get a nice layer of shaving cream. Smooth it out with a spoon or other utensil. Now here's the fun part.
Add some acrylic paint (any color and amount will do) and swirl it into the shaving cream. You don't need to do this too deep into the shaving cream. The marbleized it looks, the cooler you paper will turn out.
Now taking card stock or any sturdy paper, press it down into the paint and shaving cream design then pull it up carefully. Let it stand for a minute or so.
Next, using another piece of paper or squeegee, remove the paint and shaving cream.
 Your paper should now be tye dyed and ready for you to cut out fun shapes and patterns!


Wayward Tip: So I learned the hard way not to cut out the shapes and then dip your paper. I also learned when you are scraping off the excess paint and shaving cream, do it on one movement and in one direction. Also, use something bigger than the paper you are removing the extra off of...

Spring into Hand Stitching

I’ve seen some really cool hand stitching lately and wished I could hand stitch something too. (Here's an example shared at Wayward Weekend: Angel Stitch Embroidery's Holstein Cow) The only times I’ve cross stitched haven’t ended well or happened in the last 10 years. So I was ready to try again when I came across this amazing tutorial. Please check it out!

Here’s what I did a little wayward from the tutorial:

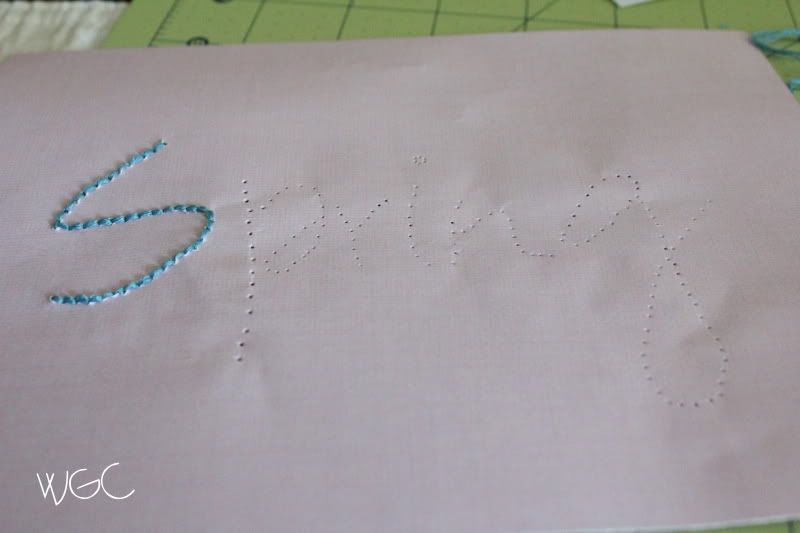
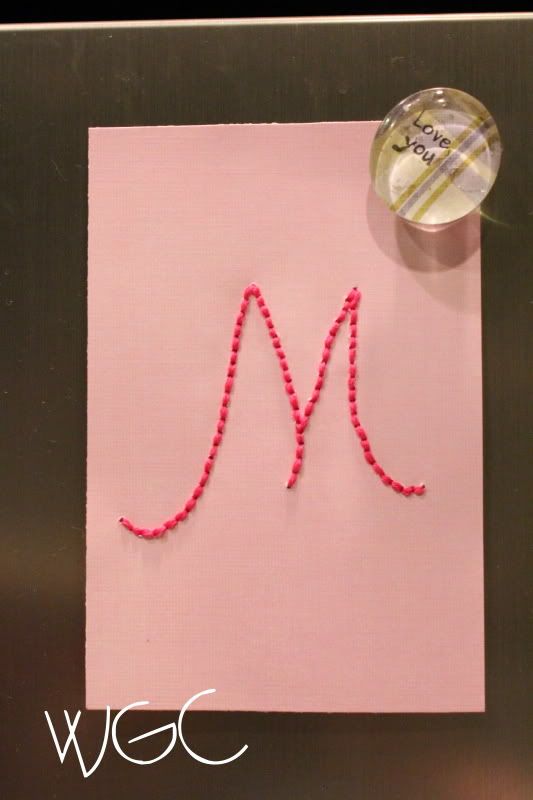
1. I played around with fonts and printed out my letters. My poor printer is dying. The problem with this: I chose the Vaguely Repulsive font and it’s rather thick. This wouldn’t be a big deal, but I didn’t exactly keep my dots straight. If you choose a thinner font/your handwriting, it’s going to be easier to keep things straight.

Photobucket


2. I used a needle and sewing pin to make the holes in the paper rather than a thumbtack. Somehow our thumbtacks were displaced during our moves and we haven’t replaced them. So I used a needle for a while and then a pin. I wouldn’t recommend it. It wasn’t easy and I think it wrinkled the paper a bit because of the force I had to use and how I held it. Use a thumbtack.


Photobucket

3. At first I used her recommendation for the length of the embroidery floss but I found it to be a little short when doing longer letters like the “g” so I doubled it. No biggie.

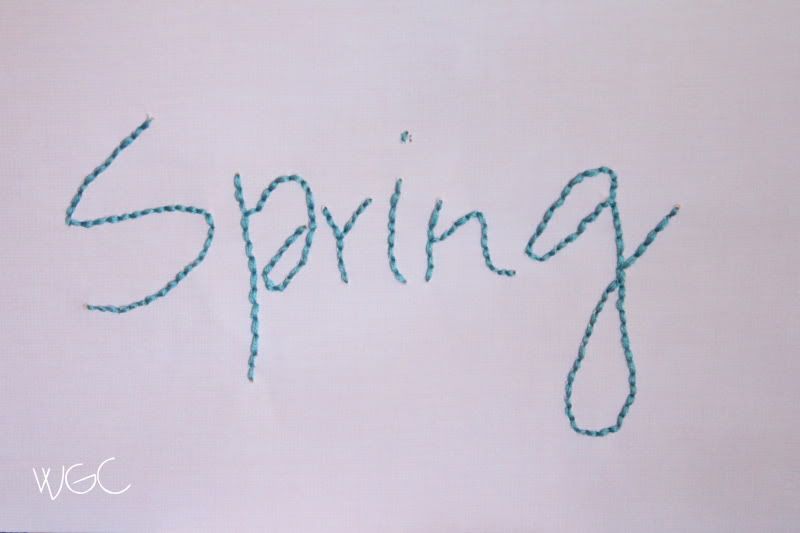
4.The dot on the “i” didn’t work out. Maybe too many holes in too small of a space?
 Finished Product:

Photobucket


Bottom line: this is a really cute way to personalize anything. I was thinking about all the possibilities. This is one I came up with this one for an inexpensive, but totally cute baby gift:

Photobucket

I framed this for a baby shower gift. I love it! 

I've got more ideas so I may be sharing this again. I hope you try it out!

Jaime's Favorite Crafting Tools of the Trade

This fun theme was all Brooke's idea. I wanted to share with you the products I LOVE to craft with. Click the product pictures to be taken to Scrapbook.com's superstore where you can purchase them! (disclosure: we're an affiliate of Scrapbook.com; we'd receive a few cents if you bought something from SB.com from the product links in these posts) Also, click my project pictures to go to the blog post about them.

Herma Dotto Dots Roll Dispenser with REMOVABLE adhesive.

This thing is a lifesaver. I love how strong it is as well as being repositional within the first few minutes of sticking something down. I need that, because I am indecisive and rather...un-straight when I am papercrafting. I love when I pull something up that I can wipe the excess adhesive away and it doesn't leave a mark! I used this adhesive here (and in all of my scrapbook pages) :

Photobucket

Martha Stewart's Circle Cutter


I love this circle cutter. I have wrestled other circle cutters before trying this beauty (which was cheaper than just about any other!). Finally, I found a circle cutter that works. I love the results. See? Aren't they great?


Tim Holtz Scissors


During a National Scrapbooking Day celebration on Scrapbook.com, I won a door prize. It was filled with all kinds of goodies, including these scissors. I love them and use them all the time:


Photobucket

Finally, what is a crafter without her trusted glue gun?


Mine is just as nasty, or even nastier than yours! Of course it is used on tons of projects, like this one:


What are your tools of the trade?

Guest Post: Alissa from Will Run for Stamps

I met Alissa on Scrapbook.com. She has a great sense of humor, she's an inspiring runner and a very talented papercrafter. Along with beautiful layouts, Alissa makes STUNNING cards. She is amazing at using colored pencils--not just any colored pencils, but she works her magic using watercolor pencils. She's sharing a really cool tutorial today about how to color images using Loew-Cornell pencils. We're excited have her, please check out her blog, Will Run For Stamps. Take it away, Alissa!


Be sure to check my labels on the left for more tutorials, examples, and ideas.

Step by step with Loew-Cornell pencils.

Digital stamp by Natalie for Whimsy Stamps. Simply adorable!


Started with a nice yellow, light pressure all over.


Same yellow, more pressure at center.


Create more shadows with a darker color.


A bit of orange all over, the center and petals.


Create shading in the center with darker color.


A bit of brown but I don't like it so...


I use my handy dandy eraser!


Trying the center again.


Used these two colors.


My newest favorite trick. Using a weird color like Ultramarine in the darkest corners. Only a little bitty bit.


Good enough.


Good stuff. Digis are compatible with everything, pencils, watercoloring, Copics, chalk. Love my Prismacolor pencil sharpener. I have two good erasers. The plastic one by Derwent and the Artgum is also outstanding.

Finished images with Loew-Cornell pencils. Both are digis by Natalie for Whimsy Stamps.


Cards featuring Loew-Cornell pencils.

Digi by Meljen's Designs for Whimsy Stamps.


Digi by Beccy.


Digi by Natalie for Whimsy Stamps.

Thanks for guest posting, Alissa!
Related Posts Plugin for WordPress, Blogger...