Showing posts with label Nail Polish. Show all posts

How I Found My Fabulous and You Can Too!

I've been in need of feeling fabulous lately. So I took Brooke's advice and did a few things:


Painted my nails. A great activity to go along with watching Project Runway after my baby is asleep


Today I was NOT feeling it, but I didn't want to look that way when running errands. I've found when you look better you feel better!


So I put on some make up and earrings. I braided my hair and threw a hat on to cover the greasiness and voila! I wouldn't have usually paired pearls and my Yankees cap, but I think it works! I felt much better walking out of the house having spent just 15 minutes on myself. And my nails are still painted, so that's a plus.
(The car was in park at the time this photo was taken)

Have you been feeling less than fabulous? Check out Brooke's post to find more ways to feel fabulous inexpensively.


 Now go take on the day, FABULOUSLY!!

Valentine's Day Round Up!

It's time to start crafting for Valentine's Day....but some of us haven't started yet. So here's some inspiration to get you in the mood for pink, red, hearts and chocolate!


Photobucket

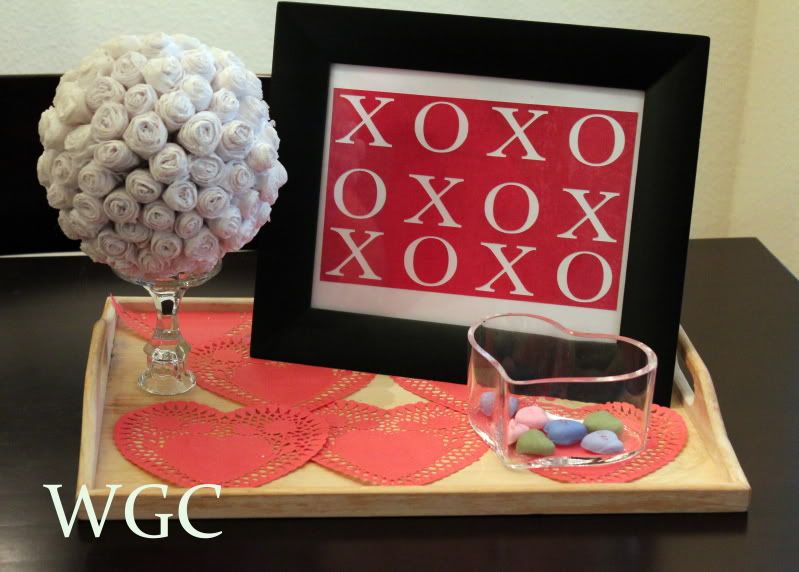
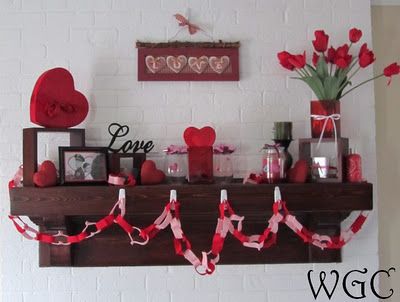
Get your home ready with ideas for some Valentine's Decor


Photobucket


Photobucket

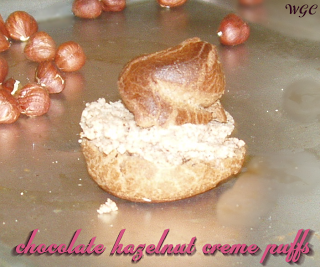
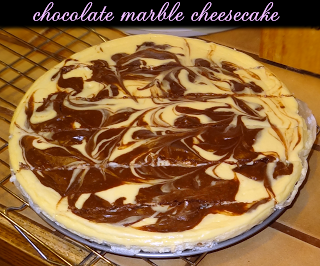
Need a treat for your Valentine? Why not try Hazelnut Creme Puffs or Marble Chocolate Cheesecake

Photobucket 


Photobucket

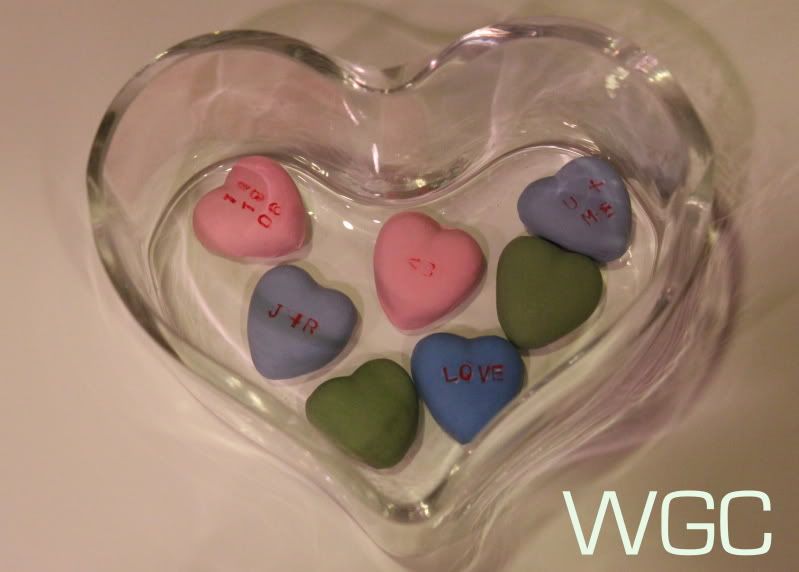
Here's a Valentine that will last forever: Clay Conversation Hearts

Photobucket
 
Is your Valentine a little young? Maybe very young? A Valentine's Day Onsie could be perfect!

Photobucket

Hope you found some inspiration! Happy Valentine's Day!

Spooky Nails

Sometimes some ombre nails that I see on pinterest to me look like fungal infections. So I thought, "why not try this out for Halloween?" So here's my experiment in icky, spooky nails for a which or creepy old lady costume.

I used four nail polishes: white, gold sparkle, blue sparkle, and emerald.
I started by painting my nails white. Getting a good layer of white is tricky. The first coat I did thin so it would dry faster and I knew it wasn't going to show so I didn't really care what it looked like. The second coat I did slower with more paint on the brush, reapplying paint to the brush often so I could get a solid, even coat. Then, starting at the cuticle, I painted on gold sparkle leaving 1/4 of my nail white.
I then alternated the gold sparkles with the blue sparkles, creating several coats each getting shorter (closer to the cuticle) as I layered them.
I decided this wasn't spooky enough. So I wanted to add some real creepiness to it and I decided to line my cuticle with a darker emerald green. I did this by dipping a detail pen (you can also use the head of a sewing pin) in the polish and lightly drawing a line, reapplying paint to the brush every few small, teeny, tiny strokes. I almost dotted it on the strokes were so tiny.
Then, while the green line was still fresh, I added another layer of the gold sparkle on and a whole thick coat of it too so the layers and colors would soften together.
 
So, what do you think? I don't know about them...but they definitely look icky! Is a win or a flop??


Crackle Nails

Crackle nails are fun and easy. You have to buy crackle nail polish. It can get pricey so look around for a good deal. First I painted my nails one solid color. I let my nails dry a little bit. I don't worry if they're not all the way dry.

Now apply the crackle polish generously. I don't like to do it thin but that's a personal preference.


Crackle dries very quick so move quickly when you're painting your nails. And just like that you have crackle nails.


Hunger Games Nails

Late summer of 2010 I had just finished Harry Potter and the Deathly Hallows (in preparation for HP7 coming out that fall) and needed a new book to read. Jaime suggested the Hunger Games. I had heard of the book and thought I'd give it a shot so my mom brought it home one day and I got to reading. And 2 days later I was done (work, sleep and eating got in the way of me reading it even faster!) and dying to read the next two books. By the next week I had finished the series and was a Hunger Games fan. Friday afternoon, after I was done with class my friend and I went to see the Hunger Games. We just about jumped out of seats the entire movie we were so excited. We laughed and cried and ate a ton of food and it was all worth it. But before all that excitement we painted our nails.

We first started by painting our nails black. This is a nice background for flames of course.
Next was tricky. We used a yellow gold for this step. Ok now what you have to do is remove the polish from the brush (you know the drill, just getting the excess off using the neck of the polish bottle) then dip the tip in the polish so you have a small amount on the brush. Starting at the tip of your nail, brush lightly up. You'll want to flick it up slightly so it creates a wispy look half way up your nail. This is going to be the tip of your flames.
Now add orange starting at the tip of the nail again. This time go about 2/3 up the yellow. We still want to see the yellow.
Now add red at the tip covering up about half or less of the orange. With the orange and the red you don't need to be as careful when creating the wispy look since we're going to cover it up with sparkles.
Finally, to really make your flames burn bright, add a yellow and orange clear sparkle nail polish. Be generous at the tip of the nail and thin it out towards the tip of the flames. Go a little above the flames to make it really shine like flames. My friend also added a layer of larger gold sparkles to look like the fire was popping. It looked pretty dang good! Good luck and may the odds be ever in your favor.


PS I added an arrow to one nail using a straight pin. Simply paint on the pin some yellow gold and transfer a straight line carefully onto your nail. Then paint the tip of the pin with a small amount of yellow and apply the tip and end of the arrow. Now you're definitely ready to see Katniss and Peeta...and Gale :)

Valentine Nails

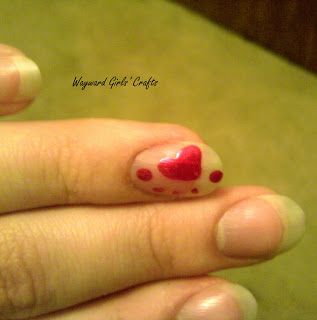
I decided to be festive this year for Valentine's Day by painting my nails. Well, my nail. My friend showed me a super easy way to paint a heart.

Taking a pin, dip it into the nail polish.

Now, use it like a marker and draw a heart on your nail.

This is super quick and easy. And just like that, you're done!


Thanksgiving Nails

I don't know how many of you have a Pinterest (if you don't then get on it!) but there's a lot of pins about nail art. I thought how perfect would it be to do something festive for Thanksgiving! And for my birthday, Brooke got me a nail art stylus (super inexpensive, find them anywhere, I think this one is by Loreal.) It's great. It's like using the pin but better since it has a smaller, more precise rounded tip.

(Like how all the lighting is different?? I'm a great photographer, I know.)
So here's how you make a turkey. Start with a base color. I tested out a bunch of different colors on a white piece of paper with a background and the gold I used for the body to see what looked good. You can also test out colors and practice designs on press on nail (also very inexpensive.) Start by doing the feathers. I did orange, burgundy, and red. I started from the base and moved to the narrower part of the feather. I didn't do perfect straight lines but oh well, feathers aren't straight right? I painted the head, neck and body in white first. This allows better opacity over the feathers and background. Also, it makes the gold (if you don't have brown) stand out better. Next, paint over the white with the brown or gold. Then paint the gobbler thing. First I did pink then I did red over the pink because I didn't like it. I put a small white dot then orange for the beak. Then I finished with 2 little legs. Apply a top coat and now you're done!

(P.S. I added another feather after this picture was taken)

Festive Nails

I love to paint my nails. To celebrate the fourth, why not have festive nails?! Ok, I LOVE to do designs on my nails. So that's what I did. It's really easy to do designs with a straight pin. 

Since it's the fourth, I wanted to try out doing fireworks. I haven't done fireworks before but why not try? I used a base color of blue. I did two different fireworks.
(Don't judge my dry hands :) )
The first I used the head of the pin. I unscrewed the nail polish, wiped off the excess and lightly touched the head of the pin to the nail polish brush. This gets just the right amount of polish on the pin. Now, touch the head of the pin lightly to the nail. If you push too hard, the middle of the circle won't transfer from the pin. I got fresh polish on the head for every dot and frequently wiped off the head. I alternated the rows of the burst in red and white and shazzam, firework. Now, let dry and put a clear top coat over it.

The second firework I used the tip. Just like the first, I unscrewed the nail polish, wiped off the excess and lightly touched the tip of the pin to the nail polish brush. I got paint on about 1/4" of the tip. This will create dashes. I lightly touched the nail with the polish. I got fresh polish on the pin for every dash and frequently wiped off the pin. I alternated the colors differently than the first firework as seen in the picture. I used the head for the center. And just like that, a different firework! Apply a clear top coat to this one as well.

Enjoy your fourth!!
Related Posts Plugin for WordPress, Blogger...