Showing posts with label Silhouette Cameo. Show all posts

Fall Leaves Monogram

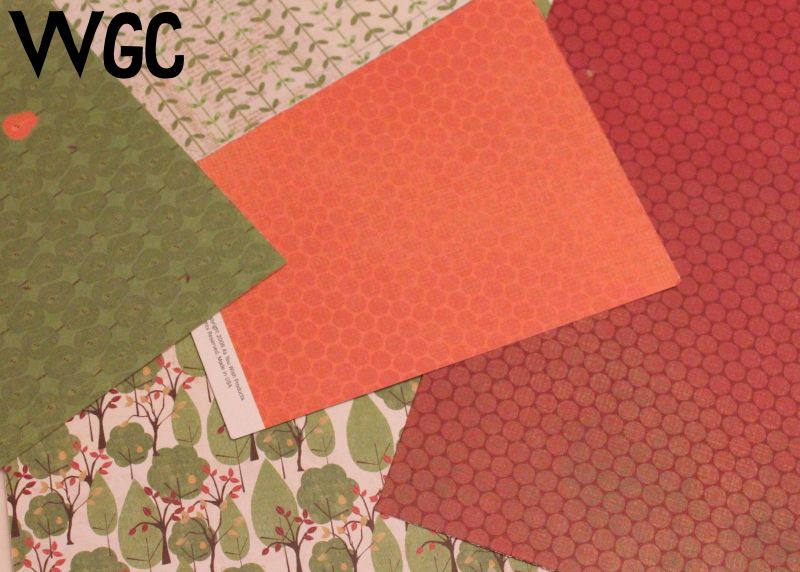
Happy Fall, Y'all! I wrote this post as a guest post two years ago but never shared it on our blog. So to get in the spirit of the season, here is my  Fall Leaves Monogram. I started by grabbing some fall patterned paper scraps from my scrapbook stash.

Photobucket

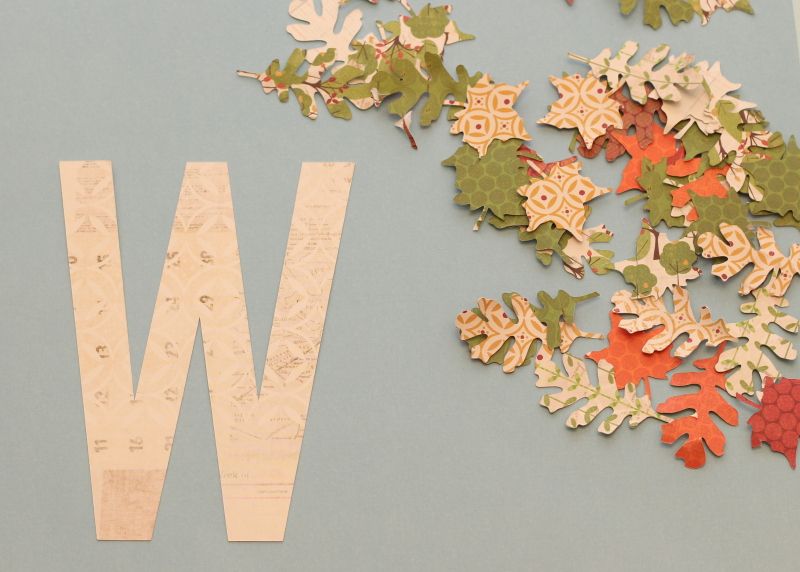
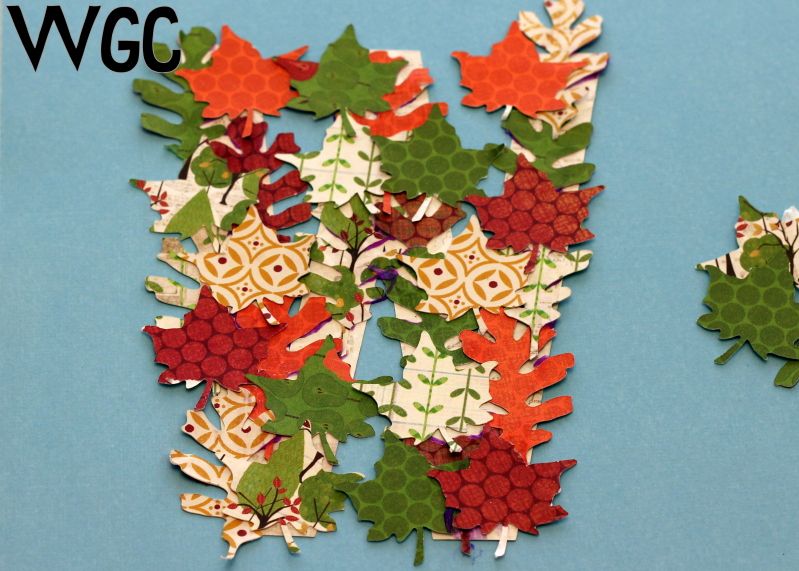
Using my Silhouette, I cut out a bunch of leaves from these scraps. Then I cut out my monogram also using my Silhouette. If you don't have a Silhouette, you could get some leaves like these and then hand cut your monogram. For this craft, you want a simple monogram because it ends up being really busy--straight lines are best!

Photobucket

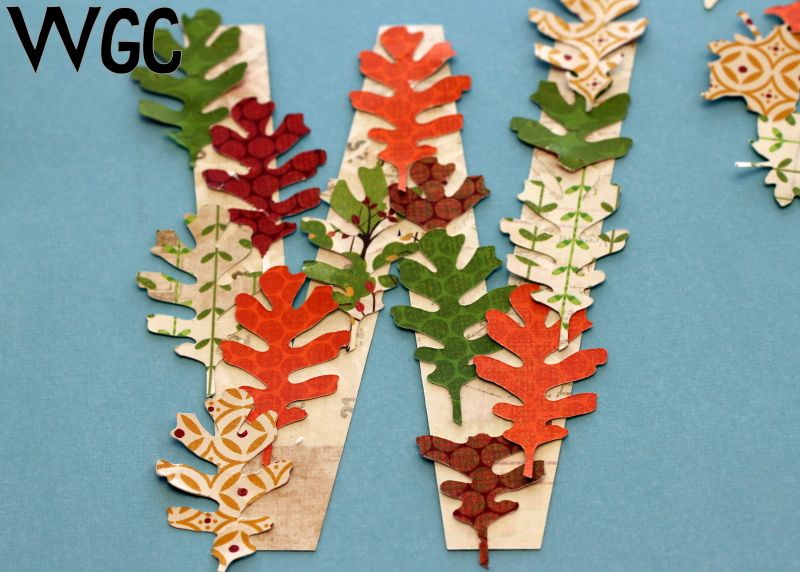
I covered the "W" in adhesive and then stuck my first layer of leaves on.

Photobucket

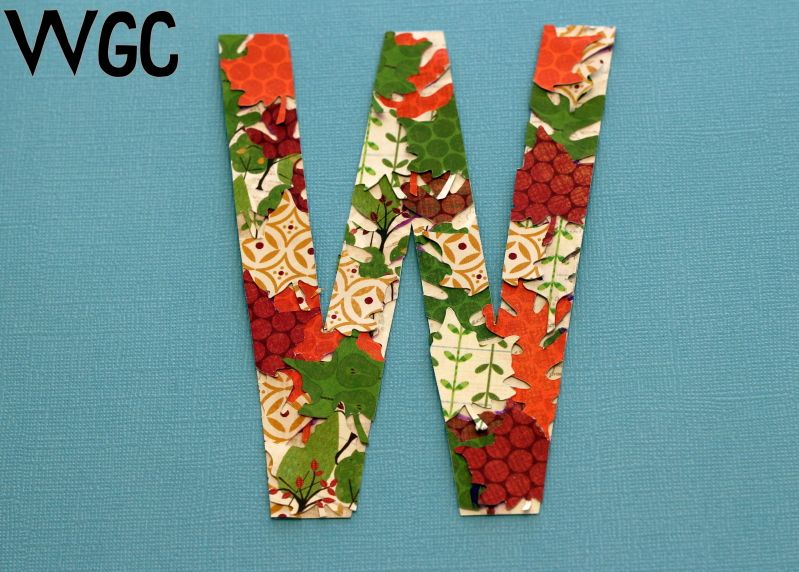
Then I added more glue and filled in the holes.

Photobucket

I let the leaves staggered the leaves to create more visual interest and then trimmed down the sides.

Photobucket

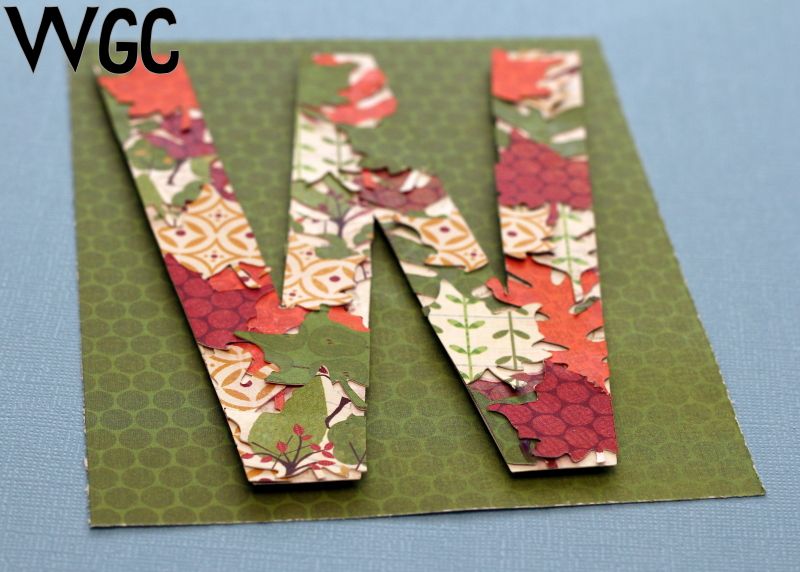
Then I used some 3-D pop adhesives to give it a little dimension and backed it on a coordinating piece of cardstock.

Photobucket

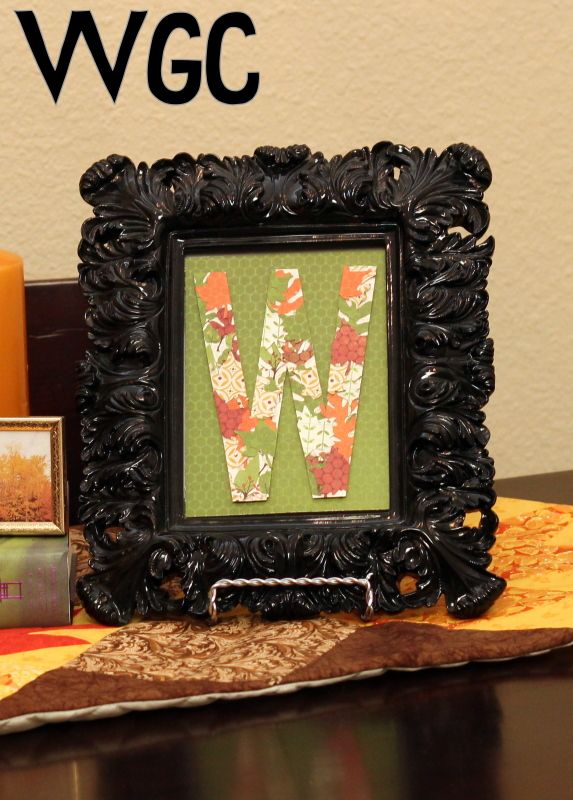
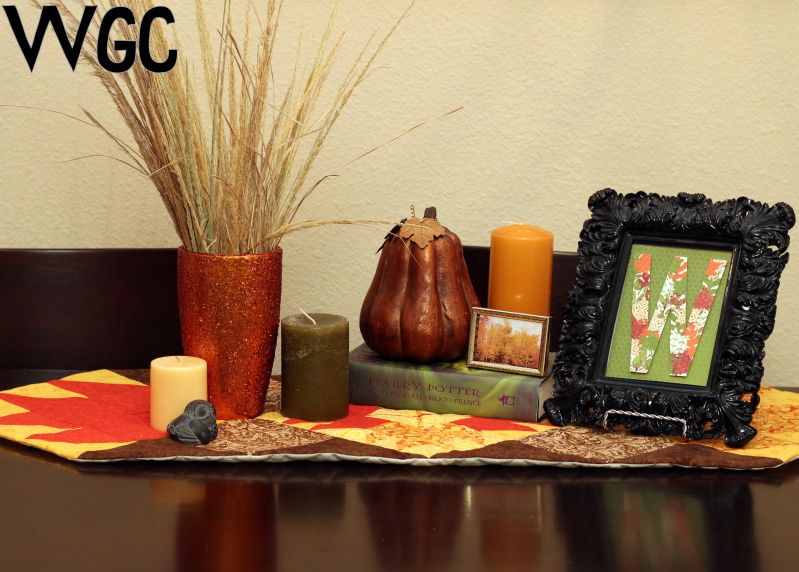
Last, I popped it in a frame and called it good. Here's the finished product!

Photobucket

Here it is with my fall table scape:

Photobucket

(kinda weird to see this--I've moved two times since I wrote this post!)


Father's Day Card: Happy Father's Day to My Favorite Baby Daddy

I made this card for my husband for Father's Day. (Inspiration found here)


Another card using my pen holder. It's so fun! I can't wait to use it to address envelopes!

Happy Father's Day to all the dads reading this blog, even if it is only mine =)

Father's Day Card: Thanks, Dad. I turned out spectacular

Here's the card I made for my dad for Father's Day: (Inspiration found here)


This was the first time I used my pen holder with Silhouette Studio. It was really fun! I did a little researching (ok Googling) and found some really cool ideas using the pen holder. Anyone have some gel pens they wanna give me? The one I used wasn't the best (Souffle) and I had to go back over the design myself. It gives it the handmade look, right?

Happy Father's Day!

Father's Day Card: Papa Bear

This card is for my husband from my daughter. Ok she's 7 months old, so I made it. Anyways. I found this shape in the Silhouette store and I loved it, but it didn't quite meet what I was looking for. So I modified it.


First I erased all the shapes except the bear. Then I duplicated the bear (or copy + paste) and flipped it to face the other bear. To make sure it would fold correctly, I spaced the bears away from each other a little and drew two cut lines. Voila!

Closed


 Open


 I really love this one! Happy Father's Day!

Father's Day Card: Best Dad of All Time

Here's a card I made for Father's Day for my pawpaw, father-in-law and Ricardo. (Inspiration found here) Ricardo is my husband's grandma's husband. We don't say "step grandpa" we just say Ricardo (even though his name is Richard).
To make this card, I found a clipart of a watch I liked:


And then used my "Trace" feature in Silhouette Studio. (Sidenote, Silhouette users, what do you think of Silhouette Studio 3.0? It's taken a little getting used to, but I like it!)


I cut out the watch and then the words for each card. Slapped the watch on the card and some paper behind to fill in the background of the words and voila. I even made some simple envelopes to go with. 


I've got more cards coming, one for my dad and two (hopefully) for my husband. It's his first Father's Day!

"Like a Sir" Mustache Birthday Card

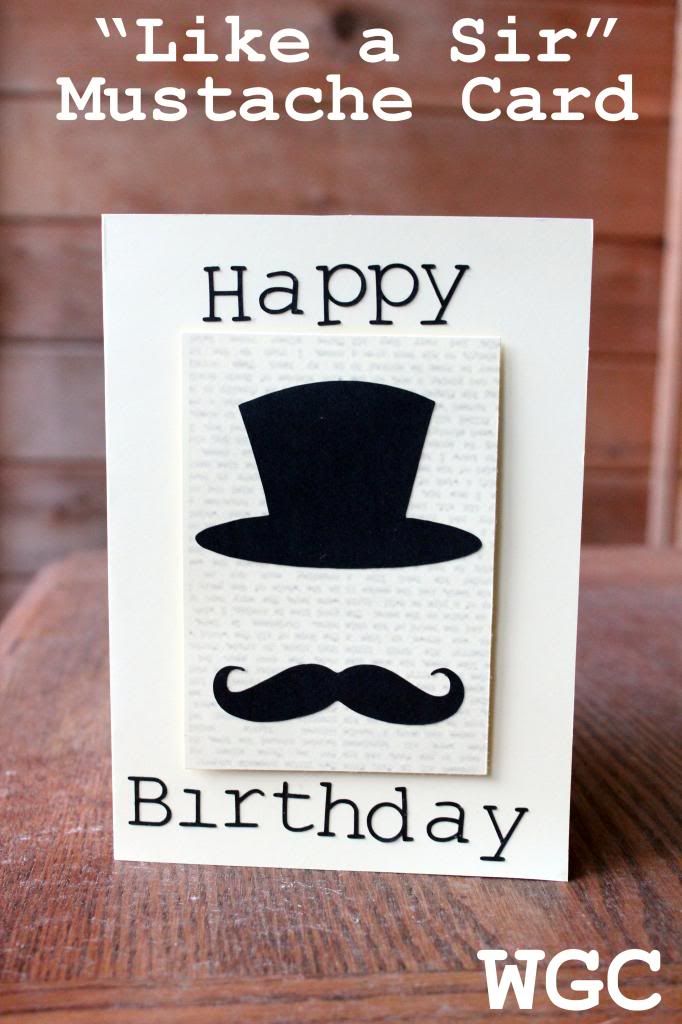
It's been my goal to make handmade birthday cards for everyone in my family this year. I sometimes go the extra mile and make a card for a friend. I came up with this:


 photo likeasir1_zps305092f9.jpg

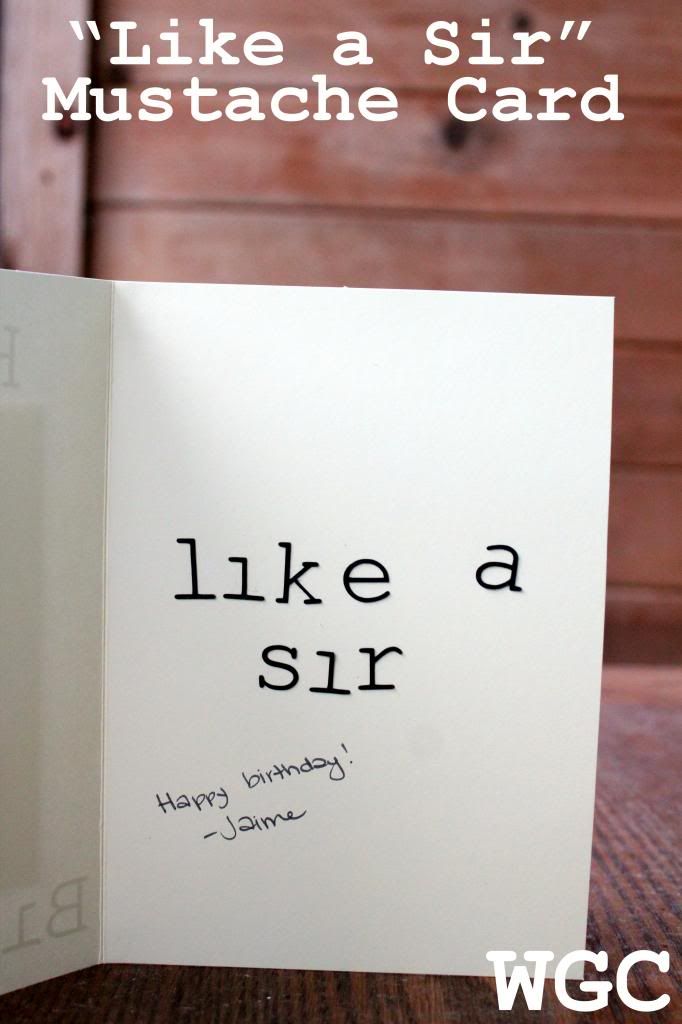
I used my Silhouette Cameo to cut out the top hat, 'stache and letters (Courier font). I printed out the newsprint from here


 photo likeasir2_zpscf3d988f.jpg

I was pretty proud of myself =)

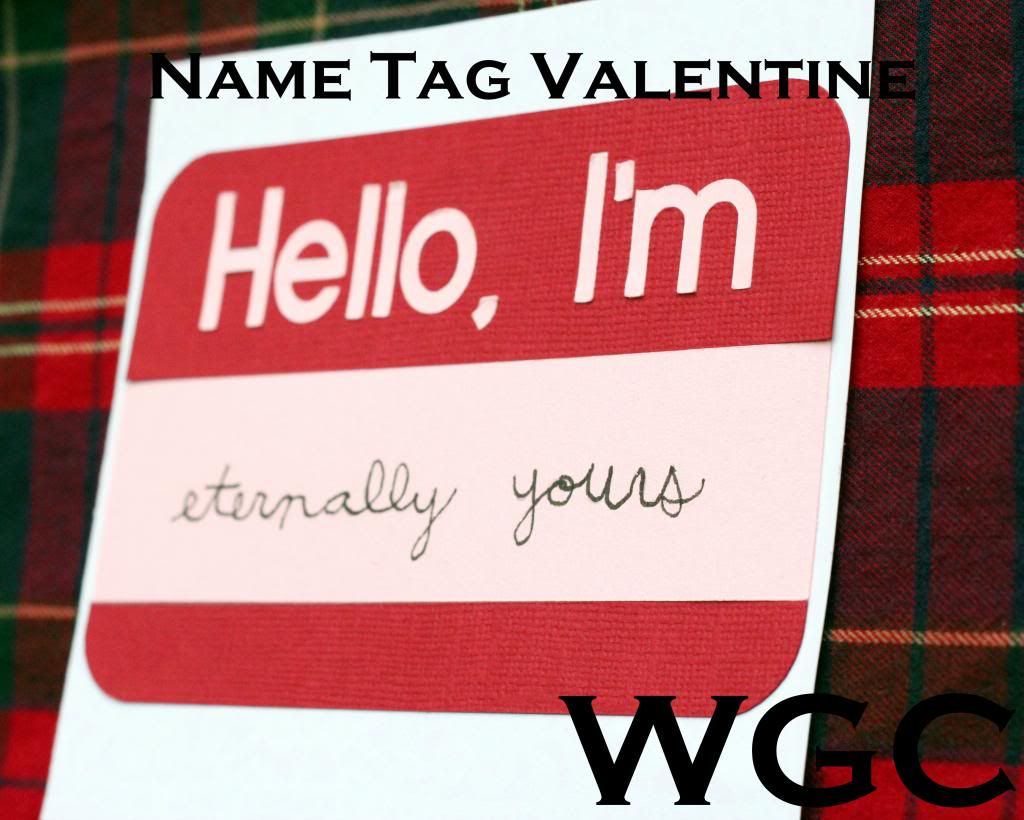
"Hello, I'm" Name Tag Valentine

Once upon a time, I was a moody pre-adolescent. I had just gotten my own bedroom and inherited a large desk, filled with forgotten office supplies. Inside, I found some name tags. I suppose I was feeling victimized in some way, so I took one of these name tags, which said "Hello, I'm" at the top and wrote underneath, "feeling unloved" I put it on my bedroom door as a flag of my intense, preteen feelings. My parents got a good laugh out of it.

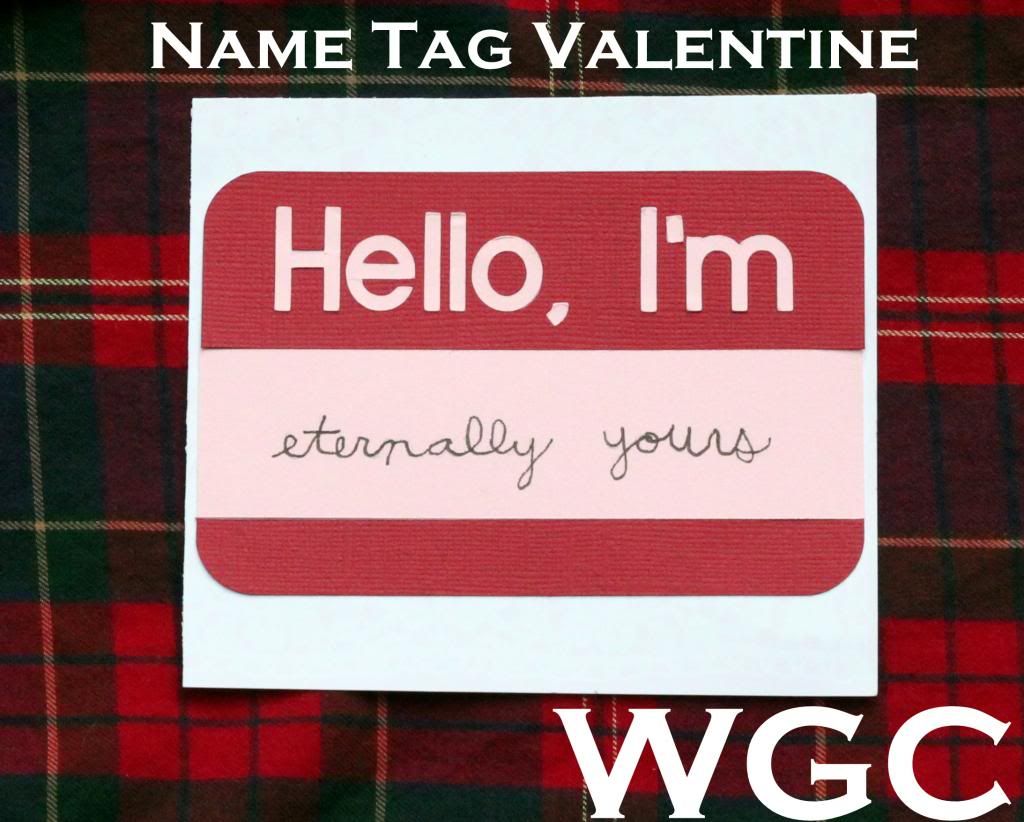
Fast forward to a few weeks ago and I see this amazing pin and wanted to make something like it. So I got to work on my Silhouette and pumped out this:

 photo nametag1_zpsfa6e1979.jpg

Simple enough and I really like it! I think it could be a fun card, or cool to use in a scrapbook layout. I plan on giving mine to my husband, who is totally beating me in the "month of love" love notes, by the way! And I love it =)

How I made mine: Cut out the whole design from red, then cut the middle rectangle and letters (again) from pink. Inserted the pink letters and middle rectangle into the design, gluing to the base paper of the card. Then I added in my sad, sad cursive the message in the middle. Done!

 photo nametag2_zps3cff38e4.jpg

I designed this myself and thought I'd give it away as a free download! Happy Valentine's Day!


Happy Valentine's Day!

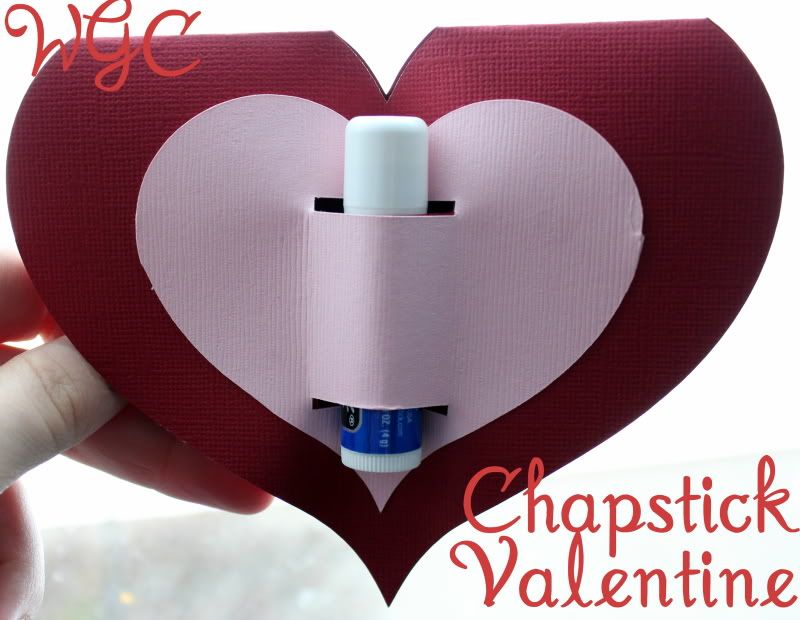
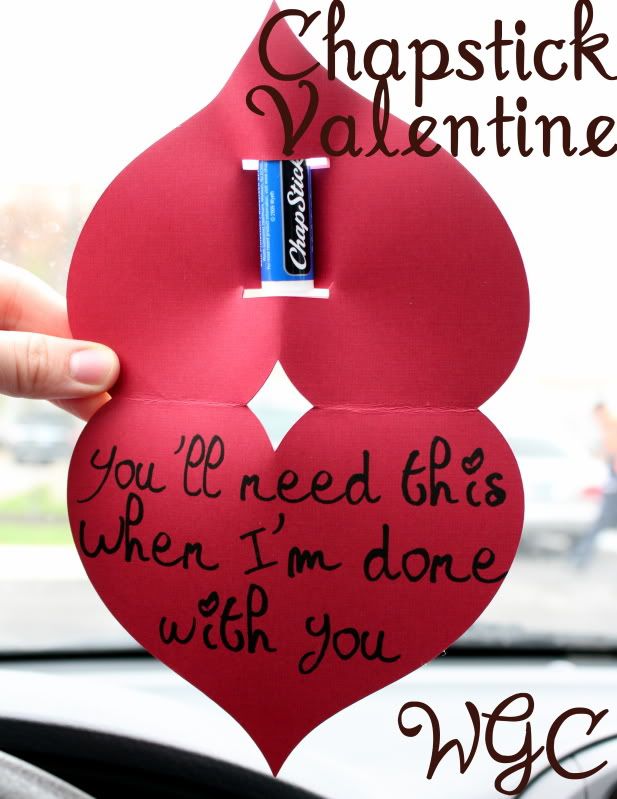
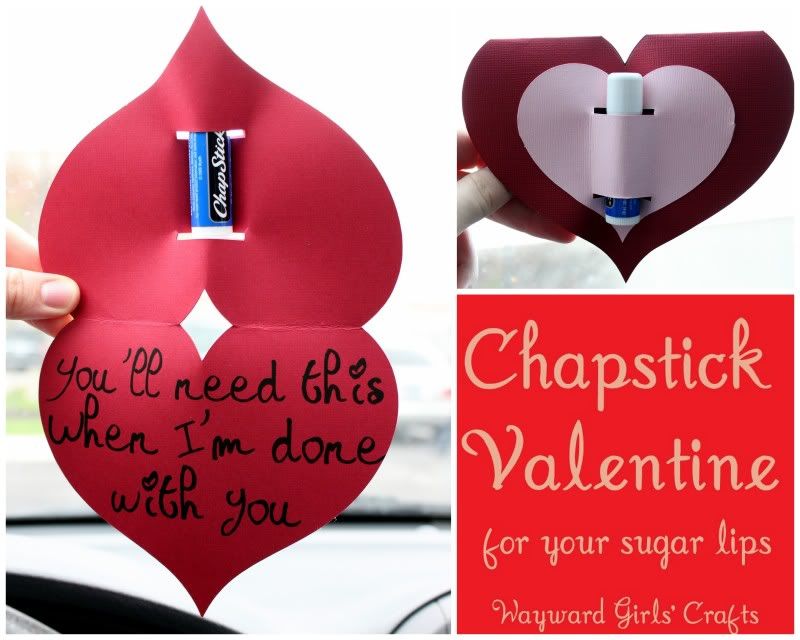
Chapstick Valentine made with Silhouette Cameo

I have a little tradition for the month of February.

Photobucket

 I call it the Month of Love and try to leave little notes or treats for my husband every day. I love to hide them in places he'll find later. It's not too hard to do, especially if you write up the notes in advance. Some places I love to leave notes are:
  • His bathroom drawer
  • His wallet
  • His briefcase/backpack
  • His suit pocket
  • His running shoes
  • His pillow case
  • The bathroom mirror
  • His car
  • Inside his huge headphones
  • On his keyboard
  • In a book he's reading or one we're reading together (Like The Book of Mormon)
  • By his hobby supplies
  • In his clothing drawers
  • On his computer screen/in his laptop
This year I had an idea for a Valentine plus a treat. I used my Silhouette to design this:

Photobucket

The inside looks like this!


Photobucket

(Font: Princess Muffin. Heart from "9 Hearts" purchased in Silhouette store)

I am in LOVE!


Photobucket

 Happy Valentine's Day!

What I Made for Christmas, Silhouette Edition!

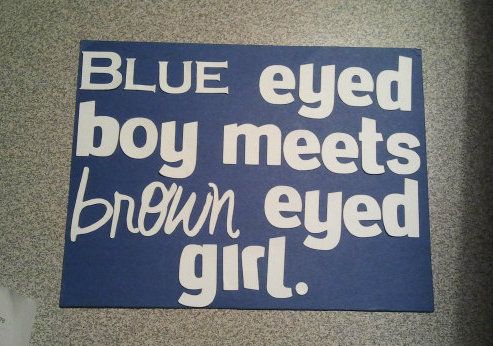
Amongst the Wayward Girl Sisters, we exchange families names for gift giving. I still like to do a little something for all my sisters. I made these two cards with my Silhouette:

Brooke's

2012-12-01215702
I ended up changing this one to say "Blue eyed boy meets a brown eyed girl."

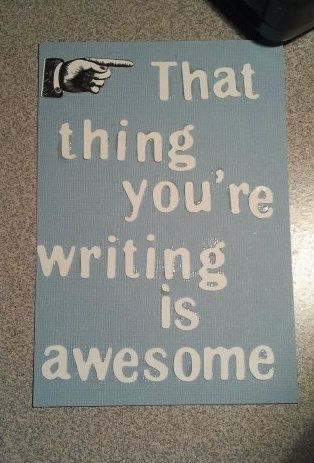
Did you know Jordan's a writer? Here's her writing blog

2012-12-01203945

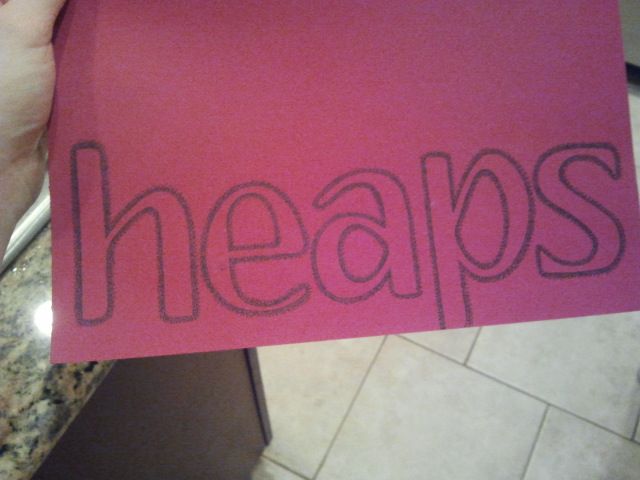
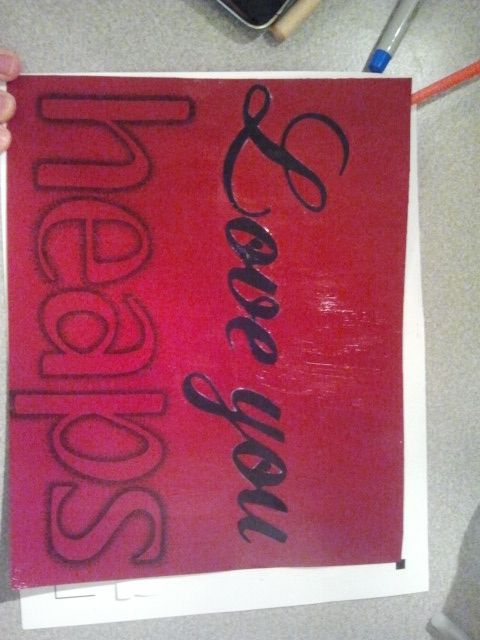
I had Jasmine's name this year so I made this beauty with my Silhouette and by hand. The "Love you" is cut with the Silhouette. I cut out the letters for "heaps" and hand stippled around them, and then removed the letters and voila. The phrase is one Jasmine and her husband, who went on an LDS mission to Australia, use. I framed this for them and I think it looks quite nice, but as Jasmine and her husband just got to their brand new apartment on Saturday night, I'm not going to request her to take a picture of it, so this crappy cell phone picture will have to do.

Uploaded from the Photobucket Android App
Stippling In process

Uploaded from the Photobucket Android App 
Finished


Because of the stupid glue I used showing up on the background of each of these, I had to Mod Podge over the top. It's not that noticeable in real life.

Hunger Games Card made with Silhouette Cameo

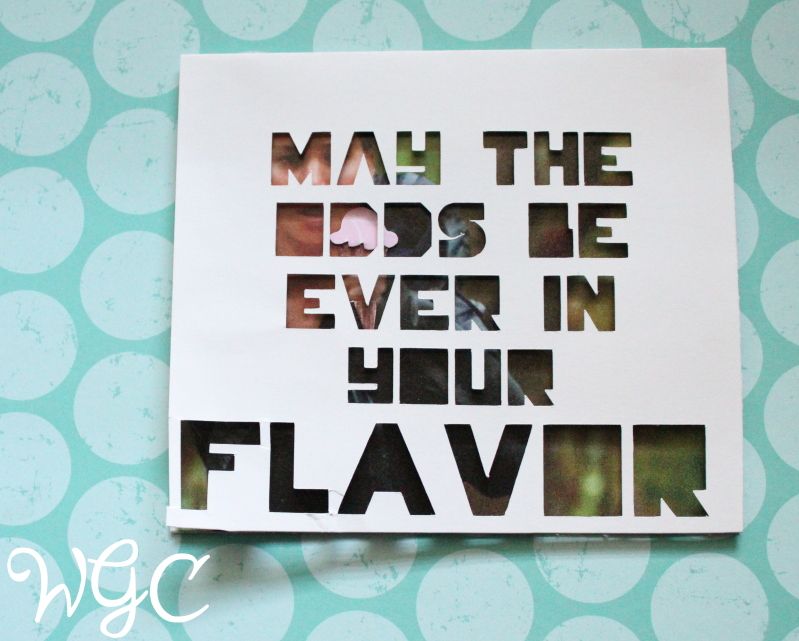
Last month I had an idea for a card for my little sister, Jasmine. Jasmine is a very lucky sister because she has me to introduce her to wonderful books like The Hunger Games. Using my Silhouette Cameo, I made her a little card to celebrate our love of the series and the first movie:

Photobucket

"May the odds be ever in your flavor"

Photobucket 

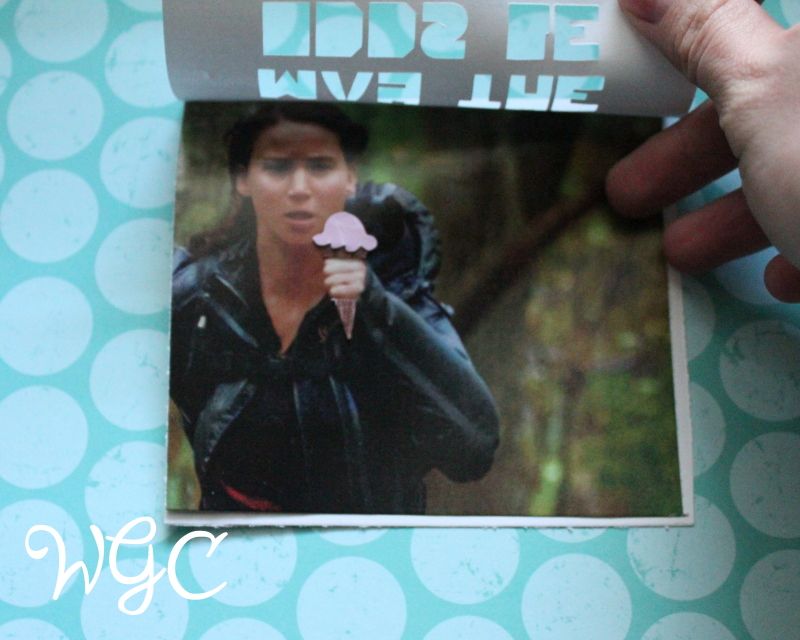
Inside the flap, Katniss with an ice cream cone

Font: Hunger Games Font Download for free here

One thing I love about the Silhouette is that I can download any font I want and use it in the program. This font worked really well with my Silhouette.

To make the ice cream cone, I cut a triangle out of brown paper and a little scoop of ice cream out of pink. I eyeballed both.

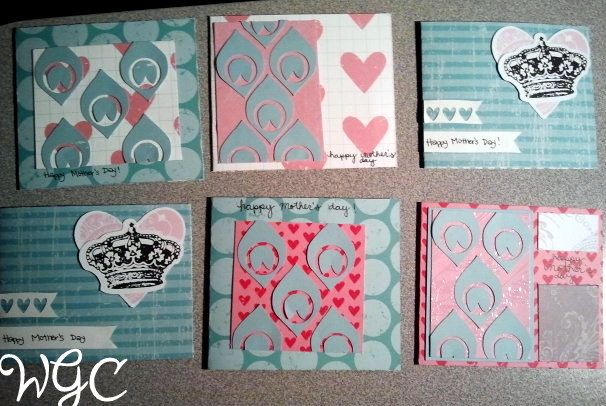
I also made some fun cards for Mother's Day. It was really fun to play around with my Silhouette and use some of the free shapes Silhouette gives away every week!

Photobucket

Shapes used: Mother's Day Card Sketch, Peacock Feather Background
Paper used: Heidi Swapp's "Carefree" collection, purchased at Tuesday Morning.

I am really loving my Cameo for card making!

I was not compensated or asked to promoto Silhouette Cameo


.Maggie Muggins Designs

Silhouette Shirt

This isn't done by me but I thought it was so stinkin' cute I had to share it (plus I've been traveling all day and didn't prepare a post.) Jordan's sister in law made Jordan's oldest daughter this cute shirt. She bought a striped shirt. Easy beezy right? Then using her Silhouette, she cut out an even cuter owl on suede (made for the Silhouette) and applied it to the shirt. And just like that, Jordan's daughter now had a one of a kind, stinkin' cute shirt!

The RED Valentine's Day Party

Last Saturday I threw my first big party. Thankfully I had the best help a girl can get, my friends Jessica and Anne. The theme of the party was RED. We asked everyone to wear red, with a prize going to the people who wore the most. We also asked them to bring a red dessert or appetizer. The playlist I made for the party had songs with "red" in the title. It was fun to put together.

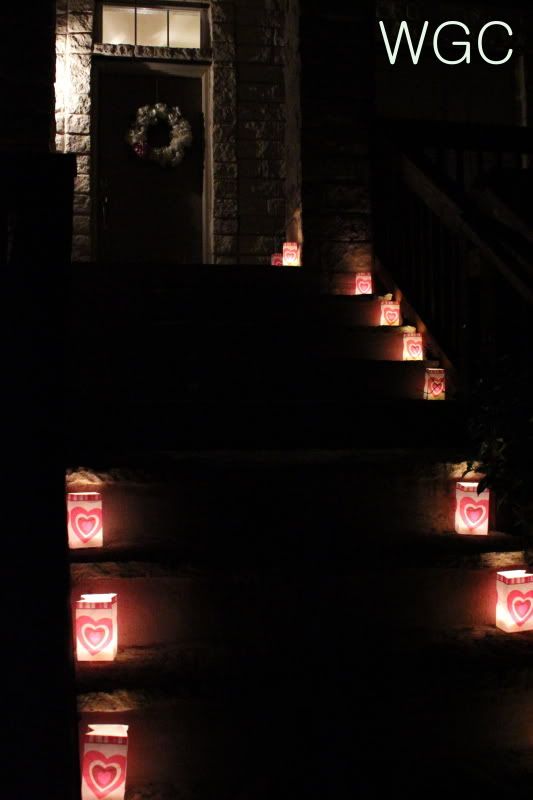
Anne's idea to have luminaries was a great one. They welcomed everyone and added enough light to the stairs.

  Photobucket
Aren't the hearts perfect?

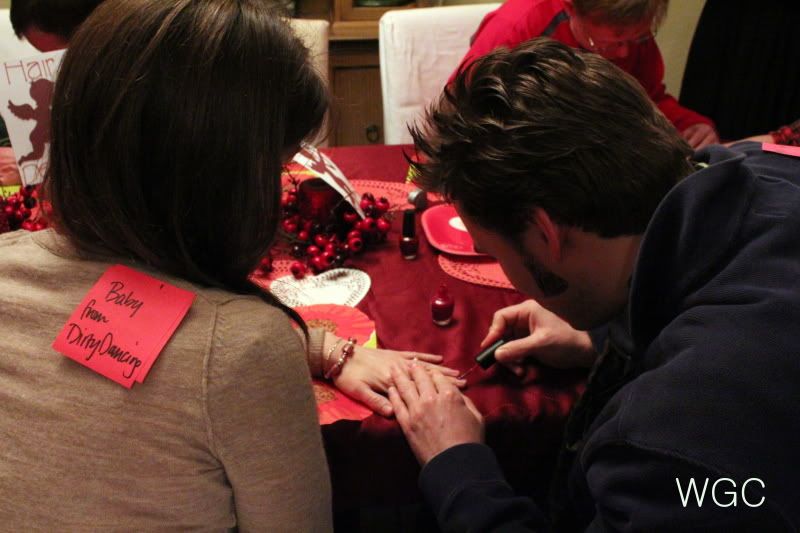
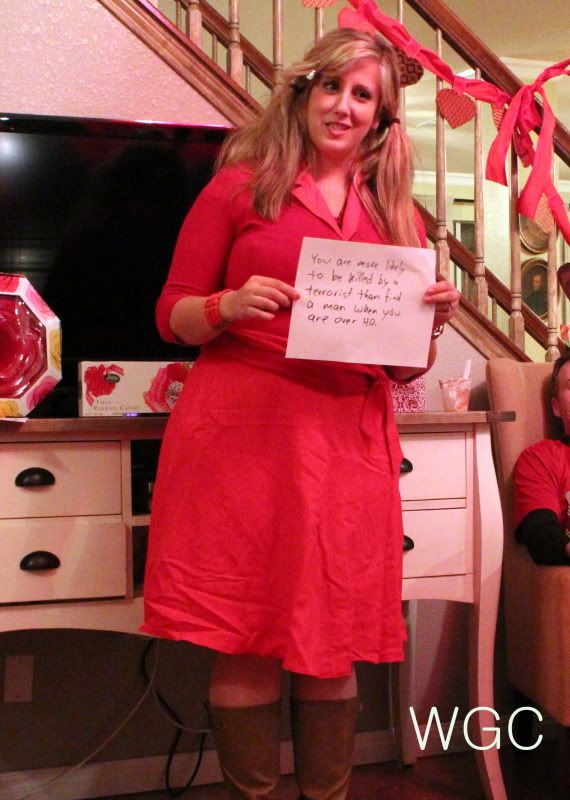
Our guests came in and got photo booth style shots taken and then got a name of a famous couple put on their back. I was Olive Oyl. Others names included Bonnie and Clyde, Fred and Wilma Flintstone, and Mickey and Minnie. It was a good ice breaker and got people talking. This was all Jessica's idea. Here's an example:

Photobucket

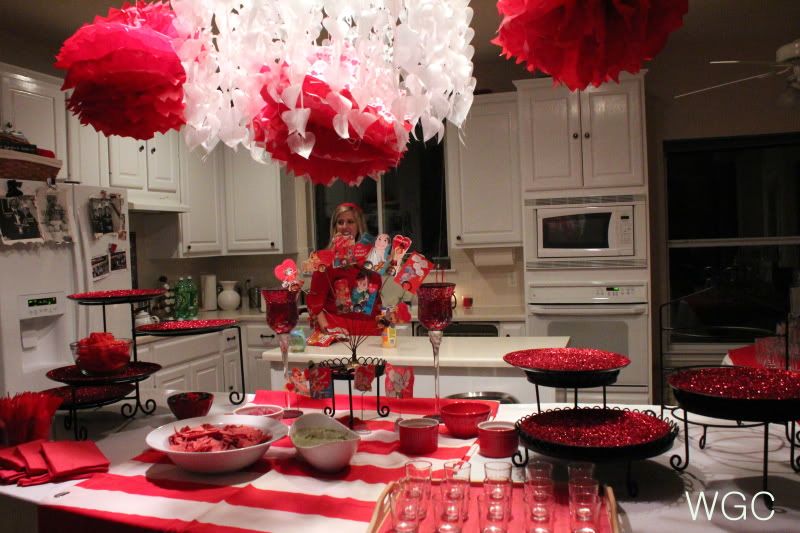
Then eating ensued. This picture was taken before the party really got started so there isn't much food on the table.

Photobucket

A few close ups of decor:

Photobucket

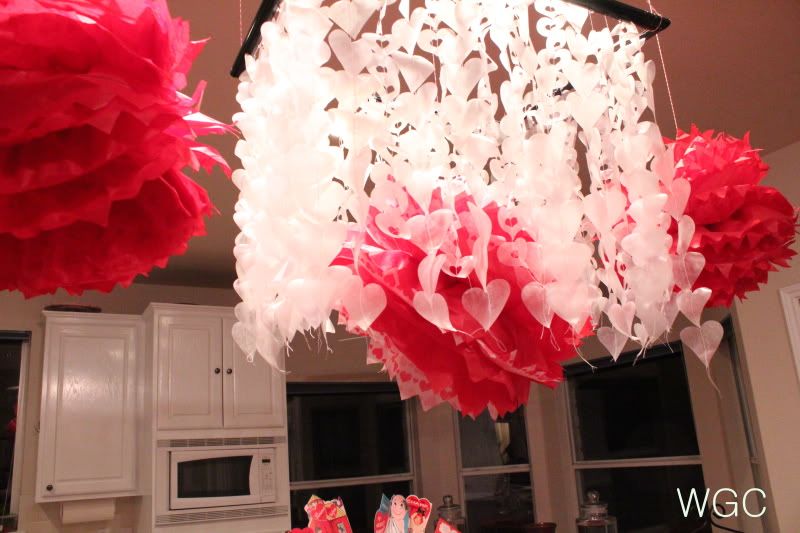
Three pom balls and a hearts display inspired by Being Brook's idea. For mine, I used my Silhouette and cut out over 450 hearts from wax paper. It was perfect to diffuse the light. I sewed strands of hearts together and then attached them to a lightweight frame, which was strung from the ceiling. I got lots of compliments on it.

Photobucket

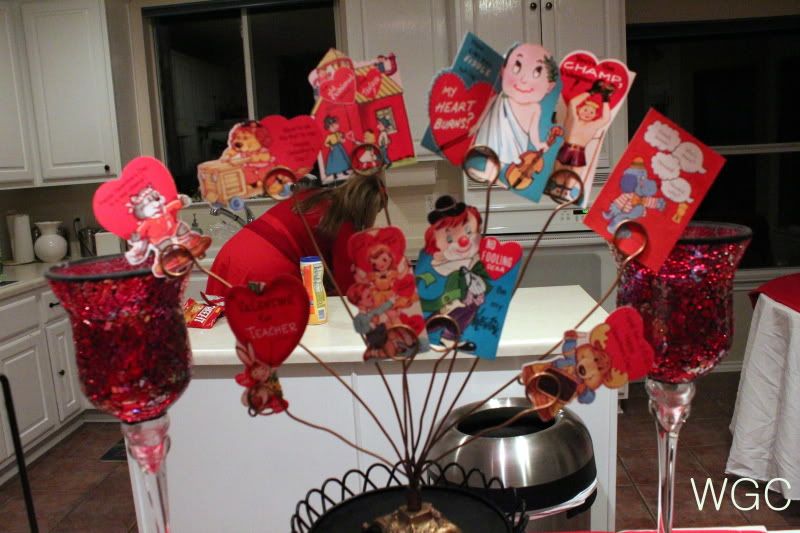
My vintage Valentines from eBay. They were so cute!

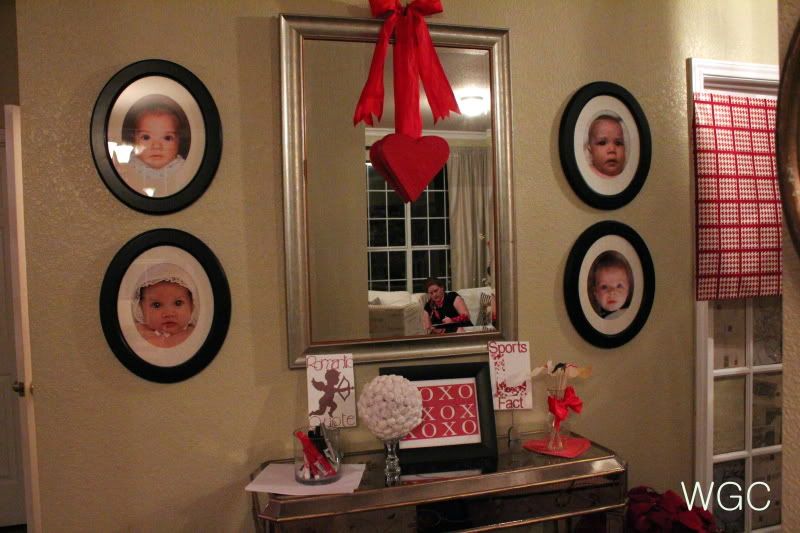
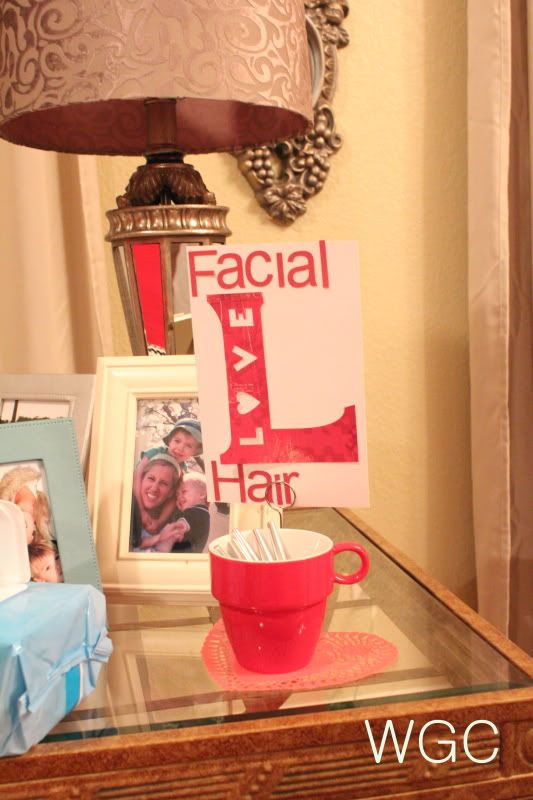
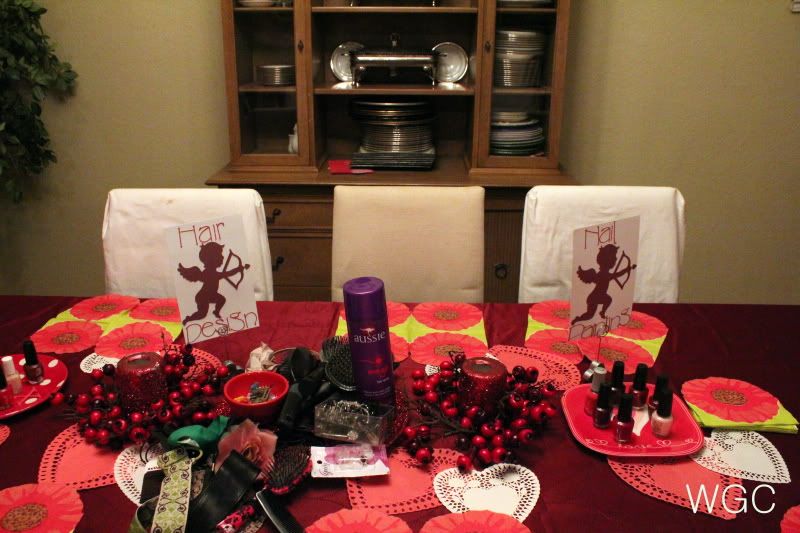
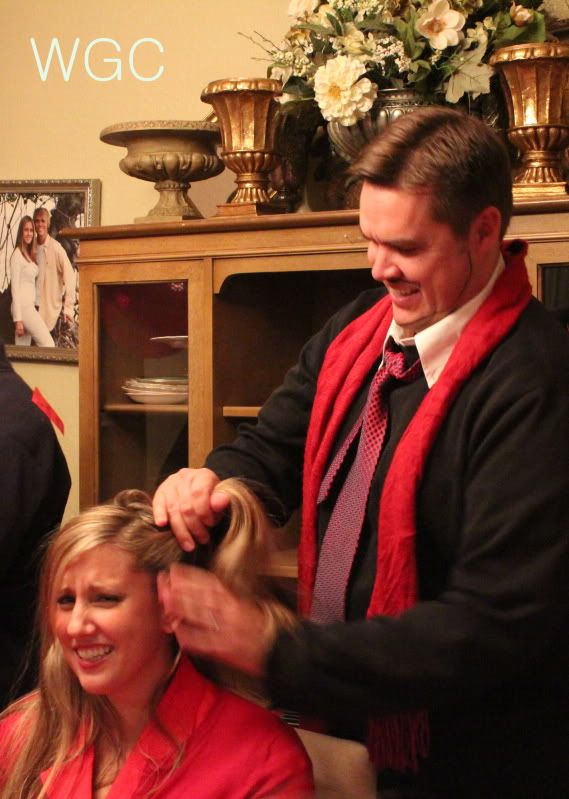
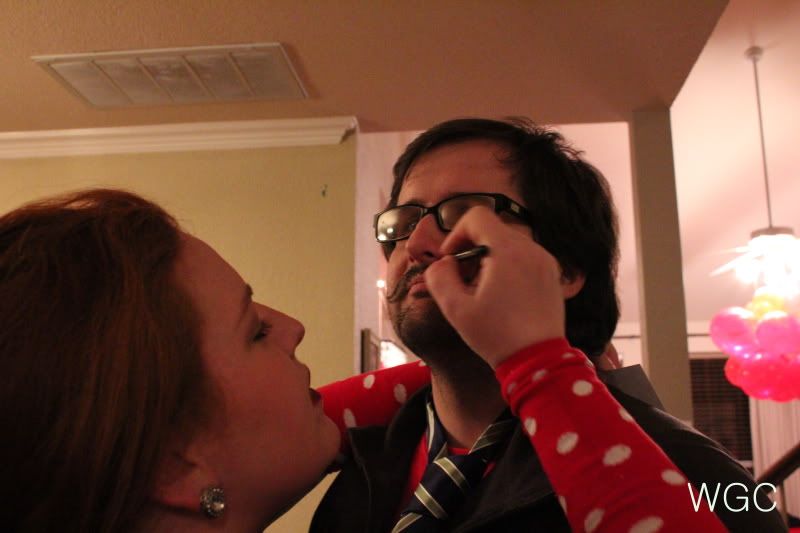
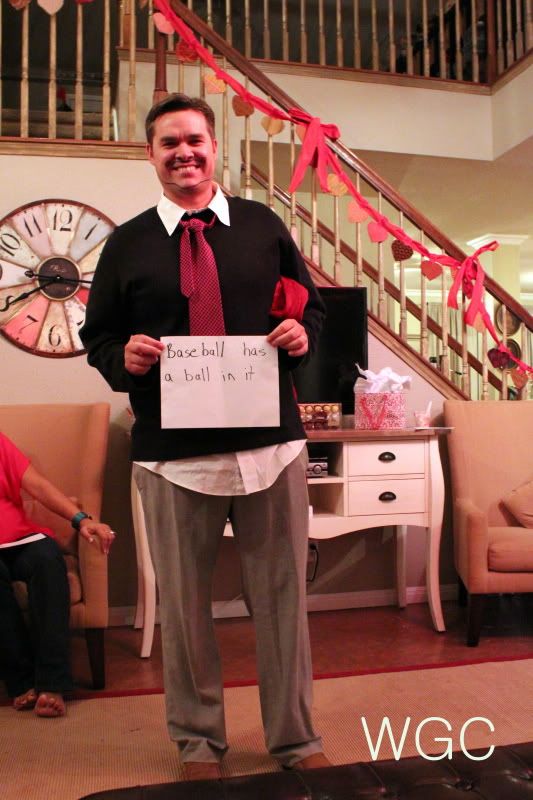
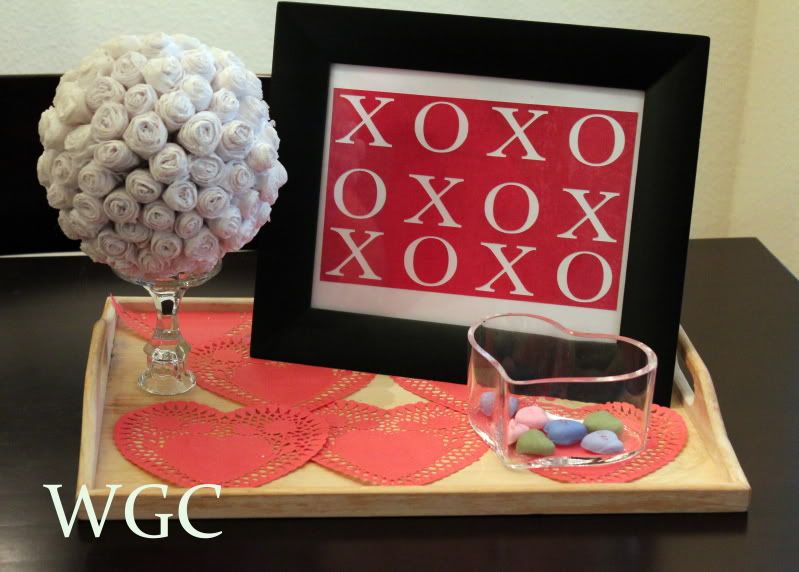
The main event of the party was a battle of the sexes. The men were assigned to give their wives' a new hair style, paint their nails and write down a quote from a romantic comedy. The ladies were asked to tie a tie on their husbands, draw on some facial hair and write down a sports quote. We set some stations out. I made the signs with my Silhouette. (Do you see my rosette ball and XOXO art?)

Photobucket

Photobucket

Photobucket

Now here are some action shots:

Photobucket 

Photobucket

Jessica drew on the facial hair of her husband's dreams!

My husband and I were the judges (I have no pictures of myself at the party! That's what you get as the photog). Everyone came out and showed off their spouses' handiwork. 

Photobucket 

Photobucket

I love this classic Anne face.

We gave out prizes to the winners and then mingled for a long time. We wrapped up the evening with a slow dance to "Lady in Red" It was such a fun party and I had such wonderful help! Anne, Jessica and I stayed up late after the party discussing our next one. I'll let you know how that one goes. 

Happy Valentine's Day!

My Valentine's Day Table Display

Now that Valentine's Day is a week away, I am ready!


Photobucket

The breakdown, from left to right:
My 100 Rosette Sphere, on an upside down candle holder from Dollar Tree
Heart Doilies, just like in my $2 Doiley Window Display line the bottom of the tray, from Dollar Tree
Tray from Goodwill ($1.99)
XOXO Frame was made with my Silhouette Cameo. It was so easy, it doesn't deserve a tutorial! Frame from my stash
My Clay Conversation Hearts are in a heart glass bowl I got from Goodwill for 99 cents.

I thought it was a fun little display that doesn't go overboard. How did you decorate? Or do you want to skip this holiday all together ;)

A Beginner’s Tips and Tricks for the Silhouette Cameo

Before I start, I wanted to let you know how excited I am for our Wayward Weekend Link Party. Please stop by this weekend to share your craft and to learn from others at our link up party!

My tips and tricks for using the Silhouette:

1. The first cut isn’t always going to work. It takes some getting used to!
My cutting tips:
Do a test cut
Don’t double cut with cardstock

IMG_4092
Oops

Make sure nothing is in the way of the mat on either end or you will end up with a off kilter image that won’t work.
Make sure your paper is correctly lined up on the mat
Make sure you turned the blade to the correct number and that you have entered the correct thickness in the settings.

2. Cut yourself some slack. This is supposed to be fun!

3. Read the manual, watch the instructional video and use the user’s guide. Use Silhouette’s website for more answers, and if you still can’t find the answer, Google it!

4. Did you know you can get 50 MORE free images? Because different software has come out, they released new images. The old images are in the Silhouette store for free. Simply search “50” in the search box. Some 1950s stuff will come up first but below that are some more images. My favorite are the kaleidoscope.

5. Maybe you were smarter than me, but when I looked at my 50 free images, I didn’t know what the heck the “Control Panel” was. Then I read Sugar Bee Crafts and had a DUH moment. The control panel image is for your control panel on your Cameo. Cut it out to personalize your machine.

6. I did NOT get this whole transfer paper thing until I read this easy tutorial from Silhouette’s blog: Here

7. Free images are released on Tuesdays on the Silhouette blog. Don’t forget!

8. You can make and share your own images in Silhouette Studio. I’ve gotten some freebies that other people have posted. As soon as I make a good one I’ll share =)

IMG_4094
My Silhouette Cameo, all pink and decorated!

What have you learned about your Silhouette? 

What I GOT for Christmas

This Christmas, I was very spoiled. This includes lots of crafting supplies. The biggest of them all was THIS:


Yes! I got a Silhouette Cameo. My first project was a card to thank my in laws!


Anyone else have one? Got any tips?
Related Posts Plugin for WordPress, Blogger...