Showing posts with label T-shirts. Show all posts

T-Shirt to No Sew Workout Tank

So this craft is wayward, but it borders on a fail to me. I found my inspiration and pattern from Blogilates via Pinterest, her DIY Racerback Workout Shirt Tutorial found here.

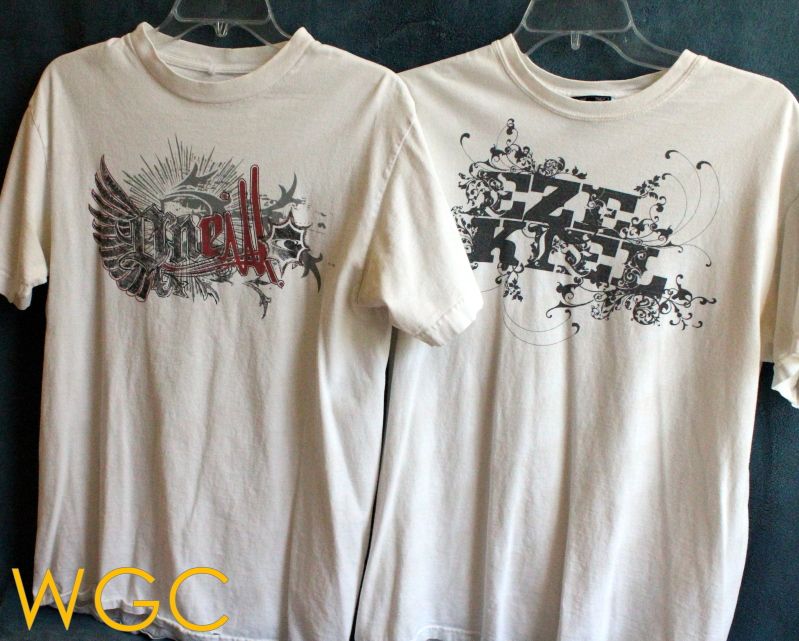
I started with two shirts. Both were cast offs from my husband's college days.

Photobucket 

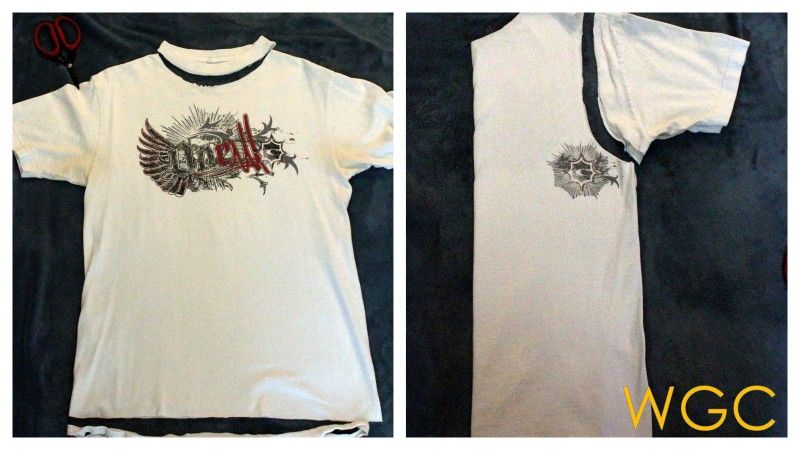
Then I started cutting. I did a lot of cutting. First I cut off the collar. Then the sleeves.

Photobucket 

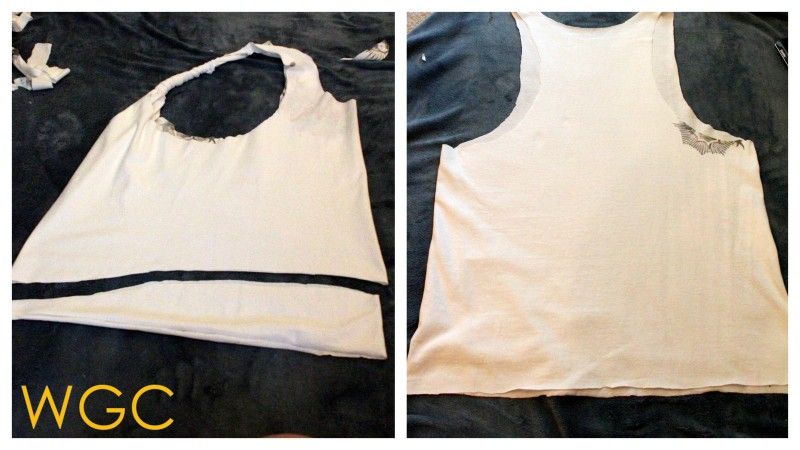
Then I cut the neckline deeper, and the straps and the bottom, like so.

Photobucket 

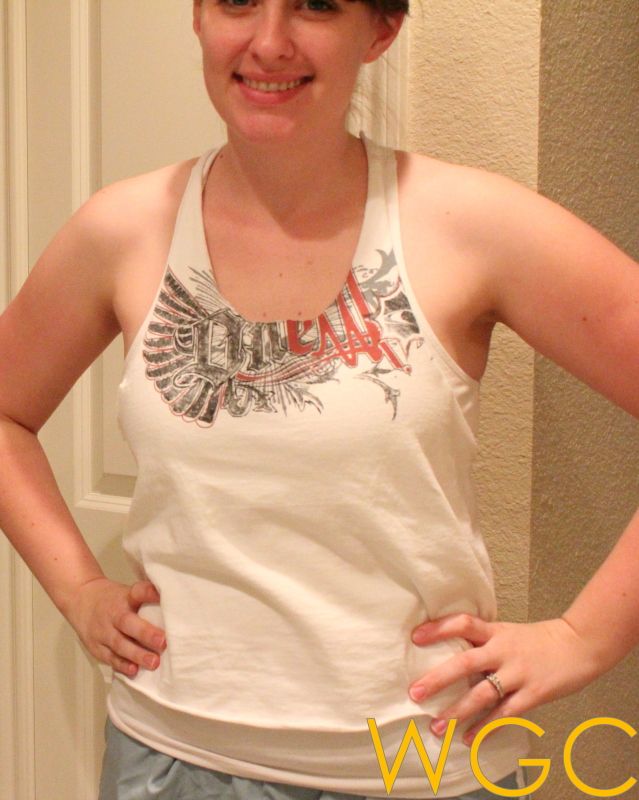
And finally I finished.

Photobucket

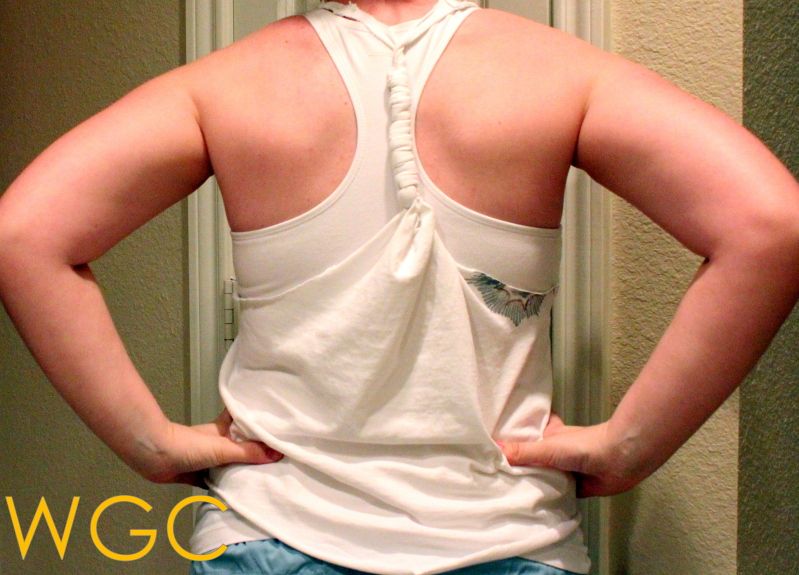
The wonky back

Photobucket

The reason why it's kind of a fail is I feel like it doesn't fit me like it should. I should have started with a larger shirt (this one fits only a little big, when it should be at least a size bigger than you are). So the proportions seem a little off. I didn't even make a second one because both shirts fit the same way. It was my first time doing something like this so the straps aren't exactly right. BUT in the end, I still wear it to work out, so I suppose it isn't a complete fail. Next time I might use this tutorial, which has a little more detail: Trash Planet's Tutorial 

Shirt Redo- Buttons and Resizing

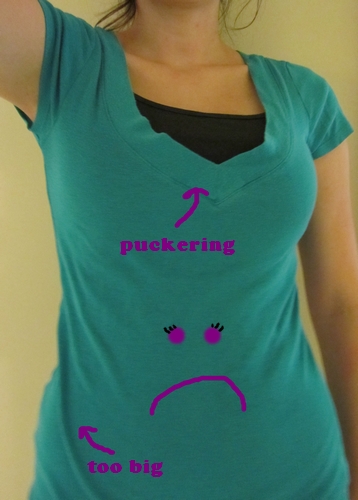
I have this shirt. We had a love/hate relationship. It was a tad bit too big but it was so versatile at the same time. The v-neck was a little too wide an pooched out. I saw this tutorial (obviously I'm inspired by the things I see on the internet since my crafts recently have all sparked from ideas on the web-yes I love pinterest) and thought I could apply it to my sad shirt. See here it is being sad:

shirtredo 002


So here is my tutorial for resizing and adding buttons:


What you will need:
Buttons
Shirt you want to redo
Scrap of fabric (not pictured) (1.5" x length of the shirt)
General Sewing Supplies


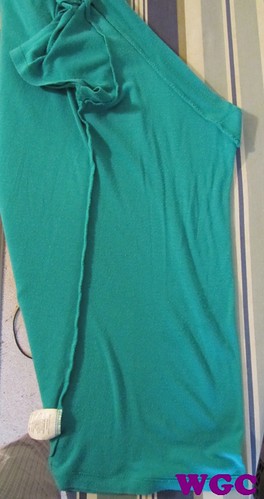
Step 1: Turn shirt inside out and find the center of the front. My shirt was a v-neck so I just folded it in half at that line. Cut the shirt length wise.

shirtredo 006

Step 2: Line the scrap of fabric up on the backside of the left edge and fold 1.5". Overlap the right side and pin in place.

Step 3: Sew the edge of the left piece the length of the shirt. I also sewed the far side. (See last picture)

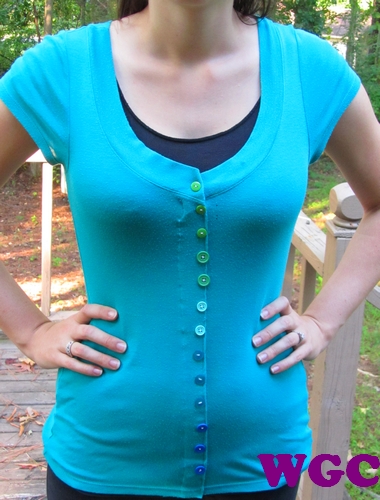
Step 4: Sew on buttons. I arranged my assorted buttons, measured the length of the shirt, and divided the length by the number of buttons. My buttons were 1 1/8" apart. I sewed on the first button and measured from the middle of that button 1 1/8" and marked with a fabric pencil. Well, I tried but the pencil wouldn't work so I just tried to juggle the tape measure in one hand while I started the needle in the right spot.

Step 5: Have a now happy shirt!

shirtredo 012

Got any good tshirt redos?

Bleached T-Shirt

So a few weeks ago my husband asked me if I'd like to get season football tickets for the local university (where he is getting a graduate degree). I said "Sure" and my mind started to work. How could I personalize a t-shirt to say MBA Wife? Because, hey, I'm earning it too, right?

After a trip to the local thrift store--shout out to Savers--I picked up several t-shirts for cheap. Then I found a way to personalize them: Spray Bottle Bleaching! It took no time! I'm going to share with you the test shirt I made to make sure it worked.

Materials:
Bleach
Water
Shirt
Freezer paper
Cardboard 
Plastic bag (optional)
Painter's tape (optional)

Tools:
Scissors
Iron
Spray Bottle

Here's how to do it my wayward way:

Pick out a design you want. I made one on my computer in word: Wayward Girls' Crafts of course! I chose a font and then made the letters outlined. Next, print out the letters on freezer paper. To do this, tape freezer paper on to regular paper so it will slide through the printer. You want to print on the papery side, NOT the waxy side. Then cut it out!


Next arrange your letters on your shirt. With a warm iron, iron those letters on. Make sure the letters are secure and aren't coming up on the sides. If they are, just iron 'em again!


So next grab some cardboard and stick it inside your shirt so the bleach mixture won't seep through and get to the other side of your shirt. 

I wanted to have a box/rectangle around the WGC so I did this next step. You don't have to. Take a plastic bag and cut a rectangle (or any shape) on one side. Put your shirt inside the bag. Make sure your letters fit in the rectangle.


Then use the painter's tape around the edge to seal it.


The bag is going to act as a shield from the bleach. You want to make sure it's covering all the fabric, except what will be bleached.

Next it's time to make your bleach mixture. I roughly, waywardly, tried about 2/3 bleach to 1/3 water. I've read some people used undiluted, and some used other mixtures. I just eyeballed it, roughly.


Next, take the whole operation outside, or a well ventilated area that you won't bleach anything (like a bathroom?). It's best if it's not windy out. Make sure your nozzle is on misting and not squirt (like a straight shot). I did a few test runs on on the cement and figured it out.


You don't want to directly spray it. Just mist over it so it lands there. At least if you want the look I with with.


 You can see I made sure it was good and misted. 


Peel off the letters, tape and plastic bag. It isn't going to be a super big difference, it's rather subtle at first.


This is how it looks after getting washed and dried. My husband was impressed. Time to take it to the next level and make my MBA Wife shirt =)

Any questions?

T Shirt Quilt- Getting Ready

My husband has had over 100  T-shirts. He does wear them often, but no one can wear that many. Since there were too many to fit in the drawer and lots, though faded and worn, still had sentimental value,  I decided to make a T-Shirt Quilt for him. (That was 2 years ago and it still isn't finished!) I do have lots of blocks made and ready to sew together.

Here's how to do it. First, select the T-shirts you want to use. Roughly cut out the logo or picture you want to feature. Leave lots of space around the logo... a couple of inches if possible. You will be trimming it later.
(OK this isn't really a T-Shirt. Just go along with it!)

Cut medium weight fusible interfacing to fit the back of the T-Shirt. This will help stablize and reinforce the jersey fabric.
Iron the interface on the back of the T-shirt according to manufacturer's instructions. (I never really follow those instructions. I just turn on my iron and do it. That's why I am wayward.)

Now is the time to trim the piece to the size and shape that you want. Leave at least a 1 inch fabric around the logo. Try to keep the about the same margin on all of your squares for a more uniform look.

Some people choose to have all squares the same size. I am not one of those people.

Some of the logos that I selected were embroidered designs off the front of polo shirts. This was a great use for nice, but stained fav polos.

Then, select your border fabric. Again, you might want to use the same fabric for every block. I decided to use fabric that complemented each design. Cut strips of fabric to the desired width. I sewed each side border first and then the top and bottom. Iron the seam allowance toward the border fabric.

I am going to use a white on white fabric as lattice work. I will be using a bandana print for the back because Ben loves bandanas almost as much as T-shirts. I might use old ties in the lattice work, too. That will be another post if I do.

Here are my all my blocks together and a pictorial history of my husband's adulthood:

Related Posts Plugin for WordPress, Blogger...