Showing posts with label watercolor. Show all posts

Simple Watercolor Painting for Beginners

I've been interested in watercolor for a few years. This year I finally got into it and feel comfortable in the very beginning stages. I wanted to make a handmade gifts for my nephew and nieces and thought a watercolor painting of an LDS temple would be something special. This method also worked for paintings I did of a bird, book, and sweater.


Prerequiste: know how to mix watercolor paints and how to apply the paint (basically, dab your brush before each time you touch the paper). 

First step, find color pages of the temple online. It seems like this would be easy, but I had some criteria: it needed to be simple and I wanted to have several temples, including a small temple design. That was the hardest to find. See our LDS Pinterest board for the coloring sheets I used


The next step was to trace the temple on a piece of white paper using a pencil. I used a straight edge (ok a board book) to keep my lines straight, which made it take longer but it made it look better. I traced the temple from my laptop screen, like a lightbox. If you wanted, you could just print out the coloring page and skip this step. 


Next, color all over the back of the tracing with a pencil. I shared this picture on Instagram and some of you guessed what I was doing! The pencil coloring will be used as a transfer method.


Take your watercolor paper and tape it to the back of the tracing (so the coloring is touching the paper) to keep it steady. Trace the picture again. As you trace, the coloring will transfer lightly to the watercolor paper. Make sure both papers are secure so it transfers well. 


After the drawing is transferred, paint it! Yep, you just paint in the lines. With watercolor you want to do several coats, called washes, to increase in depth of color. With temples, I wanted them to be gray but not dark gray so this didn't take long. I did more washes with the bird painting to get vibrant colors. Allow the paper to dry in between washes. 


A brown paper grocery bag is a great backdrop for a first timer. It can also be used as watercolor paper. I use it to dab my brush before each stroke (very important!)

Once you're satisfied with the colors and the painting is dry, trace the pencil in fine-tipped marker or pen. You can't erased what you've painted over, and I think a pen outline gives it a nice, finished look. 


Finally, sign your piece of art! The whole process can be finished in about an hour or two, depending on how many washes you do. It was really fun to make these paintings. After the temples were completed, I grew more confident and made some gift tags and painted a few books to represent Kindle books. They were a lot of fun.


A bird for my brother-in-law


This is a great project for a beginner!


Hashtag alert and Progress Report: Wrapped and Done by Dec 1

Hey everyone, how is your holiday prep going? It's still my goal to be Wrapped and Done by December 1! We've been posting some on Instagram but we want to see what YOU are working on for your holiday prep! Please post using the hashtag #HolidayPrepYall so we can see what you're up to! Plus we will feature you on Instagram!


 Now, here's some of what I've been doing:

Ordering my Christmas cards! I just bought this Groupon to Staples, 100 cards for $19--that's the best deal I've seen ANYWHERE by FAR! But it's EVEN BETTER, knocked down to $8 for 100 because it's been shared with enough friends. There's also a deal for 50 cards Get the deal too before Sunday! Here's one I liked:

(Thanks Brooke, for sending me the link!)


Painting--making my own gift tags!


Wrapping


Bing-ing (Searching using Bing to earn rewards. I've earned $25 for Christmas presents so far. Read more here)


Ibotta-ing (Rebate app, I've earned $18.25 so far )


Shopkicking (App to scan products in store, I've earned $15 to Target so far)


Ordering: presents from Amazon using my Bing Rewards! Win!


(no picture because I can't ruin the surprise!)

Getting our pictures taken, here's my favorite face I made:


Things that still need to be done: Christmas cards addressed, holiday baking, holiday decorating (I refuse to do it until after Thanksgiving, but the day after is just fine), ordering, wrapping and sending more gifts.

So let's see YOUR photos!! Use the hashtag #HolidayPrepYall and we will re-gram it on Instagram!

Watercolor Easter Cards

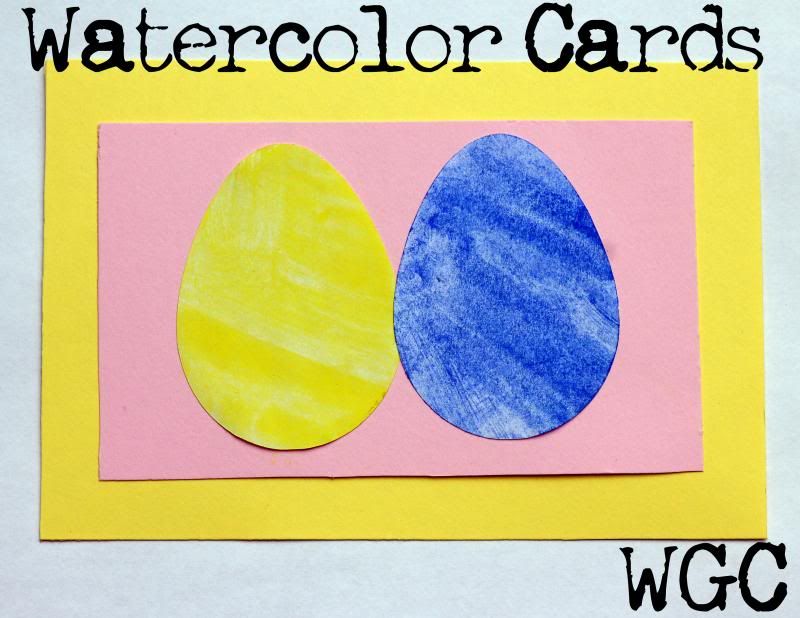
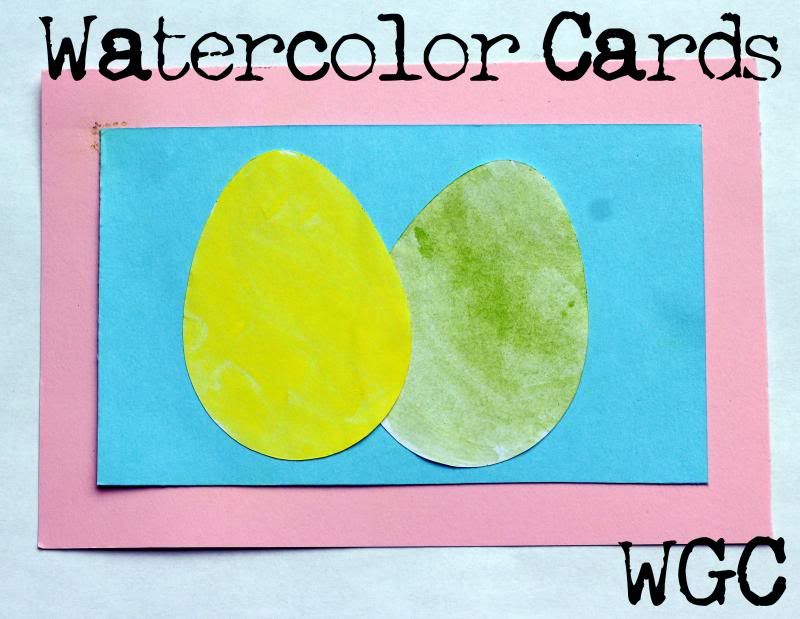
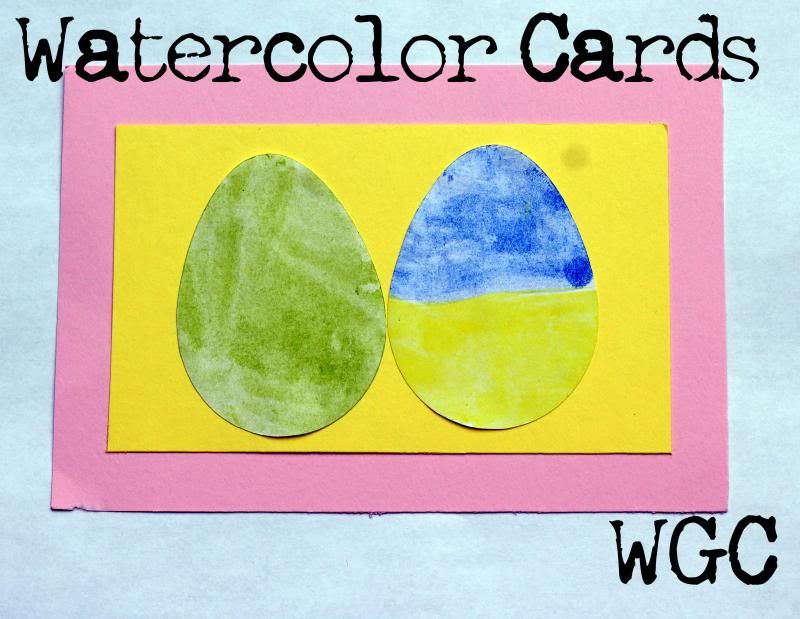
Sometime last year I became a tiny bit obsessed with watercolors. I wanted so badly to try them, but the local class was $84, with $100 worth of supplies. It seemed like an investment I wasn't ready to make. A few weeks ago I decided to get some cheap supplies and just try to see if I liked it. $15 later and I was set. I decided my first project would be greeting cards for Easter. After brainstorming I came up with these:

 photo Eastercard1_zpsd7178f98.jpg

The eggs were cut with my Silhouette Cameo. One of the best features about the Silhouette Studio (software program for the Silhouette) is the "Trace" feature. I can take any picture and trace it and have a shape for free. I found an egg shape online and saved it. Then I opened it in Silhouette Studio, used the trace feature and had a free shape!

 photo eastercard2_zps5a9571f1.jpg

I used watercolor paper and dug in! While the eggs were drying, they curled up, but with glue they stayed down on the cards. I love how the watercolor looks like dyed eggs! This was a fun, simple project and perfect for my first time with watercolors!

 photo Eastercard3_zps3aeb2423.jpg


Did you send anything fun for Easter? 
Related Posts Plugin for WordPress, Blogger...