

Wrapping headpins is one of the techniques I use in almost all my jewelry making. It's not too hard to figure out, but takes some practice to look nice. Mine still look a little wonky sometimes. Here is my step by step tutorial on how to do them yourself. You need: round nose pliers, regular pliers and wire cutters.
.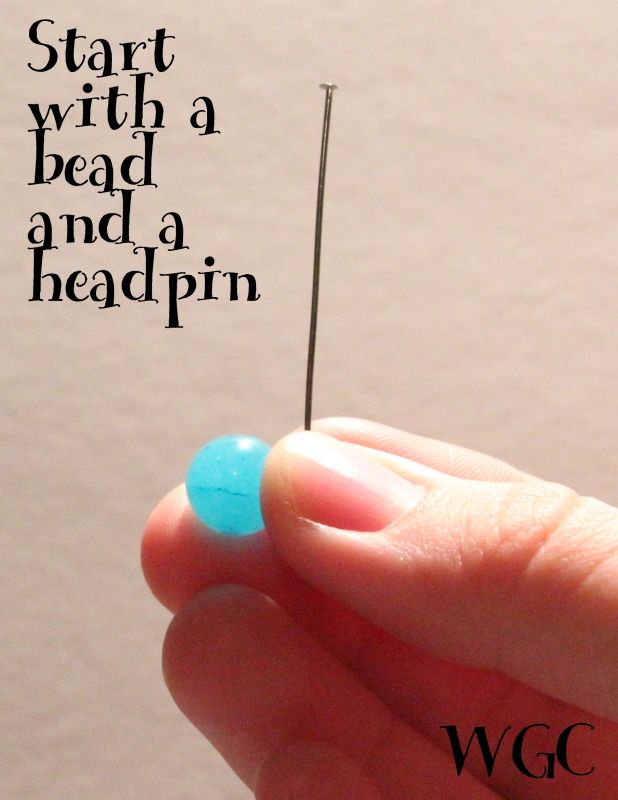

A headpin is a jewelry finding made of metal and is bendable. The end has a flat surface, which prevents beads from falling off.


Wrap looped headpin beads are perfect for earrings, bracelets and necklaces. They are more secure than a regular looped headpin and have a nice finished look.
I'll be sharing some other pieces I made using this technique later this month!

6 comments :
you make this look so easy! great tutorial
These make jewelry pieces look so professional :) Can't wait to see the rest of your stuff
You're going to make me try jewelry making yet! Thanks so much for sharing this technique. Very cool!
Nice job! Giving me flashbacks to a certain beach trip...
So... do I owe you $200 now?
When I work with beads and charms I just wing it, great tutorial, I may be using this one in the near future :)
Just what I needed, thanks for sharing! Liz
Post a Comment